Tired of generic store-bought envelopes and craving a touch of personalized flair for your correspondence? Then look no further! This guide unveils the surprisingly simple and incredibly fast method of crafting beautiful, unique envelopes using nothing more than wallpaper scraps. Forget fiddly folds and complicated measurements; this technique leverages the inherent beauty of patterned paper to create stunning results in a fraction of the time it takes with traditional methods. You'll be amazed at how quickly you can transform ordinary wallpaper remnants into elegant, eye-catching envelopes perfect for invitations, thank-you notes, or simply adding a touch of personality to your everyday mail.
This incredibly speedy method minimizes steps while maximizing impact. The beauty lies in its simplicity: using the wallpaper's own inherent design and pre-existing straight edges to dramatically reduce the need for precise measuring and cutting. Let's dive into the step-by-step process and discover how easily you can create gorgeous, custom-made envelopes in minutes.
Preparation and Safety Guidelines
- Wallpaper
- Catalou Envelope Maker
- Glue stick (or remoistenable glue)
- Ruler (optional)
- Use sharp scissors or a craft knife carefully to avoid cuts. Always cut away from yourself.
- Ensure your work surface is clean and clear to prevent accidental damage to your wallpaper or finished envelopes.
- If using adhesive, follow the manufacturer's instructions carefully, and ensure good ventilation to avoid inhaling fumes.
Step-by-Step Instructions
Prepare and Position
- Select your wallpaper and desired design.
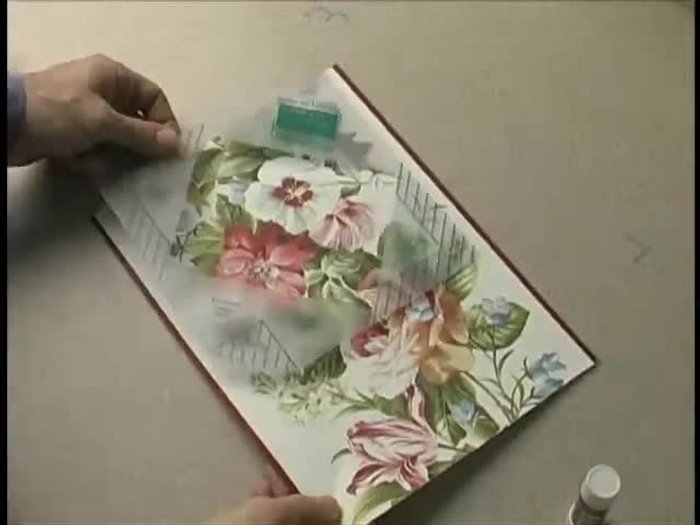
- Position the Catalou Envelope Maker template over the wallpaper, aligning your chosen design within the template's window (this is what will be the front of your envelope).

Prepare and Position Tear the Wallpaper
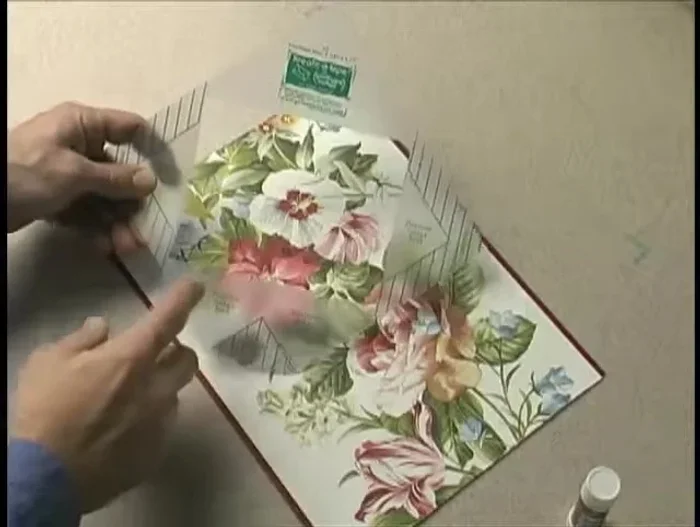
- Tear the wallpaper along the template's edges. Hold the template close to the edge and pull the paper towards the center at a slight angle for a clean tear. (This technique is similar to tearing paper with a ruler)
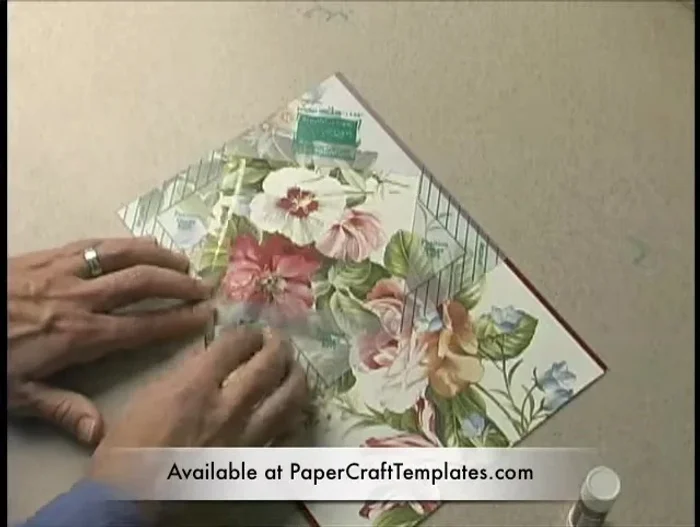
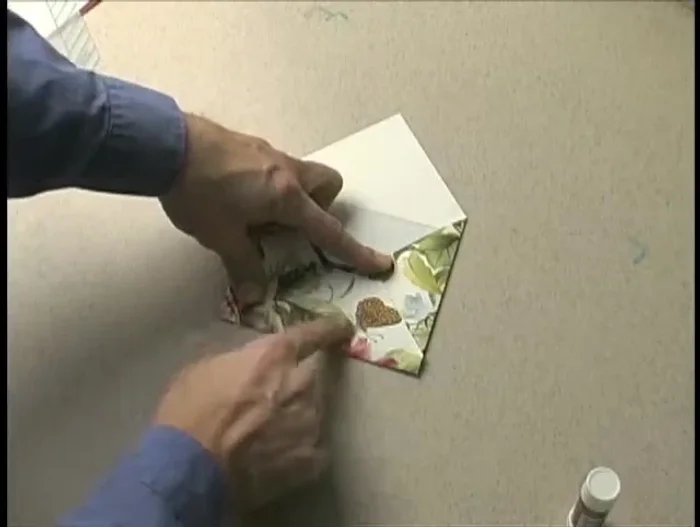
- Align the bottom notch of the torn wallpaper with the corresponding notch on the template.
- Tear off any excess paper along the template's perimeter.
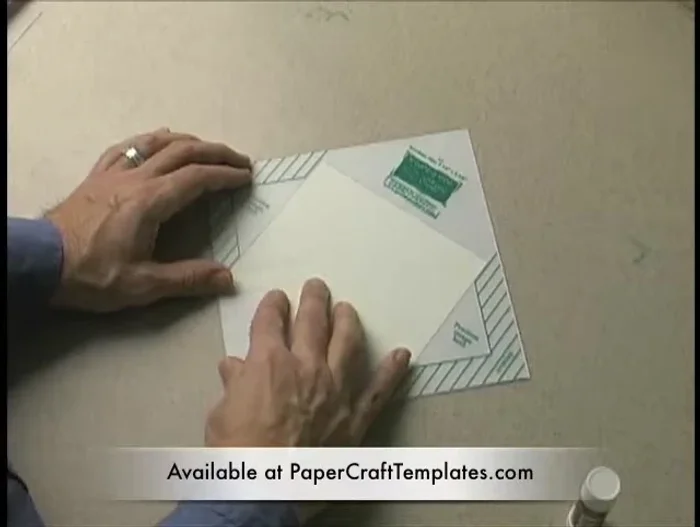
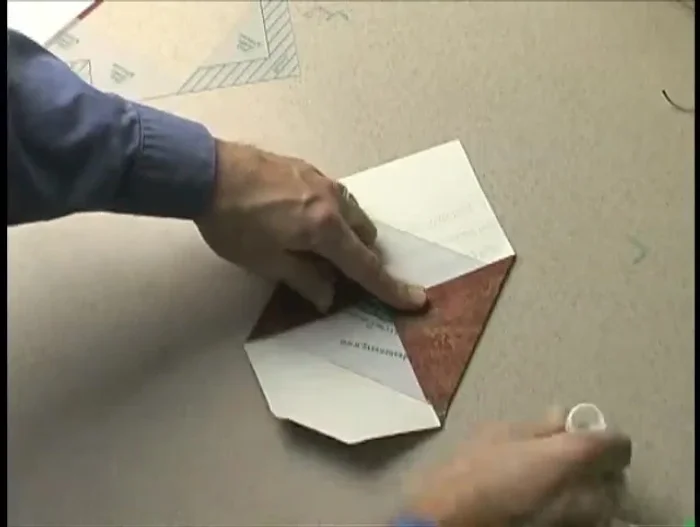
Tear the Wallpaper Fold and Crease
- Fold the paper along the crease lines created by the template. Create a sharp crease from top to bottom.
Fold and Crease Assemble the Envelope
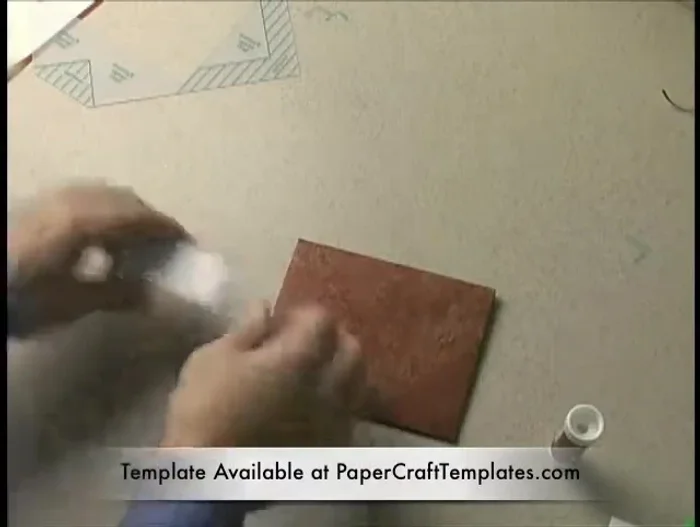
- Apply glue to the bottom flap and adhere it to the back of the envelope.
- Fold over the top flap to complete the envelope.
Assemble the Envelope

Read more: DIY King-Size Tufted Headboard: Budget-Friendly Guide
Tips
- For a clean tear, pull the paper towards the center at a slight angle, similar to using a ruler.
- Using the template's window to position your design ensures it's perfectly placed on the front of the envelope.
- If using a glue stick, most from an office supply store will work. Alternatively, remoistenable envelope glue is excellent for making multiple envelopes in advance.
- Tear the wallpaper face down to avoid a white edge.
- The Catalou Envelope Maker is very forgiving; minor mistakes during tearing are easily corrected by folding.