Transform your ordinary bath time into an extraordinary spa experience with this stunning DIY bathtub tray crafted from exquisite walnut live edge wood. Imagine soaking in a warm bath, surrounded by candles and a good book, all comfortably within reach on a beautifully crafted, unique tray. This project showcases the natural beauty of live edge wood, allowing the organic form of the walnut to take center stage, creating a piece that’s as functional as it is breathtaking. The rich, dark tones of the walnut provide a luxurious touch, perfectly complementing any bathroom aesthetic.
This detailed guide will walk you through each step of creating your own personalized walnut live edge bathtub tray, from selecting the perfect slab to applying the final finish. Prepare to be amazed by how easily you can achieve professional-looking results with a few simple tools and some careful attention to detail. Let's dive into the step-by-step process and bring your dream spa-like bathroom experience to life.
Preparation and Safety Guidelines
- Slab flattening planer
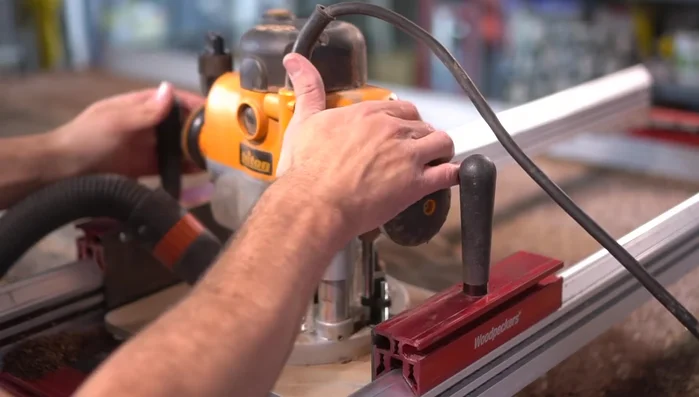
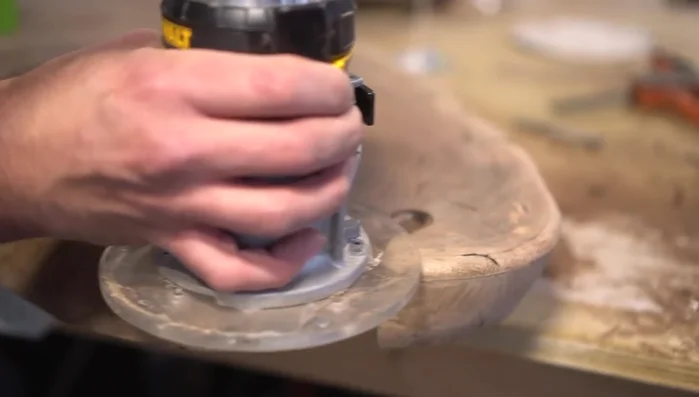
- Half inch chuck router with a two inch wide flattened bit
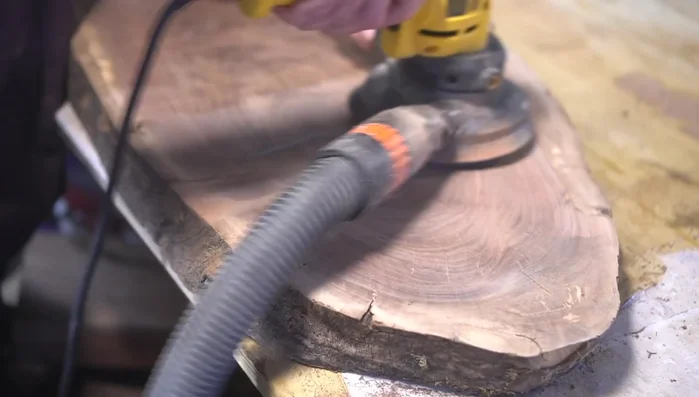
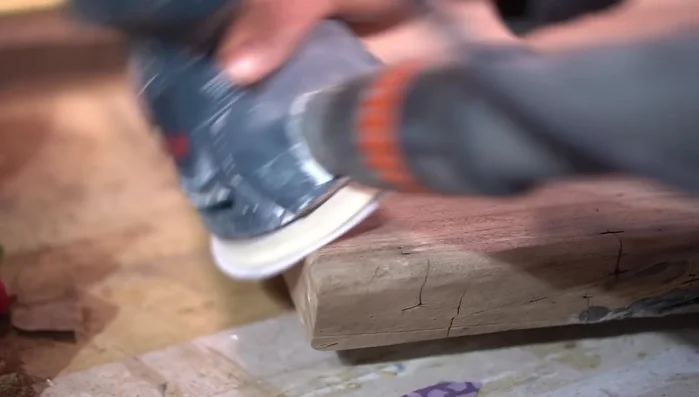
- Dewalt rotary sander
- Random orbital sander
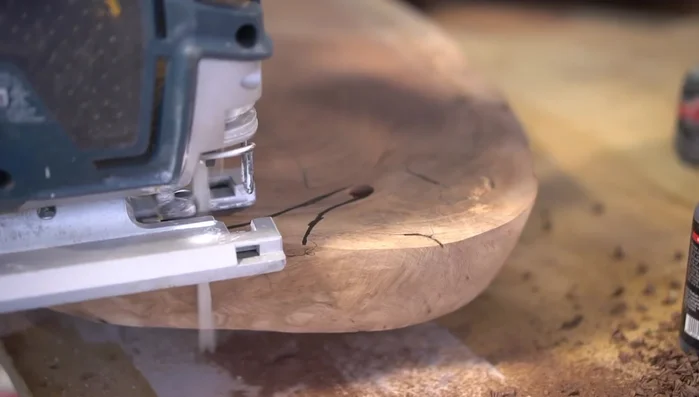
- Jigsaw
- Drill
- Forstner bit
- Sandpaper
- Round over bit
- Vacuum
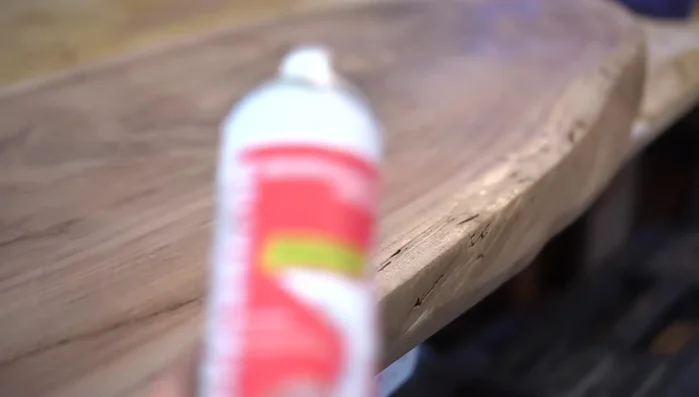
- Starbond adhesive
- Accelerator
- Plastic spreader
- Foam brush
- Mineral spirits
- Lint-free cloth
- Tack cloth
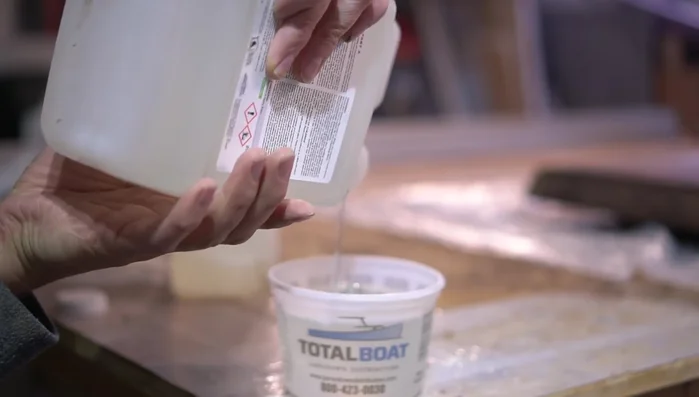
- Maker epoxy by Jess Crow (TotalBoat)
- Foam roller
- Halcon clear
- Countersinking drill bit
- Flathead screws
- Drill guide
- Always wear safety glasses and a dust mask when working with wood, especially when sanding or cutting.
- Ensure the live edge is properly sealed to prevent water damage to the wood and your bathtub.
- Test the tray's stability before placing heavy items on it to prevent it from tipping or slipping in the bathtub.
Step-by-Step Instructions
Slab Preparation
- Flatten the slab using a slab flattening planer.
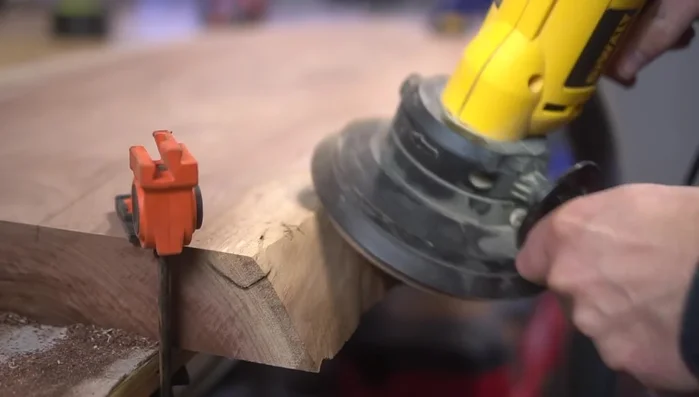
- Rough sand the slab to remove planing marks using a rotary sander.
- Remove bark and loose materials from the live edge.

Slab Preparation Repair and Filling
- Fill holes and crevices with Starbond adhesive.
- Sand down the filled areas.
Repair and Filling Shaping and Detailing
- Cut a wine glass holder section on the slab.
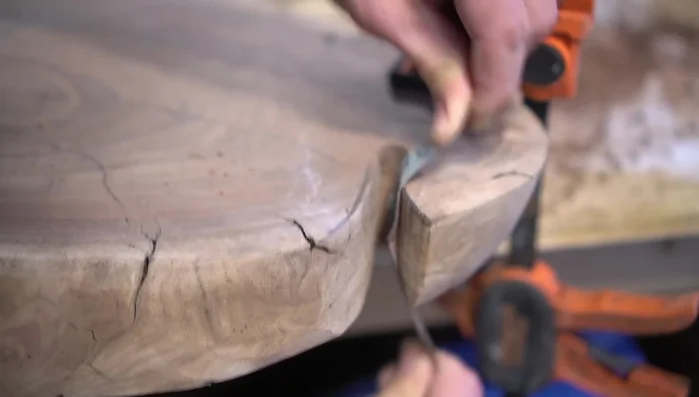
- Sand and smooth the wine glass holder area.
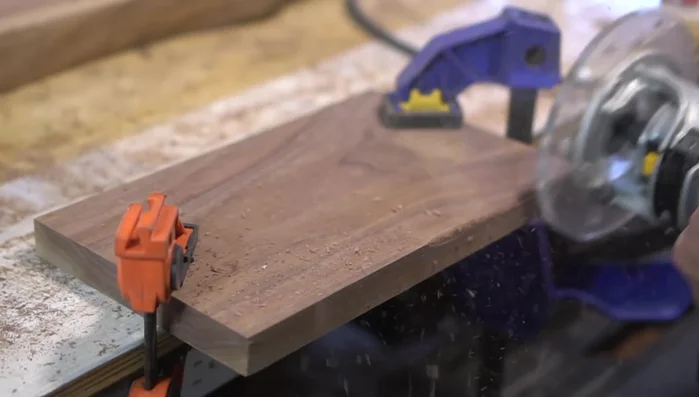
- Use a router with a round-over bit to smooth edges.
Shaping and Detailing Sanding and Finishing
- Fine sand the entire slab (100-220 grit).
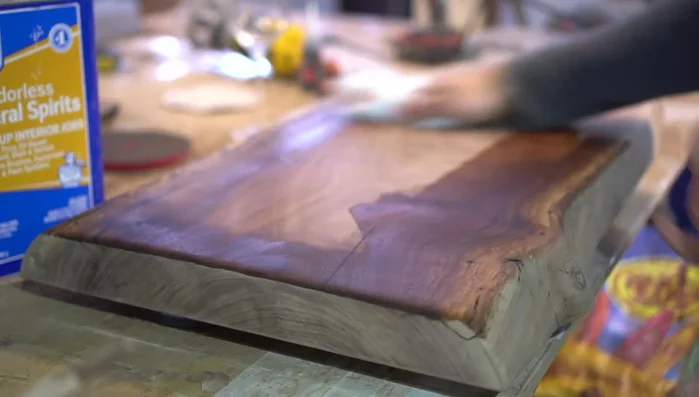
- De-dust the slab using mineral spirits and a tack cloth.
Sanding and Finishing Epoxy Coating
- a thin coat first, then a flood coat.
- Sand down any epoxy drips.
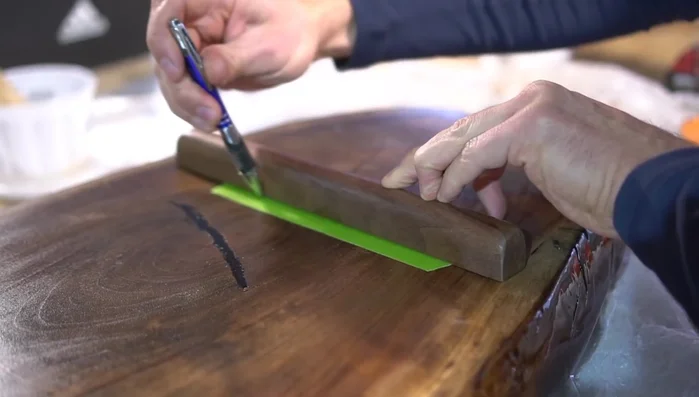
Epoxy Coating Side Finishing
- Apply Halcon clear coat to the sides.
Assembly
- Create and attach tub supports.
- Install handles.
- Secure bumpers with adhesive.
Assembly

Read more: DIY Mason Jar Soap Dispensers: A Step-by-Step Guide with Two Stunning Designs
Tips
- Use a high-end slab flattening planer for efficiency, or build a DIY one for budget-friendly approach.
- Clamp down the slab while sanding to prevent movement.
- Fill holes before applying epoxy to prevent air bubbles.
- Use a drill guide for straight holes when installing handles.
- Wear a respirator when sanding.