Frustrated with a cracked or fogged-up window pane? Don't resign yourself to costly professional repairs! Replacing a window pane yourself is a surprisingly achievable DIY project, saving you both time and money. This simple upgrade can dramatically improve your home's energy efficiency, reduce drafts, and restore its aesthetic appeal. Whether you're a seasoned DIY enthusiast or a complete novice, this guide will empower you to tackle the task with confidence. A broken window doesn't have to mean a hefty repair bill or a lengthy wait for a contractor.
This article outlines the fastest and easiest method for DIY window pane replacement, guiding you through each step with clear, concise instructions and helpful visuals. We'll cover everything from selecting the right replacement glass to safely removing the old pane and securing the new one, ensuring a professional-looking finish. Ready to get started and transform your home's comfort and style? Let's dive into the step-by-step process!
Preparation and Safety Guidelines
- Putty knife
- Heat gun (or blow dryer)
- Safety glasses
- Heavy-duty work gloves
- Utility knife (optional)
- Tape
- Rubbing alcohol or acetone
- Silicone sealant
- Glass cutter
- Pennies (or other shims)
- Razor blade
- Glass cleaner
- Always wear safety glasses to protect your eyes from broken glass fragments.
- Use gloves to prevent cuts from sharp glass edges and potential chemical exposure from cleaning agents.
- If you're uncomfortable working at heights, use a sturdy ladder and have someone assist you. Never overreach.
Step-by-Step Instructions
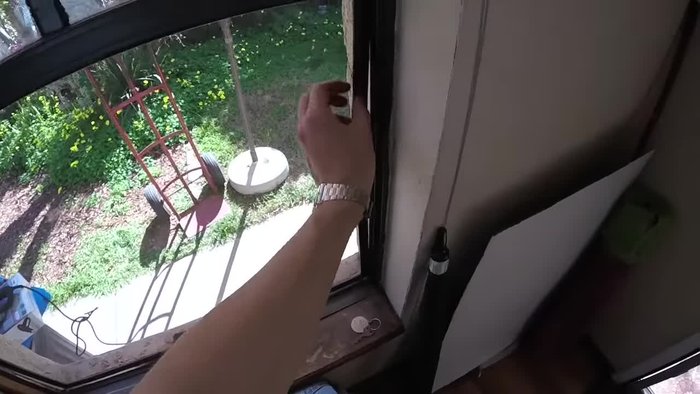
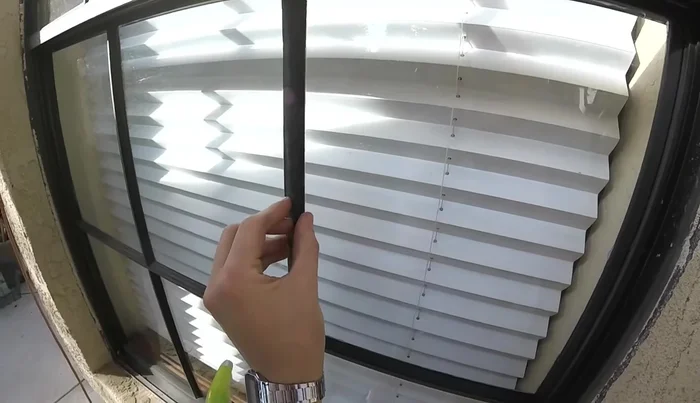
Prepare the Window
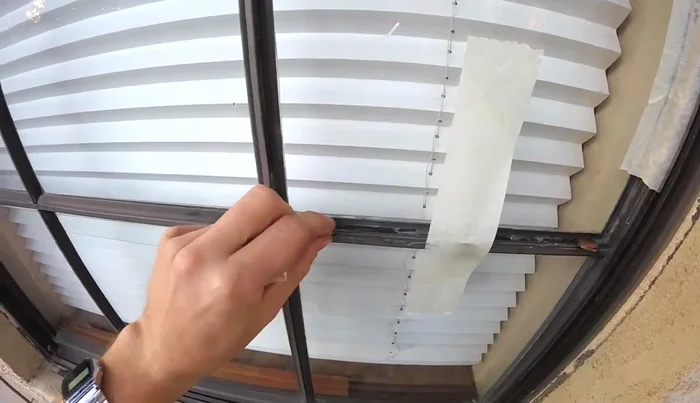
- Remove the screen by pulling up and pushing out.
- Remove the trim around the window pane using a putty knife.

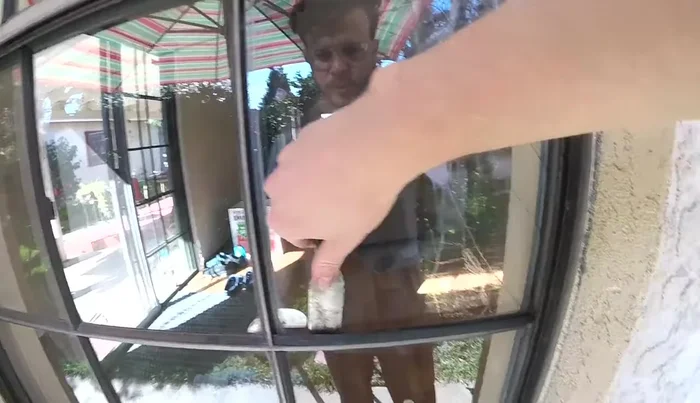
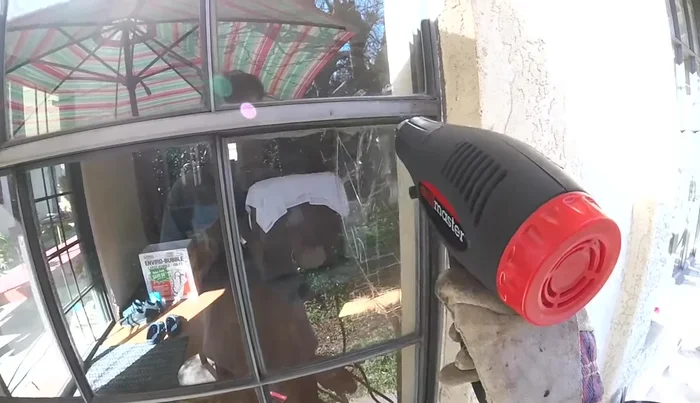
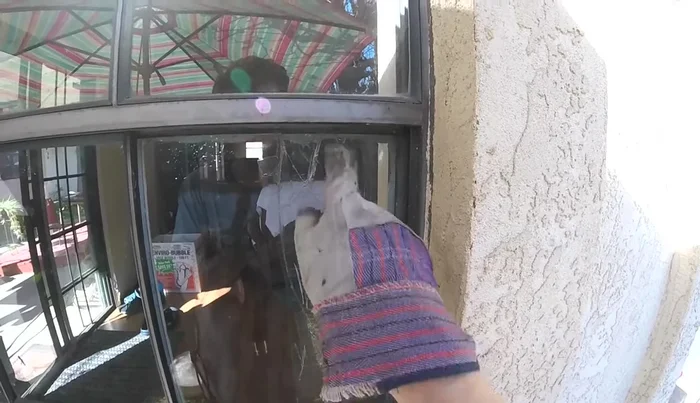
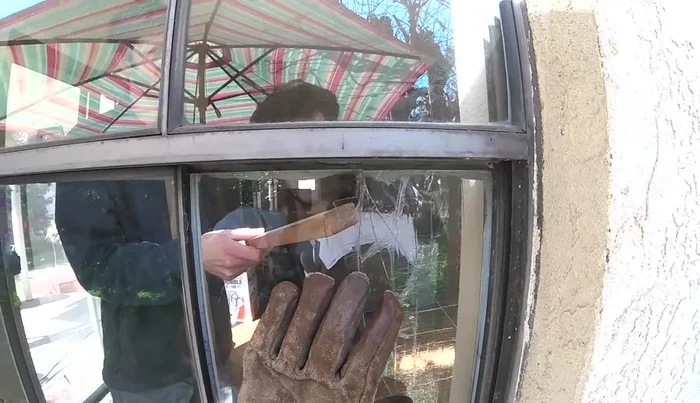
Prepare the Window Remove the Broken Pane
- Heat the sealant around the broken pane using a heat gun (or blow dryer) for a couple of minutes to soften it.
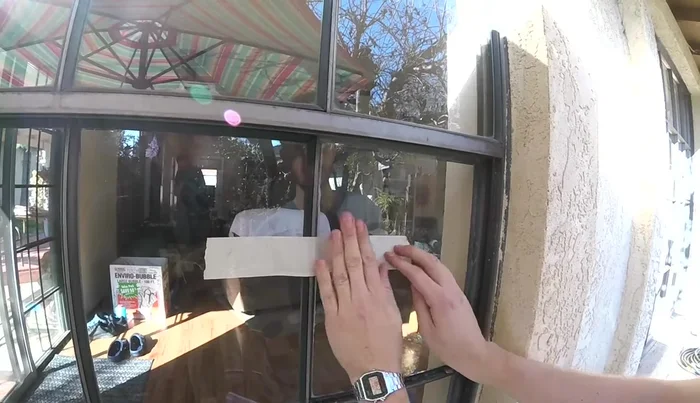
- Apply tape over any cracks to prevent the glass from shattering.
- Carefully remove the broken glass pane using a stick or putty knife.
Remove the Broken Pane Get a Replacement Pane
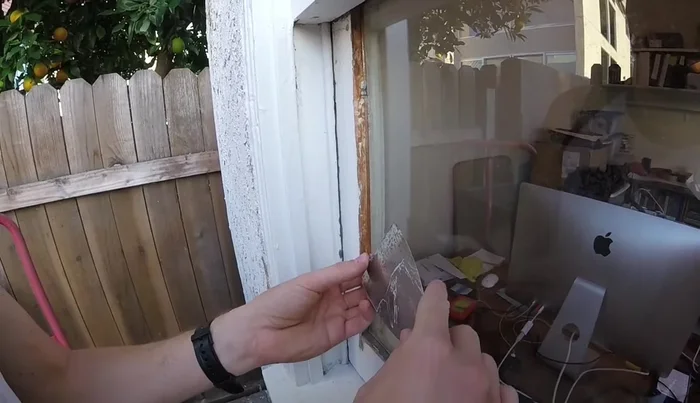
- Measure the window opening and have a new pane of glass cut 1/8 inch smaller on each side at a local glass shop.
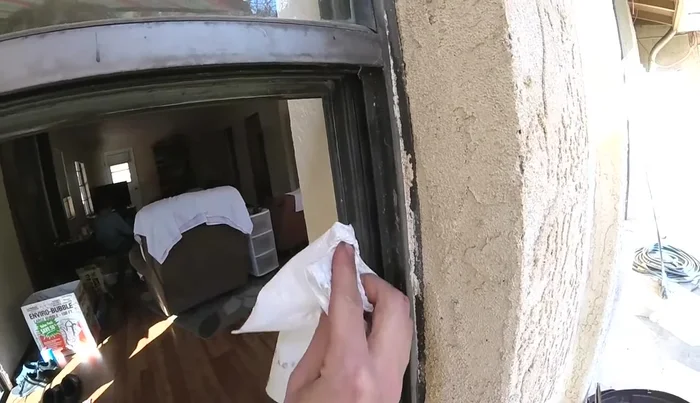
Get a Replacement Pane Prepare for Installation
- Clean the window frame and the edges of the new glass pane with rubbing alcohol.
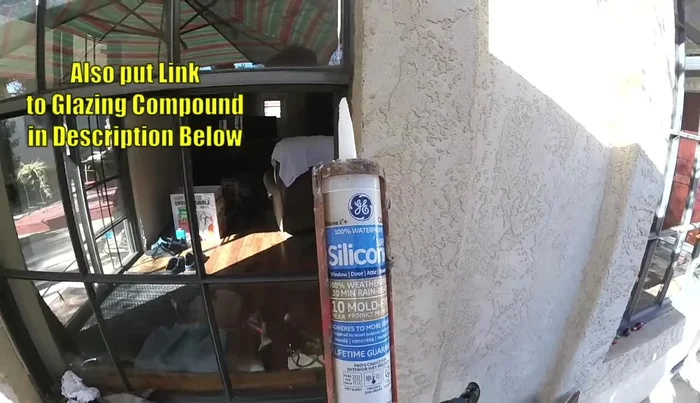
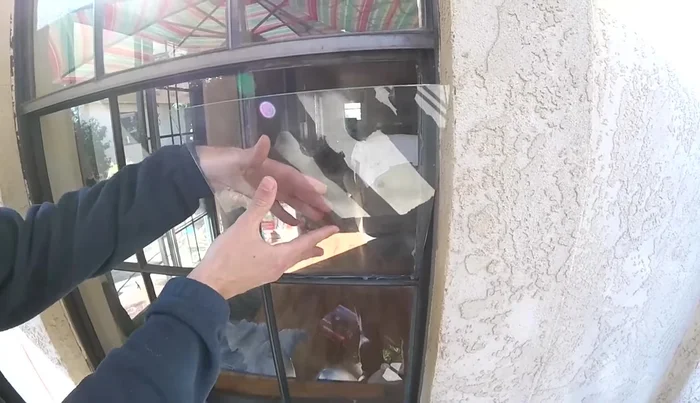
Prepare for Installation Install the New Pane
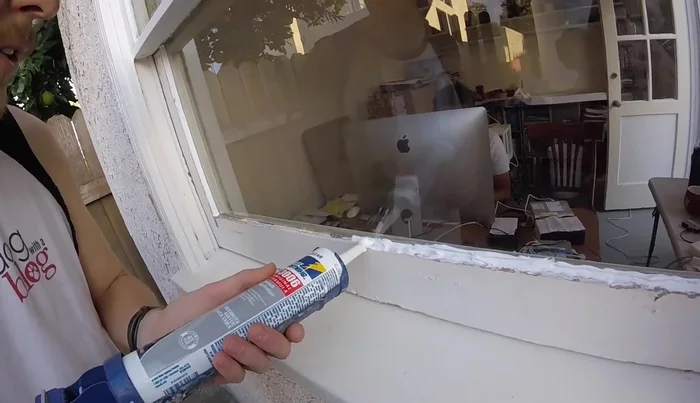
- Apply a bead of silicone sealant around the window frame.
- Carefully insert the new glass pane, ensuring a tight fit. Use pennies or shims to support it.
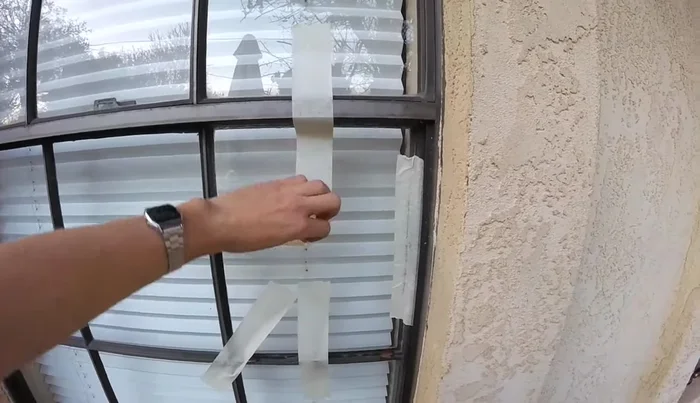
- Apply tape to the new glass pane to hold it in place while the sealant dries.
Install the New Pane Seal and Secure
- Reinsert the metal points that hold the window pane in place.
- Tool the sealant to create a 45° angle away from the window to shed water.
Seal and Secure Allow to Cure
- Let the sealant dry for 24 hours.
Allow to Cure Finalize and Clean
- Remove the tape and excess sealant.
- Snap the trim pieces back into place.
- Clean the window.
Finalize and Clean

Read more: 3M Thinsulate Window Film Installation: A Step-by-Step Guide
Tips
- Wear safety glasses and gloves when handling broken glass.
- If using glazing compound, a utility knife can help loosen it up.
- Use a heat gun to soften the sealant if it is hard.
- Use 100% clear silicone sealant for the best results.
- Make sure your new glass is cut slightly smaller than the opening to allow for expansion and contraction.