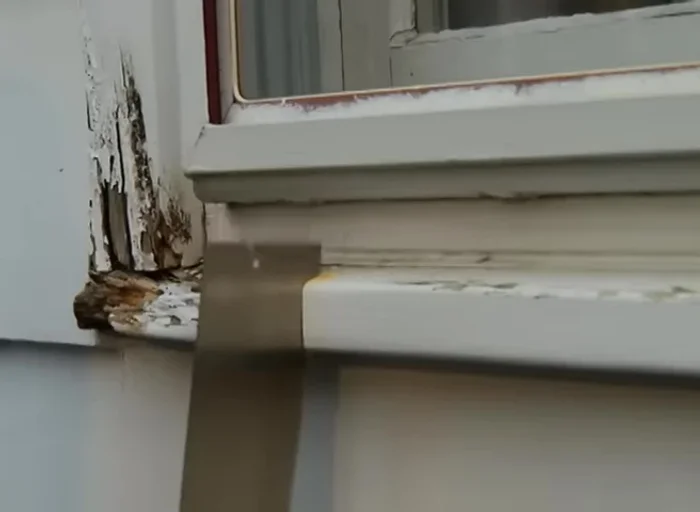
Cracked window sills and decaying trim can significantly detract from a home's curb appeal and even compromise its structural integrity. These seemingly small issues often come with surprisingly hefty repair bills, especially if you hire a professional. But what if you could tackle these repairs yourself and save a significant amount of money in the process? DIY window sill and trim repair is a surprisingly achievable project for many homeowners, offering a cost-effective alternative to expensive professional services. You'll be amazed at the transformation a little elbow grease and the right materials can achieve.
This article provides a comprehensive, step-by-step guide to tackling common window sill and trim problems. From identifying the damage and selecting the appropriate materials to mastering the repair techniques, we'll walk you through the entire process, empowering you to restore your windows to their former glory without breaking the bank. So, let's get started and transform your outdated window frames into beautiful, functional features.
Preparation and Safety Guidelines
- Chisel
- Pry bar
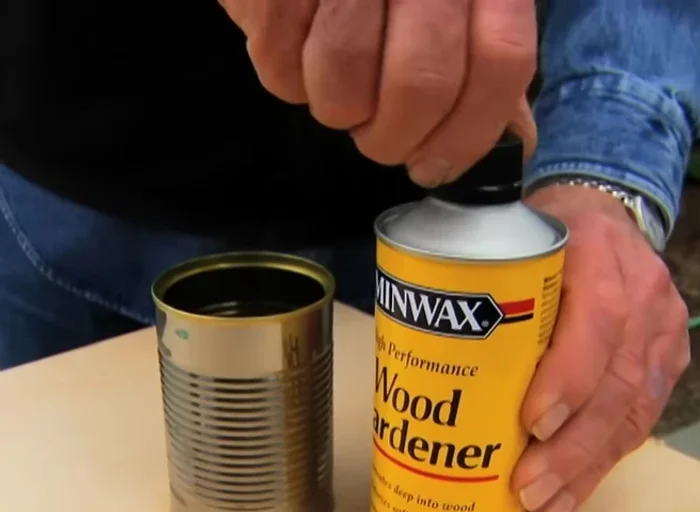
- Wood hardener
- High-performance wood filler (polyester resin)
- Cream hardener
- Putty knife
- Masking tape
- Cedar block
- Polyurethane adhesive
- Nails
- Small plane
- Sandpaper
- Caulk
- Spackle
- Paint
- Always wear safety glasses to protect your eyes from flying debris.
- Use caution when working with sharp tools like knives or chisels. Cut away from yourself and ensure a stable working position.
- If working at heights, use a sturdy ladder and ensure it's properly positioned before starting any work. Never overreach.
Step-by-Step Instructions
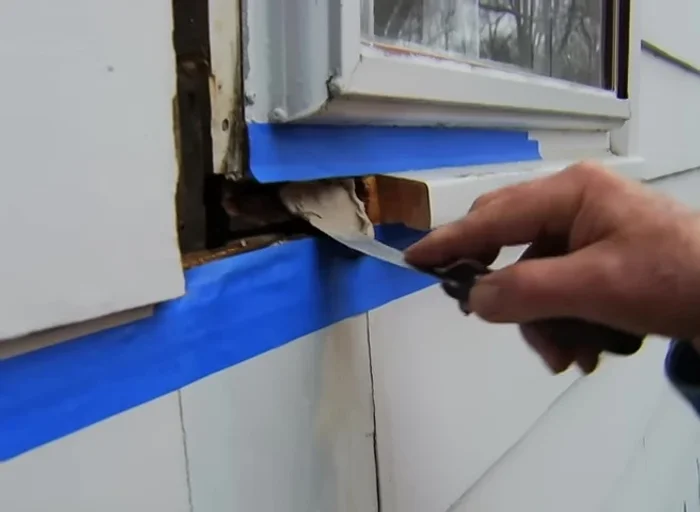
Preparation and Damage Removal
- Cut away damaged sill and decayed trim.
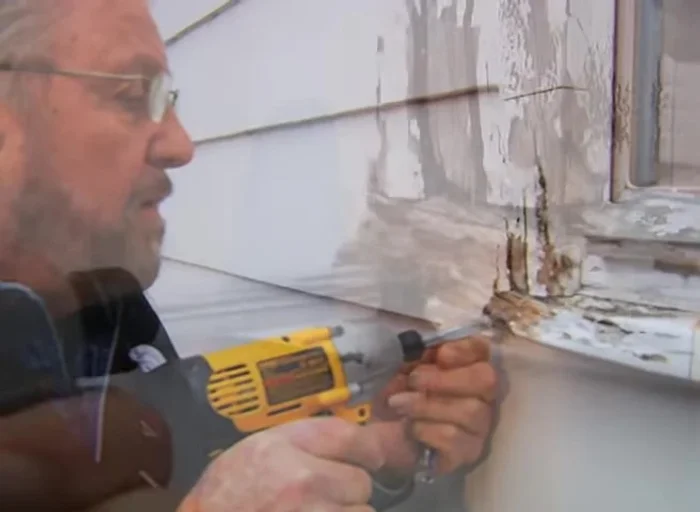
- Remove old screws and rusted nails.
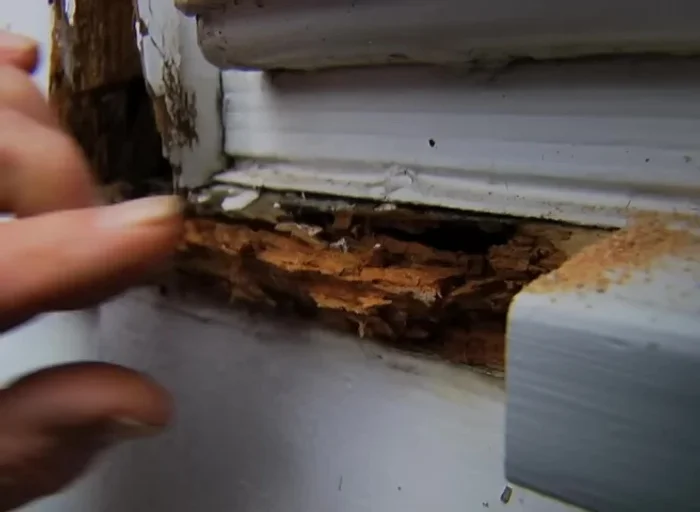
- Remove crumbling and rotted wood using chisel and pry bar if necessary.

Preparation and Damage Removal Wood Stabilization
- Apply wood hardener to remaining unsound wood.
Wood Stabilization Resin Application (First Coat)
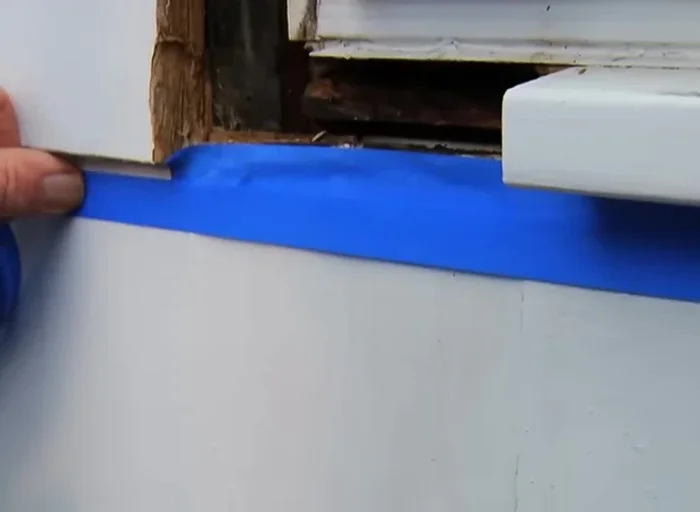
- Protect surrounding area with masking tape.
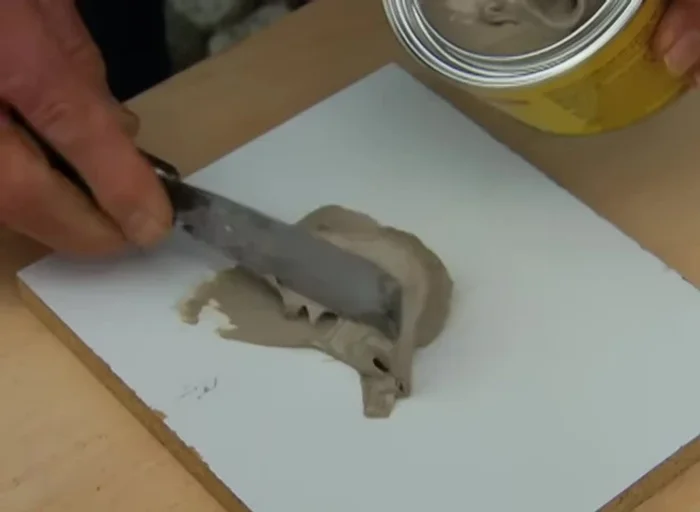
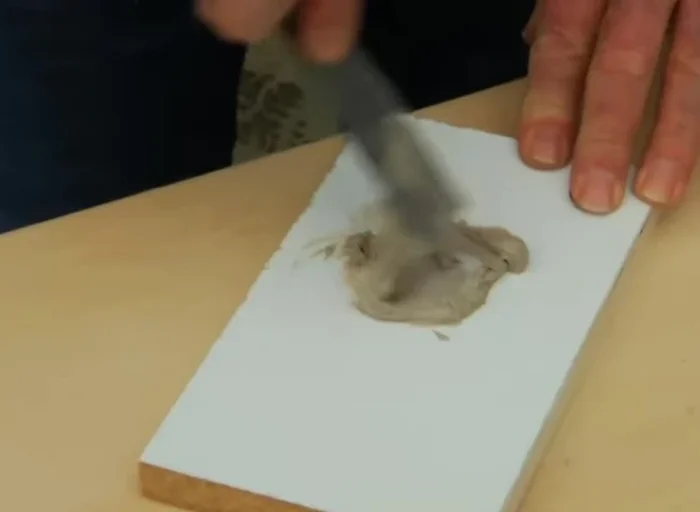
- Mix polyester resin and cream hardener thoroughly.
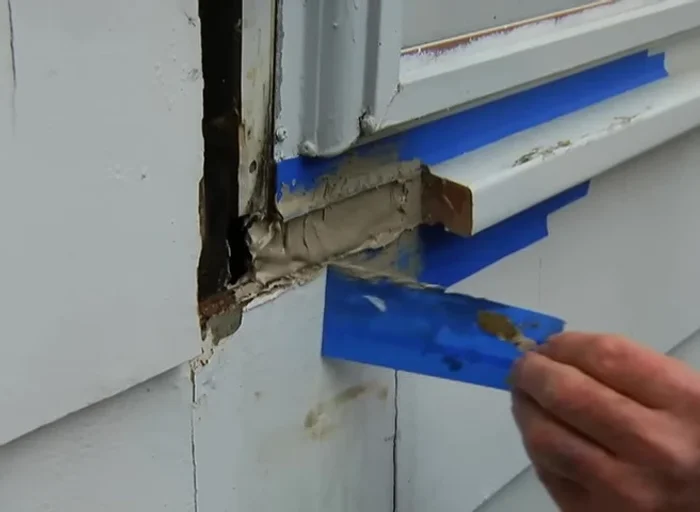
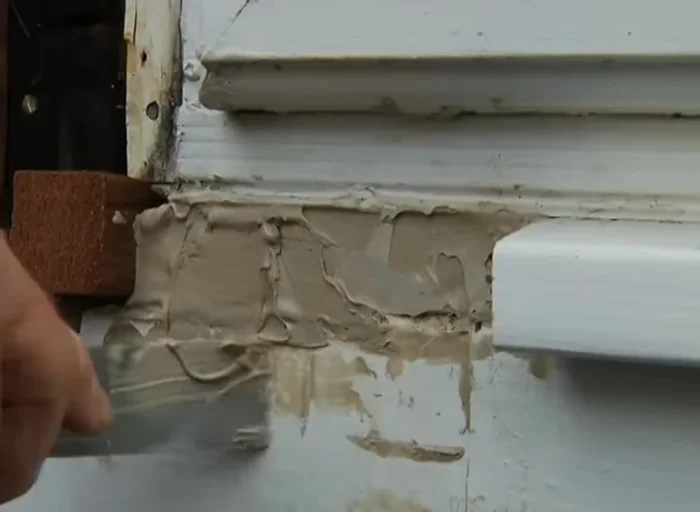
- Pack resin into the cavity and smooth with a putty knife.
- Remove masking tape once resin begins to set; remove high spots with chisel.
Resin Application (First Coat) Resin Application (Second Coat)
- Apply a second coat of resin, smooth, let set, and sand flat.
Resin Application (Second Coat) Sill Replacement
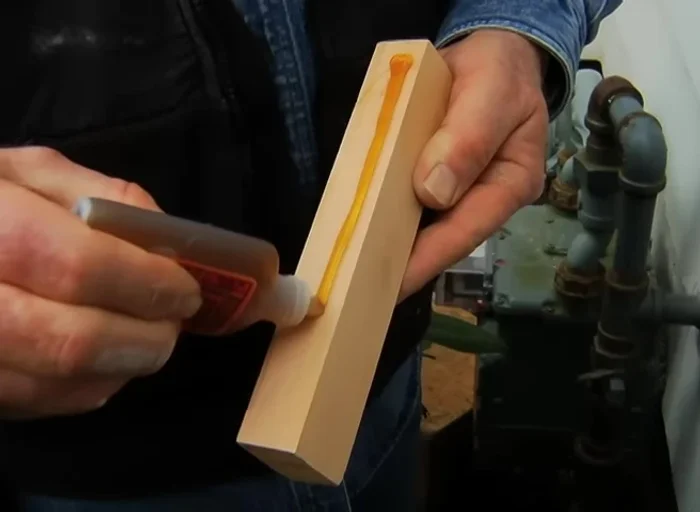
- Replace outer portion of the sill with a cedar block, secured with polyurethane adhesive and nails. Shape to match existing sill profile and sand.
Sill Replacement Trim Installation
- Install and secure the new trim block with nails.
- Fill gaps between new and existing wood with resin.
Trim Installation Finishing
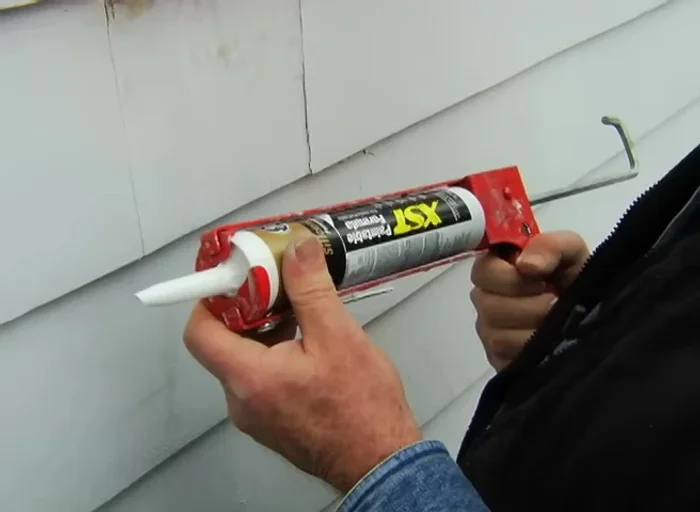
- Sand, caulk seams, fill nail holes with spackle, and paint.
Finishing

Read more: 3M Thinsulate Window Film Installation: A Step-by-Step Guide
Tips
- Thoroughly mix the resin and hardener for optimal results.