Installing a door stopper can significantly improve home safety and prevent accidental damage to your walls and doors. However, the process often involves removing hinge pins, a task that can seem daunting to the uninitiated. Frustration arises from jammed pins or the fear of damaging the door or hinges themselves. This common home improvement project can be surprisingly simple with the right technique, saving you time and preventing unnecessary stress. Forget wrestling with stubborn pins and risking costly repairs.
This article provides a clear, step-by-step guide to easily remove hinge pins, specifically tailored for the straightforward installation of a door stopper. We'll walk you through the process using readily available tools and simple methods, ensuring a smooth and efficient experience. Ready to tackle this minor home improvement project with confidence? Let's get started!
Preparation and Safety Guidelines
- Nail
- Hammer
- Screwdriver
- Door Stopper
- Always wear safety glasses to protect your eyes from flying debris.
- Use the correct size pin punch or other removal tool to avoid damaging the hinge or door.
- If you are unsure about any step, consult a professional handyman or carpenter.
Step-by-Step Instructions
Locate Hinge Pin
- Locate the hinge pin on the door.
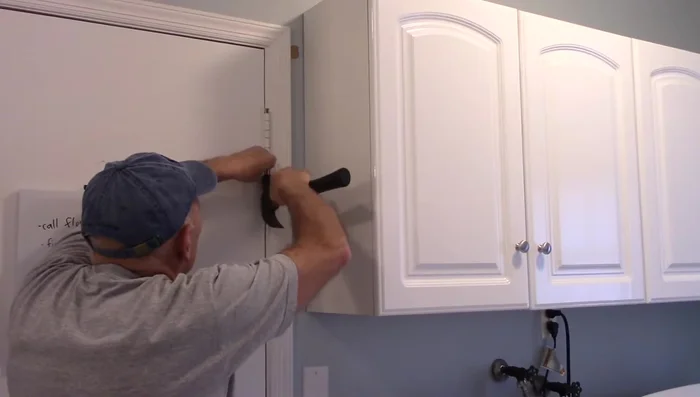
Remove Hinge Pin (Difficult Access)
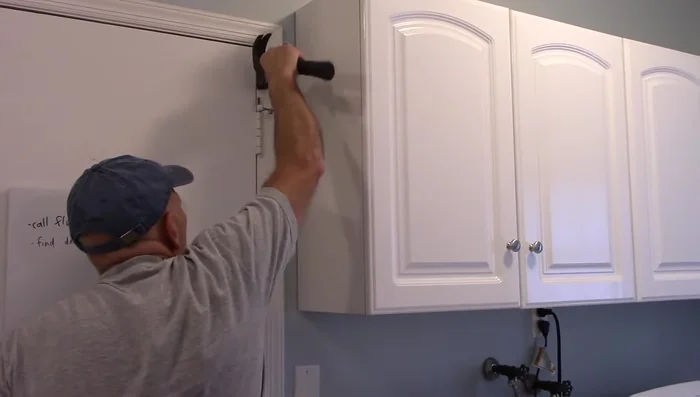
- If you can't access the hinge pin with a screwdriver, use a nail and hammer to tap the pin upwards from the bottom.
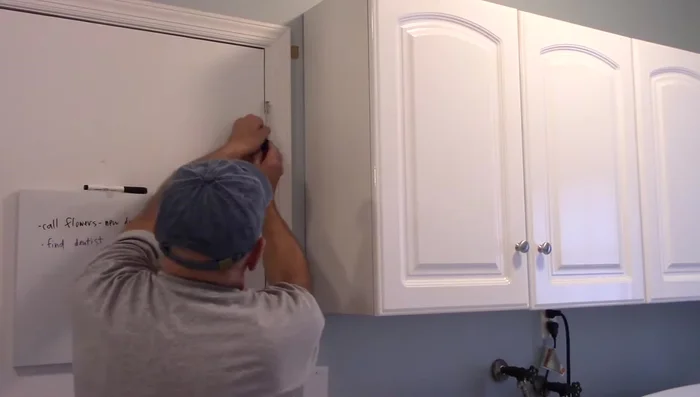
- Tap the nail gently using the hammer to slightly lift the pin.
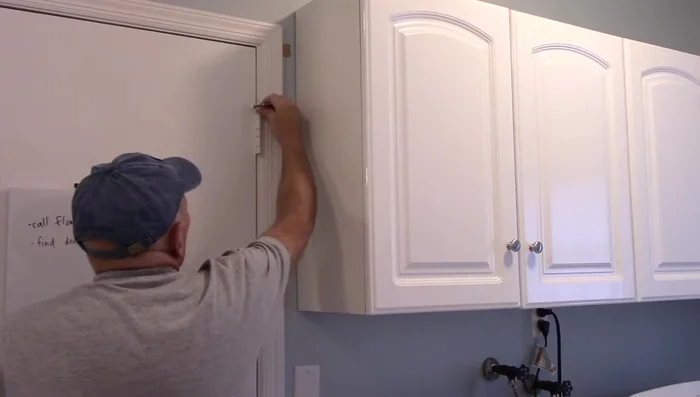
- Once the pin is slightly loosened, use a screwdriver to push it up and remove it completely.

Remove Hinge Pin (Difficult Access) Install Door Stopper
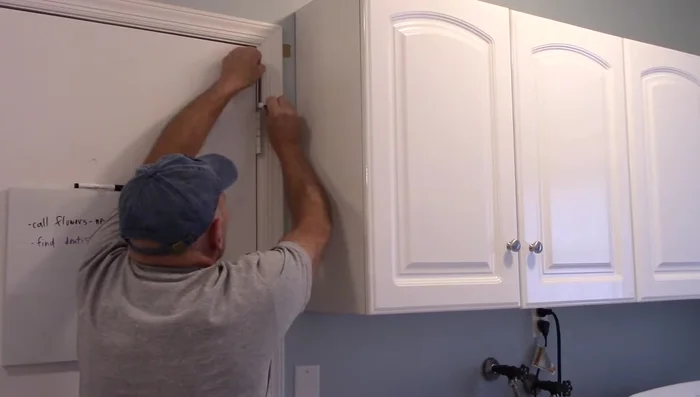
- Position the door stopper on the top of the hinge.
- Insert the hinge pin back through the hinge and door stopper.
- Use the hammer to tap the pin back down until secure.
Install Door Stopper Adjust Door Stopper
- Adjust the door stopper as needed.
Read more: 3M Thinsulate Window Film Installation: A Step-by-Step Guide
Tips
- If you don't have a nail, a center punch can also be used.