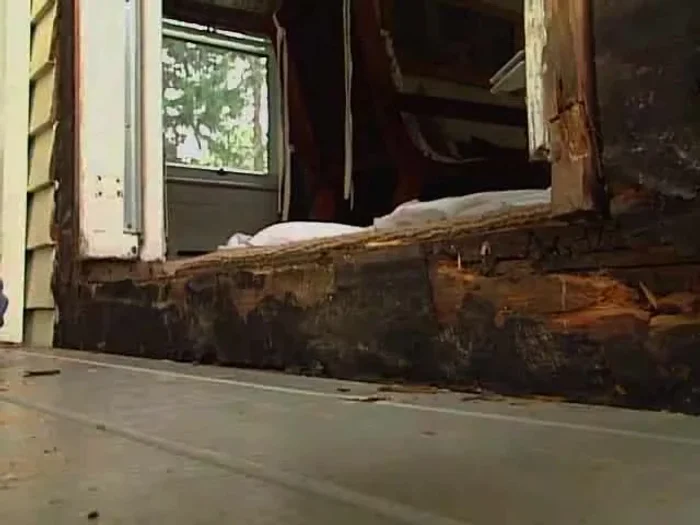
A rotten door threshold is more than just an eyesore; it compromises the structural integrity of your doorway, inviting drafts, insects, and even water damage. This unsightly problem, often caused by moisture and neglect, can significantly detract from your home's curb appeal and potentially lead to more extensive and costly repairs down the line. Ignoring a decaying threshold simply allows the problem to fester, making replacement a more difficult and expensive undertaking. Fortunately, replacing a rotten threshold is a manageable DIY project for many homeowners with basic carpentry skills.
This guide provides a clear and concise, step-by-step process to replace your damaged threshold with a new, durable one. From carefully removing the old, rotten wood to securing the new threshold correctly, we'll walk you through each stage, ensuring you have the confidence and knowledge to complete this home improvement task successfully. Let's get started!
Preparation and Safety Guidelines
- Circular saw
- Pry bar
- Hammer
- Chisel
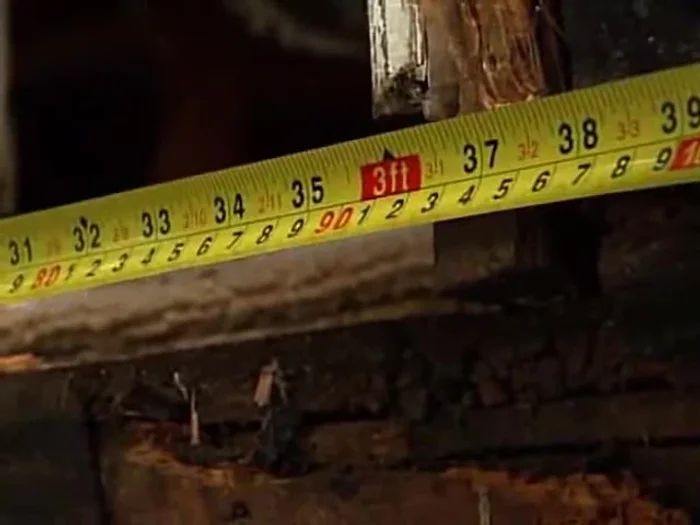
- Measuring tape
- Pencil
- Square
- Drill
- 3/8" drill bit
- Finishing nails (8d and 16d)
- Nail set
- Wood filler
- Caulk
- Rubber mallet
- UV-resistant exterior polyurethane paint
- Primer
- Finish paint
- Always disconnect the power to any electrical wiring near the threshold before starting work to prevent electric shock.
- Wear appropriate safety gear, including safety glasses and work gloves, to protect yourself from injury.
- If you encounter any unexpected issues, such as hidden plumbing or wiring, stop work immediately and consult a qualified professional.
Step-by-Step Instructions
Preparation and Demolition
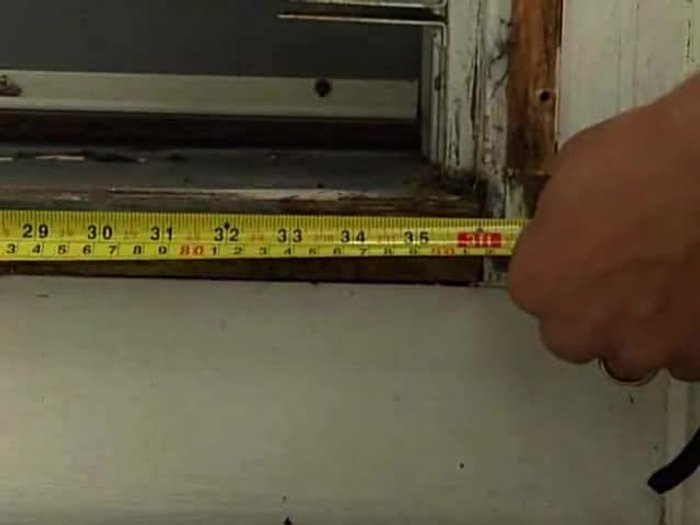
- Measure the old threshold and purchase a replacement from a lumber yard.
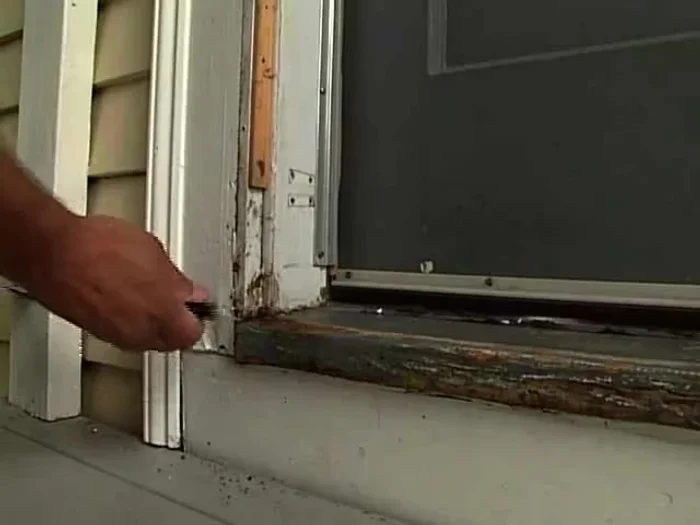
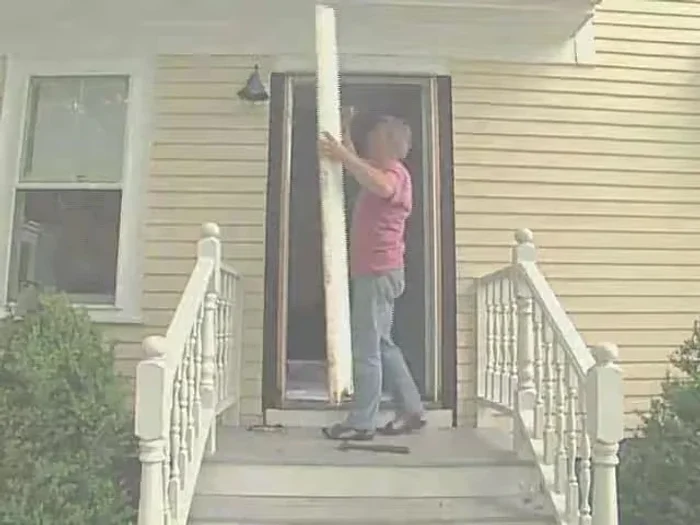
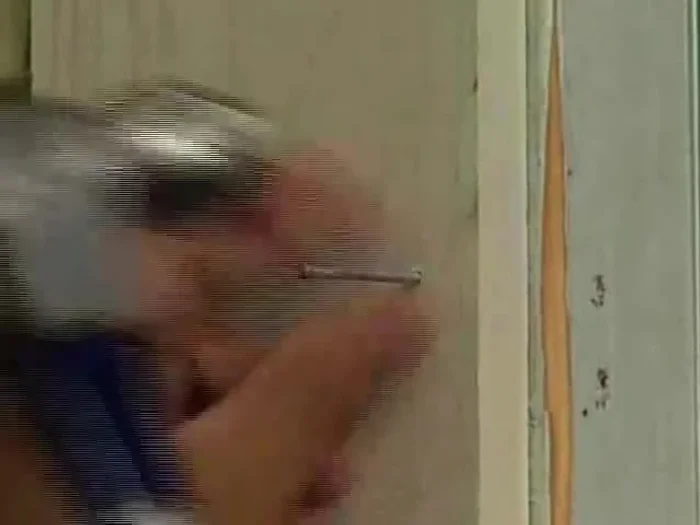
- Remove the casings surrounding the door. Gently pry them away, removing finishing nails as you go.
- Cut away the old threshold using a circular saw, cutting it into three pieces. Set the saw blade depth just under the threshold thickness.
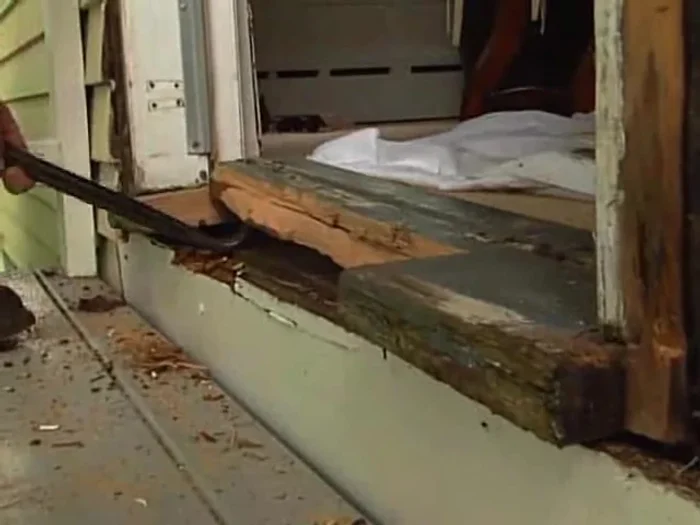
- Remove the old threshold pieces using a pry bar. You may need to split the center section.

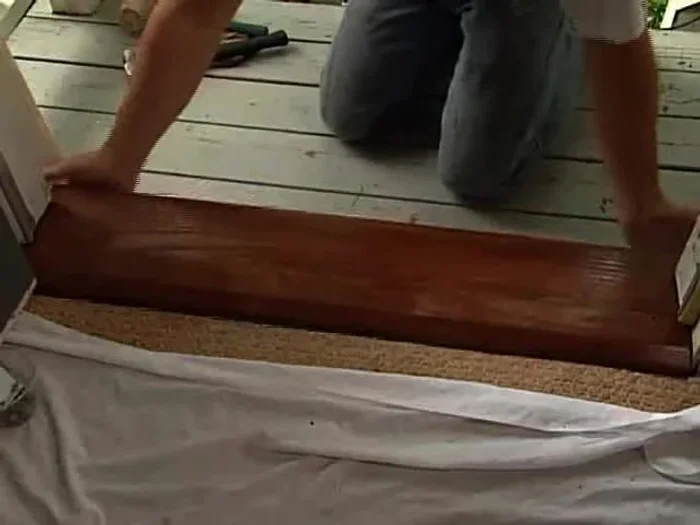
Preparation and Demolition New Threshold Preparation
- Measure the width of the threshold space and transfer this to the new threshold. Cut the new threshold to fit, leaving 1/8 to 1/4 inch clearance.
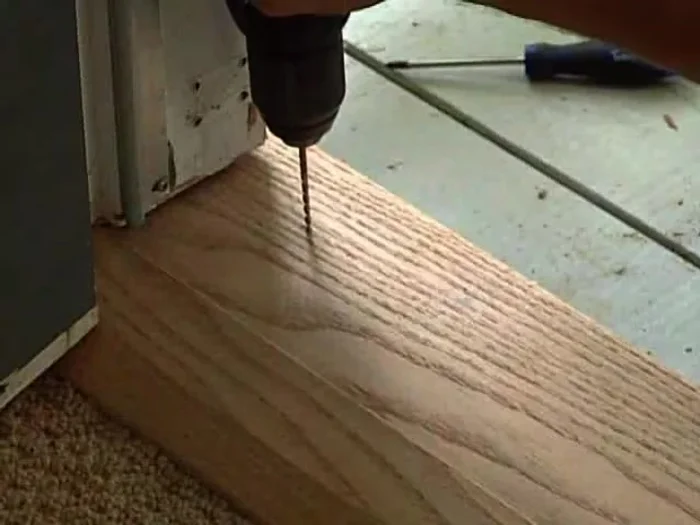
- Drill pilot holes into the new threshold to prevent cracking when nailing.
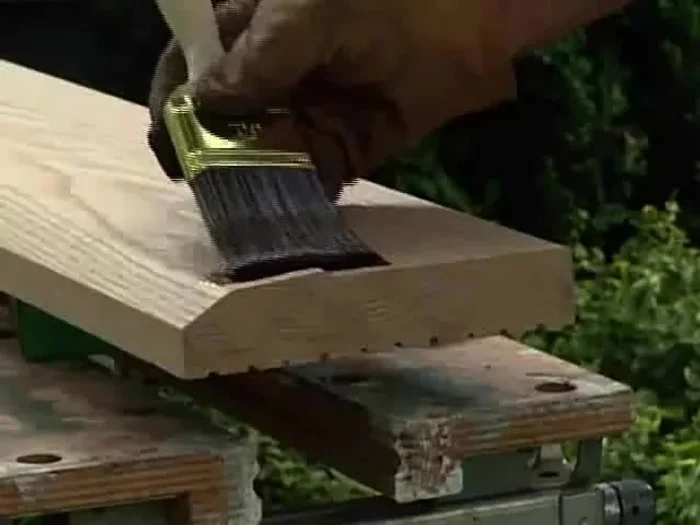
- Paint all six sides of the new threshold with UV-resistant polyurethane and let it dry.
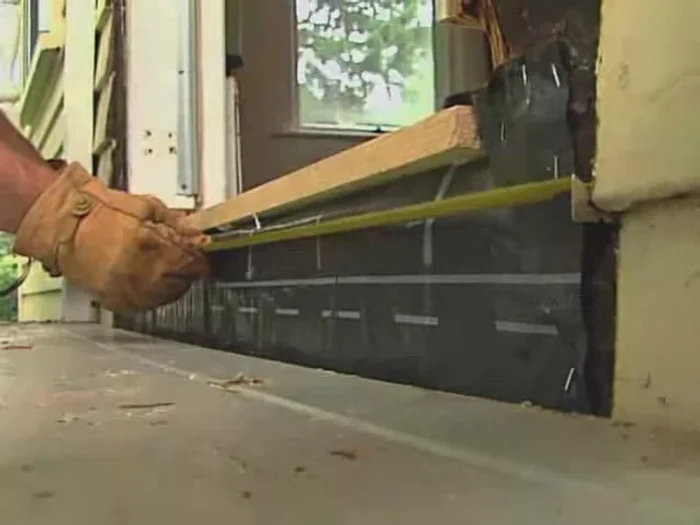
New Threshold Preparation Vapor Barrier and Riser Replacement (If Necessary)
- If necessary, replace any damaged vapor barrier behind the riser.
- Install the new riser (if needed) using 8d galvanized nails.
Vapor Barrier and Riser Replacement (If Necessary) Threshold Installation
- Slide the new threshold into place and drive it in tight with a rubber mallet. Secure it with 16d galvanized nails.
- Set the nails below the surface and fill the holes with wood filler.
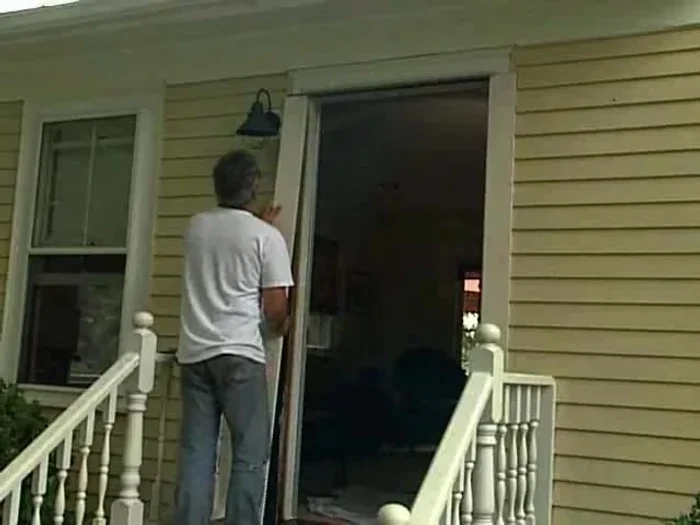
Threshold Installation Casing Replacement and Finishing
- Cut new casings to fit, prime and paint them.
- Nail the casings in place using 8d finishing nails, set them below the surface, and fill the holes with wood filler.
- Caulk the cracks between the casings and the house to prevent water damage.
- Replace any molding removed earlier and apply a final coat of paint.
Casing Replacement and Finishing


Read more: 3M Thinsulate Window Film Installation: A Step-by-Step Guide
Tips
- It's often necessary to remove the casings to replace the threshold due to tight fit.
- Purchase new wood for the casings as the bottoms are often rotten or damaged during removal.
- Use pilot holes to prevent the threshold from cracking when nailing.
- Use a UV-resistant exterior polyurethane paint for the threshold for protection against the elements.