Upgrading your bathroom can feel like a daunting task, especially when considering the cost and complexity of professional installations. However, transforming your shower space with a sleek, modern sliding glass door doesn't have to break the bank or require expert help. A DIY approach, armed with the right tools and a clear plan, can lead to significant savings and a sense of accomplishment. This is particularly true when tackling the installation of a dreamline sliding glass shower door, known for its stylish design and relatively straightforward installation process.
This comprehensive guide provides a detailed, step-by-step approach to installing your Dreamline shower door, empowering you to tackle this project with confidence. We'll cover everything from meticulous pre-installation measurements and preparations to the final adjustments, ensuring a watertight and aesthetically pleasing finish. Let's dive into the step-by-step process and turn your bathroom renovation dreams into a sparkling reality.
Preparation and Safety Guidelines
- Dreamline sliding glass shower door
- Measuring tape
- Painter's tape
- Pencil/Toothpick
- Tub and tile caulk
- Caulk gun
- Drill with diamond tip bit
- Sheetrock anchors
- Level
- One-inch board
- Always disconnect the power to the electrical circuits near the shower area before starting any work. Water and electricity are a deadly combination.
- Use appropriate safety glasses and gloves throughout the entire installation process to protect yourself from sharp edges and potential debris.
- Ensure the shower base is perfectly level before beginning installation to prevent future leaks and structural issues. Use a level to check multiple times.
Step-by-Step Instructions
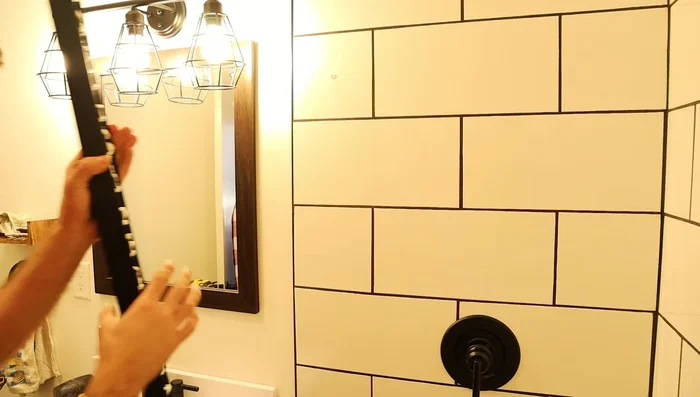
Measure and Prepare
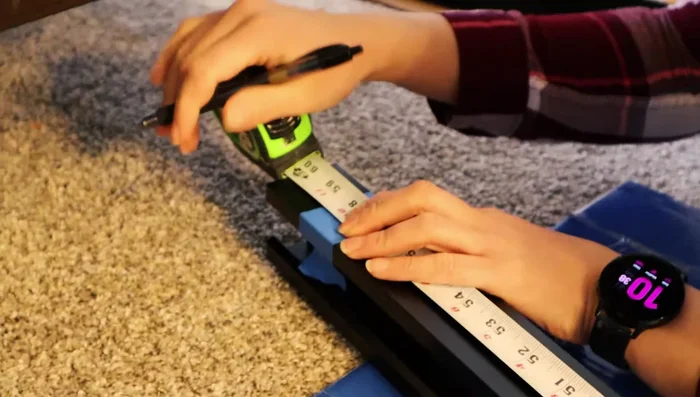
- Measure shower width at top and bottom, noting measurements for door purchase and cutting instructions.
- Cut the bottom shower rail equally from both ends to center the sliding door divider.
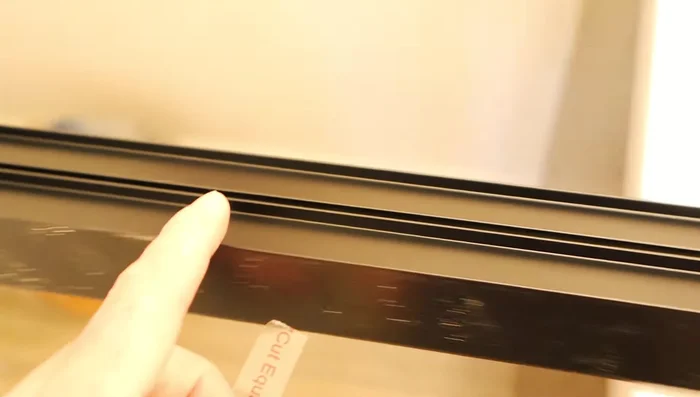
- Cut the top rail on one side only, according to the measurements and instructions.

Measure and Prepare Install Bottom Rail
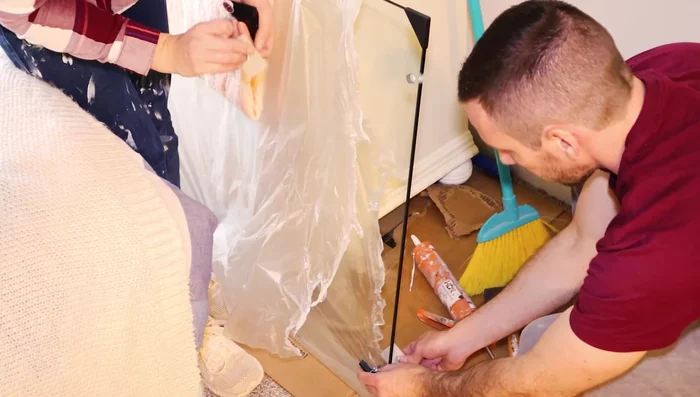
- Apply tub and tile caulk to adhere shower rails to the pan and tile.
- Install the bottom rail bracket, ensuring the glass doors are separated and on their tracks.
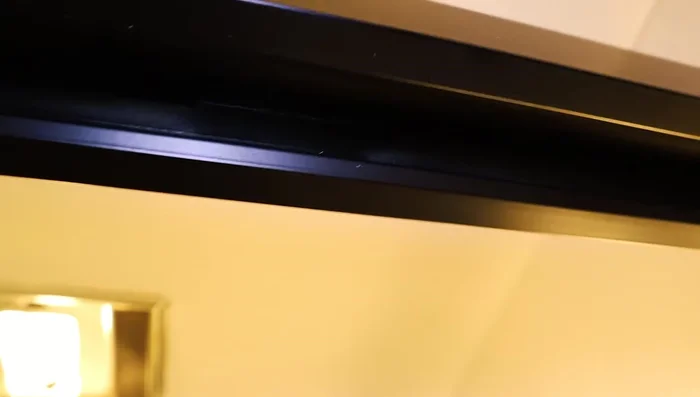
Install Bottom Rail Install Sidewall Rails
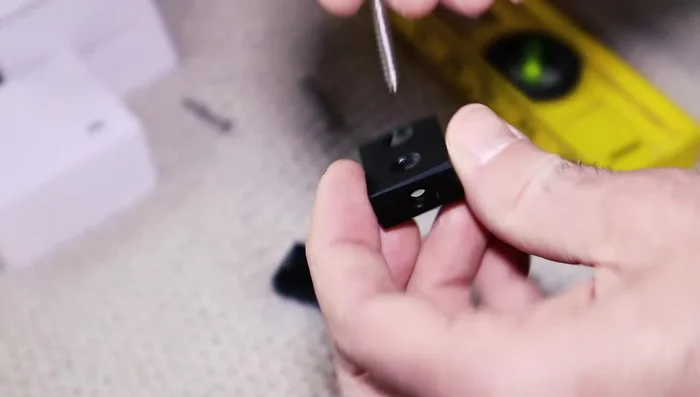
- Install sidewall brackets, noting screw direction and beveling for flush fit with tile.
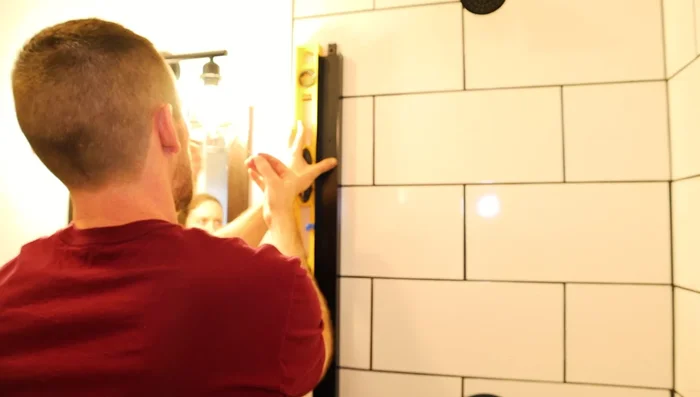
- Level the wall rails, mark drill holes, and drill into the tile using a diamond tip bit.
- Apply caulk to secure the rails, noting the weight of the glass doors.
- Attach the rails using pan-head screws and sheetrock anchors where necessary.
Install Sidewall Rails Install Door Hardware
- Mount the door hardware, ensuring the clear max sticker faces inward.
Install Door Hardware Install Glass Doors
- Remove bolts from brackets (despite instructions), remove cover plates to install the glass doors.
- Prop up one side of the rail to lift the doors onto the rails.
- Install both doors simultaneously to avoid installation issues.
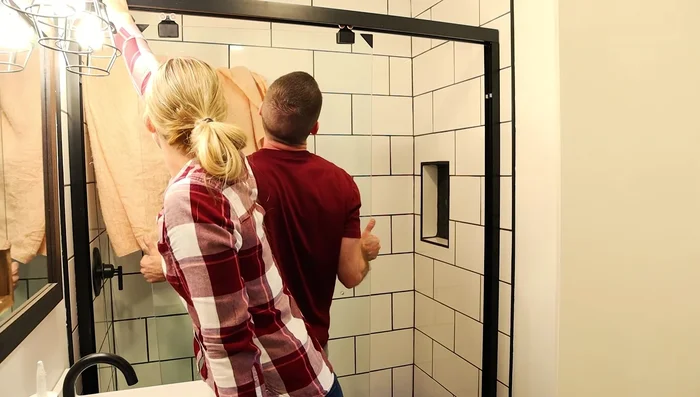
Install Glass Doors Finalize and Seal
- Caulk around the shower (inside and outside) for waterproofing.
Finalize and Seal


Read more: DIY Mason Jar Soap Dispensers: A Step-by-Step Guide with Two Stunning Designs
Tips
- Use painter's tape for easy marking of cut lines.
- Use a toothpick as a makeshift paintbrush for marking tile.
- Install both glass doors simultaneously for easier installation.