Cracked or damaged drywall around windows is a common eyesore, often resulting from settling, impact, or simply the wear and tear of daily life. These imperfections not only detract from the aesthetic appeal of your room but can also compromise the integrity of your walls, leading to further damage down the line. Fortunately, repairing these blemishes doesn't require professional help or a hefty price tag. With a little patience and the right tools, you can achieve a seamless, professional-looking finish. This is particularly satisfying when you consider the potential cost savings.
This guide provides a comprehensive, step-by-step approach to tackling DIY drywall repair around windows, covering everything from identifying the damage and gathering the necessary materials to the final stages of sanding and painting. Let's dive into the detailed process and transform those unsightly cracks into a flawless, renewed surface.
Preparation and Safety Guidelines
- Insulating Foam (Great Stuff)
- Utility Knife
- Drywall Scraper
- Drywall
- Drywall Saw
- Joint Compound
- Paper Corner Bead
- Tin Snips
- Drywall Knife
- 80-120 Grit Sandpaper
- Putty Knife
- Wet Rag
- Caulk (DAP Extreme Stretch)
- Paint Mixer Extension Bit
- Drill
- Hilti Spray Gun
- Air Compressor
- Masking Tape
- Always wear safety glasses and a dust mask to protect your eyes and lungs from drywall dust and debris.
- Use caution when working with sharp tools like utility knives and putties knives. Cut away from your body and ensure a firm grip.
- Turn off power to any electrical outlets or wiring near the repair area before starting work to prevent electric shock.
Step-by-Step Instructions
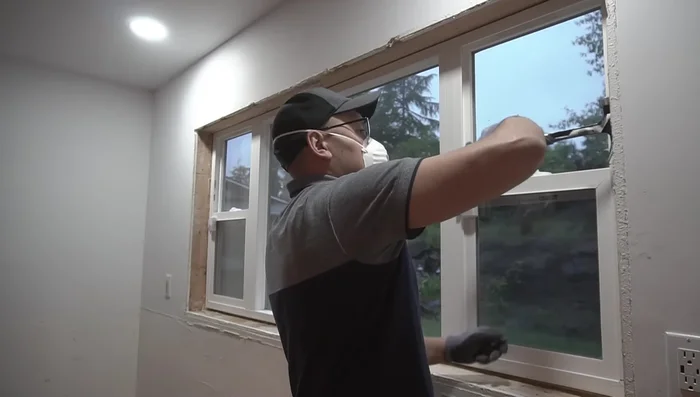
Preparation
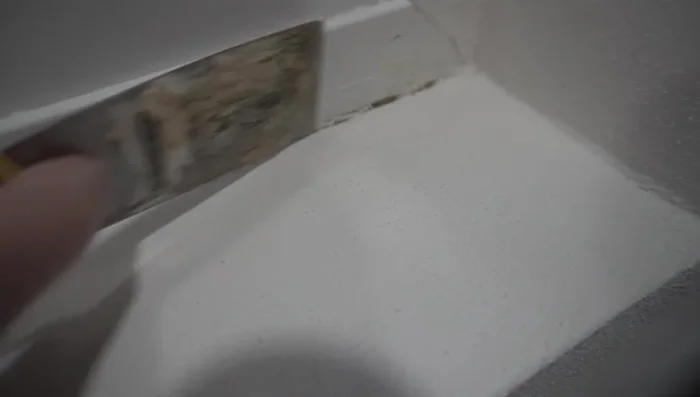
- Clean and prepare the area around the window. Remove old trim, nails, and damaged drywall. Address any rot or mold.

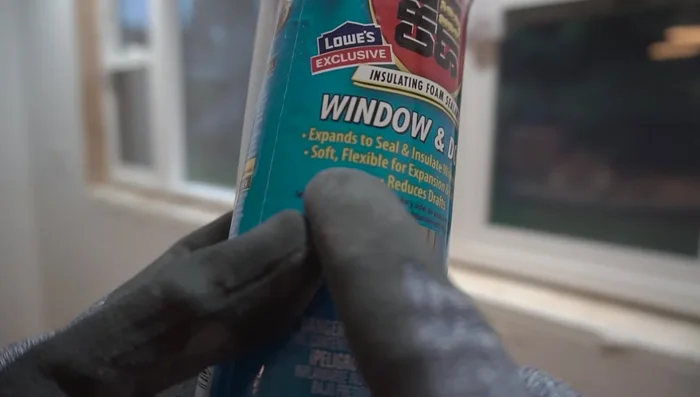
Preparation Insulate and Seal
- Apply insulating foam to fill gaps around the window frame. Allow several hours to cure.
- Trim excess cured foam with a utility knife.
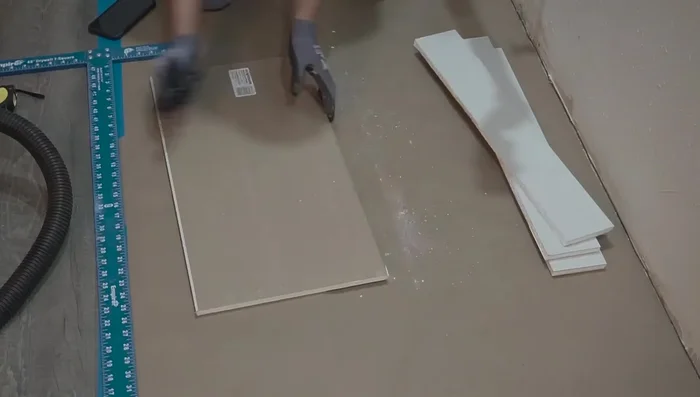
Insulate and Seal Drywall Installation
- Cut and install pieces of drywall around the window, ensuring they sit slightly behind the main wall to avoid a bulky finish.
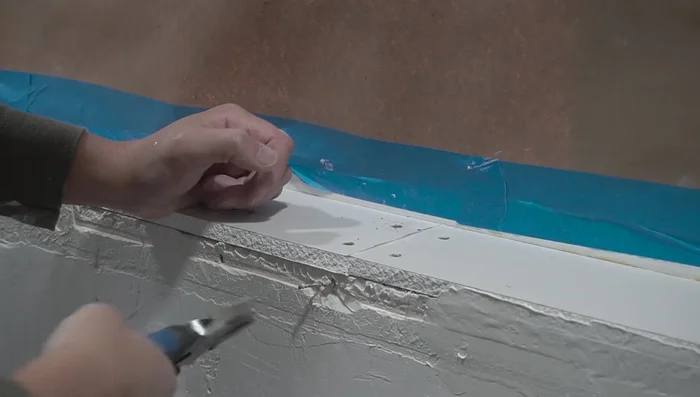
Drywall Installation Cleanup and Preparation for Finishing
- Clean up excess drywall compound, caulk, etc. from previous installations.
Cleanup and Preparation for Finishing Corner Bead Installation
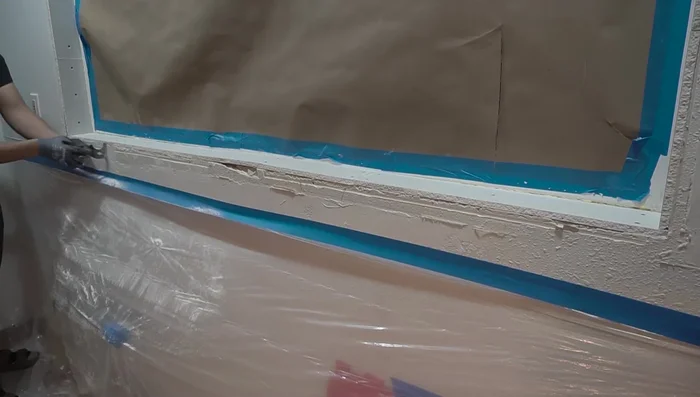
- Apply joint compound to the back of the corner bead and install it, ensuring a tight fit and removing excess compound with a drywall knife.
Corner Bead Installation Joint Compound Application
- Apply and smooth the first coat of joint compound. Let it dry, sand it, and then apply a second coat.
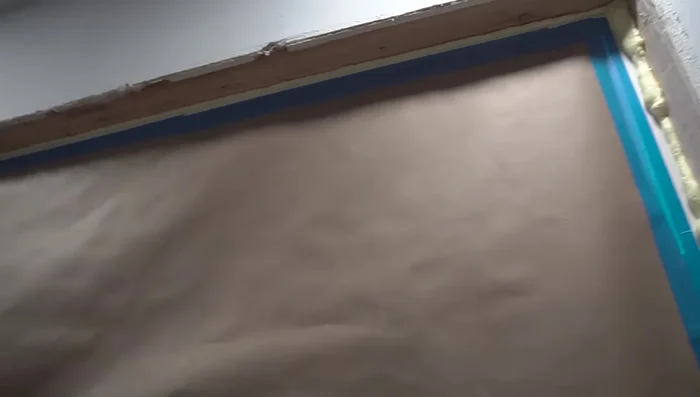
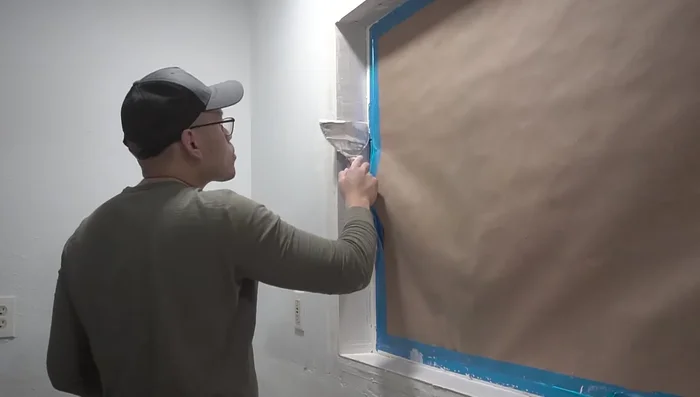
Joint Compound Application Texturing
- Mix joint compound to a yogurt-like consistency and apply texture using a spray gun. Apply thin coats for a fine texture.
- Remove masking tape while the texture is still wet to prevent damage.
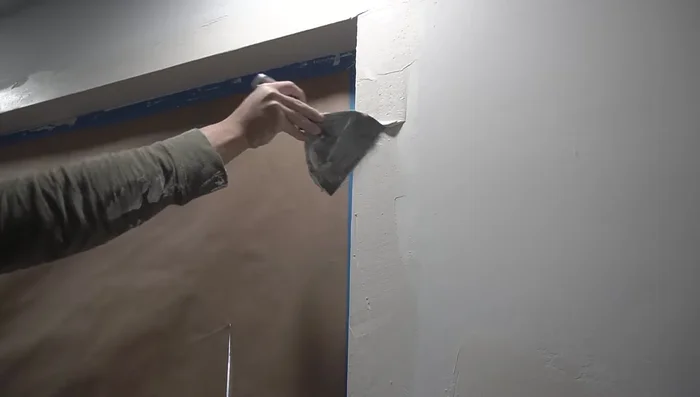
Texturing Final Cleanup and Caulking
- Clean up excess texture with a putty knife and wet rag. Caulk edges for a smooth finish.
Final Cleanup and Caulking

Read more: 3M Thinsulate Window Film Installation: A Step-by-Step Guide
Tips
- Use low-expansion foam for window and door applications.
- Don't overfill with foam; it expands significantly (up to one inch).
- Ensure drywall pieces sit slightly recessed to prevent bumps.
- Use a wet rag to smooth caulk for a clean finish.
- Remove masking tape immediately after spraying to prevent peeling.