Clean, refreshing water is essential for a healthy lifestyle, and the DW600 water filter offers a convenient and effective way to improve your home's water quality. This handy filter is designed for ease of use, promising superior filtration without the complexities often associated with similar products. Investing in a DW600 means you can enjoy cleaner, better-tasting water, reducing your reliance on bottled water and contributing to a more sustainable lifestyle. Saying goodbye to unpleasant tastes, odors, and potential contaminants is now simpler than ever.
This guide provides a comprehensive, step-by-step tutorial to installing your DW600 water filter, ensuring a smooth and hassle-free experience. Whether you're a seasoned DIY enthusiast or a complete beginner, we'll walk you through each stage of the process, complete with helpful illustrations and clear instructions. Let's get started with our easy-to-follow installation guide!
Preparation and Safety Guidelines
- DW600 water filter system
- screwdriver
- basin wrench (optional)
- tubing cutter
- wrench (optional)
- pencil
- drill
- Always turn off the water supply to the unit before starting any installation or maintenance.
- Use only the provided parts and follow the instructions carefully to prevent leaks or damage.
- If you are unsure about any step, consult a qualified plumber.
Step-by-Step Instructions
Pre-Installation Check and Faucet Preparation
- Check for space under your counter to ensure the filter fits.
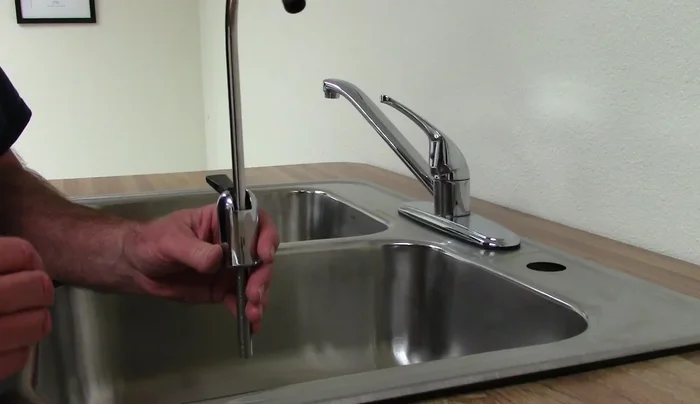
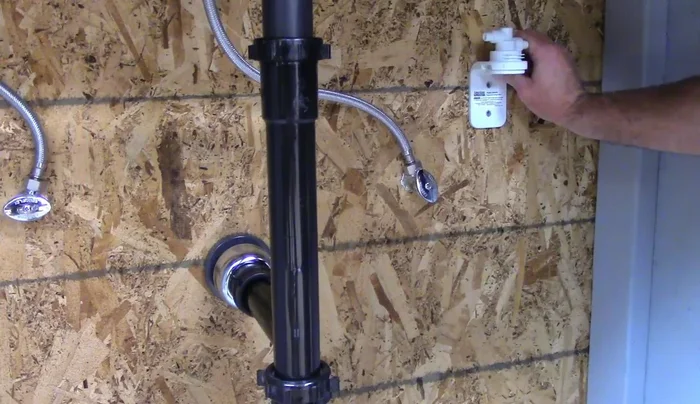
- Install the filter faucet from the top. This is easier before mounting the filter bracket.
- The small washer goes on first, then manipulate it beyond the threads. The larger washer goes on after the decorative excussion.
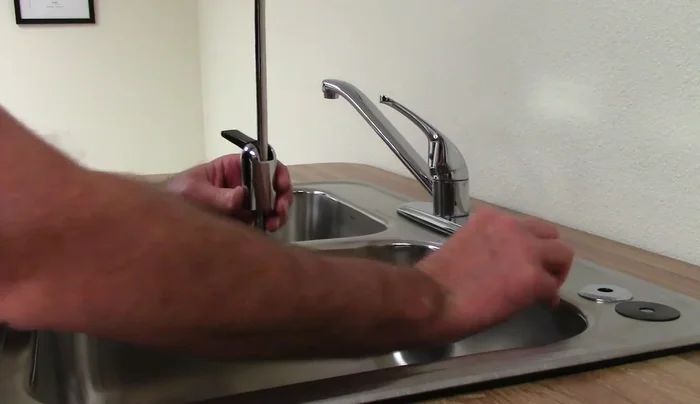
- Install the faucet from the top, then tighten it from underneath the sink using a basin wrench if needed.

Pre-Installation Check and Faucet Preparation - Install the bevel washer, lock washer, and nut onto the faucet shank from underneath the sink. Tighten securely using a basin wrench for better leverage.
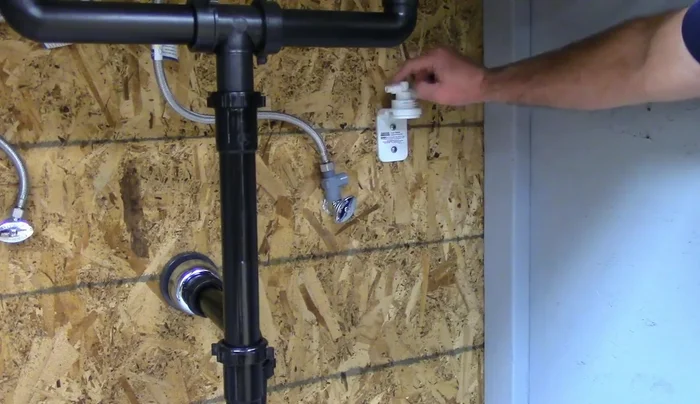
Pre-Installation Check and Faucet Preparation Bracket Installation
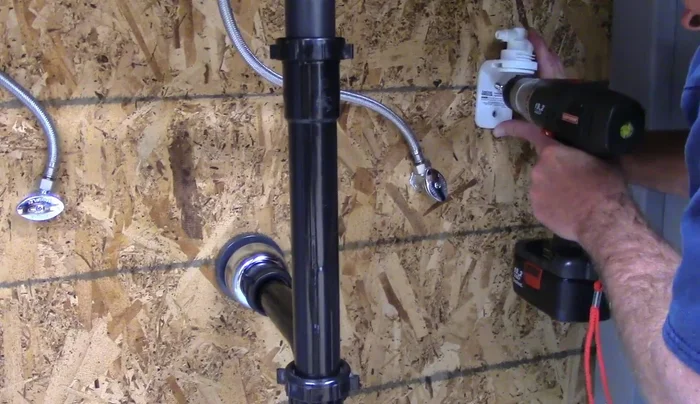
- Mark and pre-drill holes for the bracket before mounting it to the cabinet.
- Mount the bracket using screws, tightening them fully after both are in place.
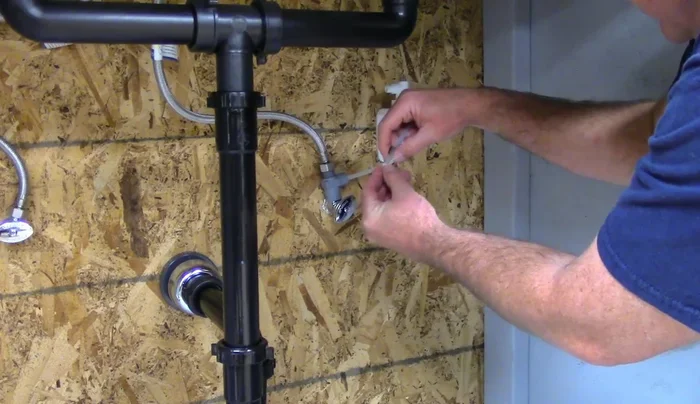
Bracket Installation Water Supply Connection
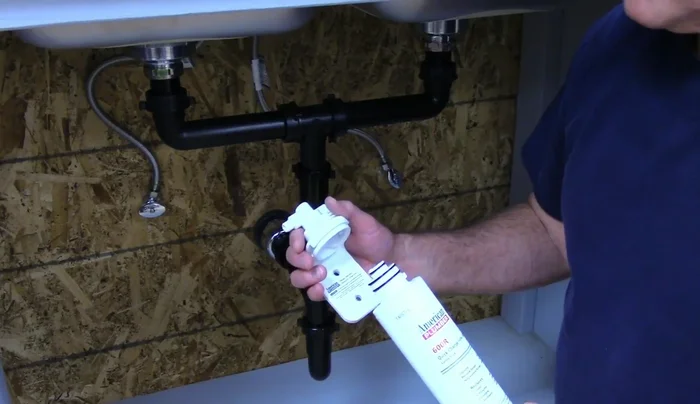
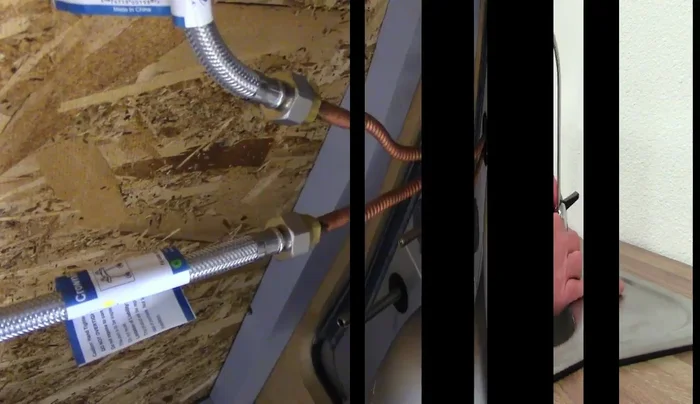
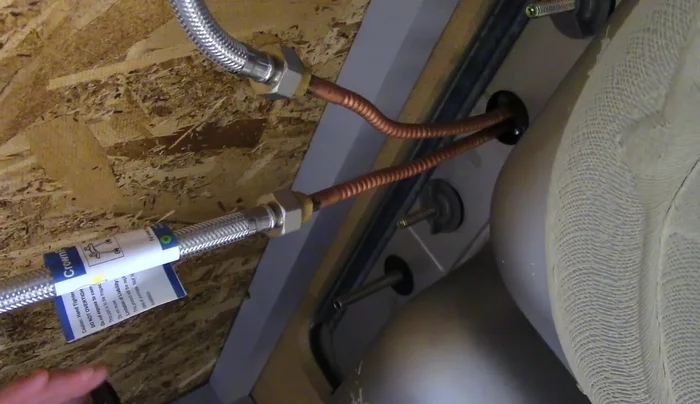
- Turn off the water supply. Connect the U-angle supply adapter to the cold water supply line. You might need a wrench.
- Attach the supply line back onto the adapter after tightening the adapter.
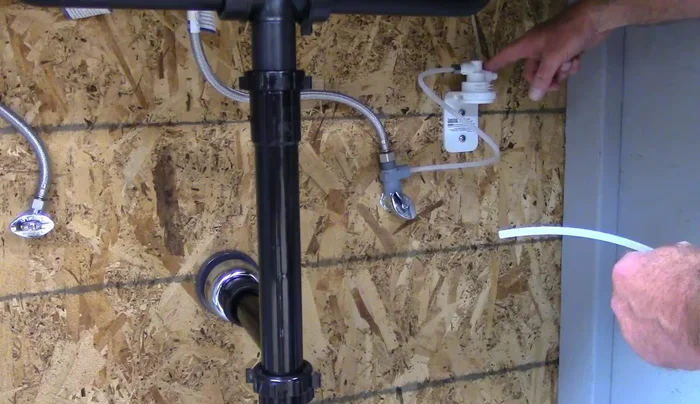
- Connect tubing from the supply adapter to the filter inlet using a push-fit connection.
- Connect the other end to the filter using a compression nut, sleeve, and insert to prevent tubing collapse.
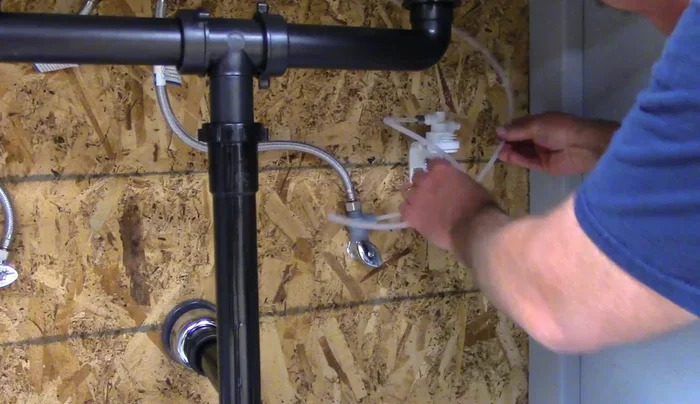
Water Supply Connection Filter and Faucet Connection
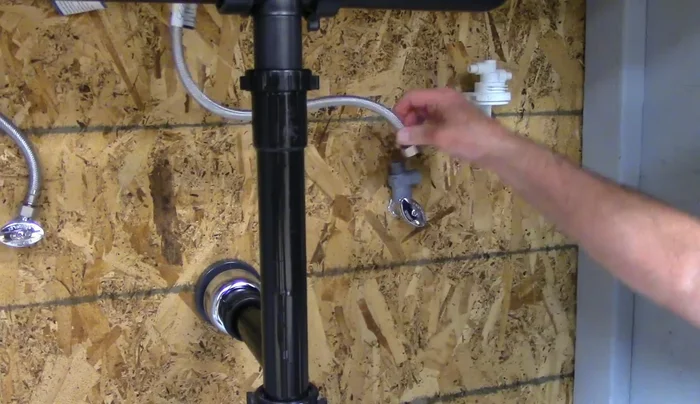
- Connect the filter faucet to the filter outlet using a compression nut, sleeve, and insert, tightening securely.
- Cut and connect tubing to the filter outlet using a compression nut, sleeve, and insert.
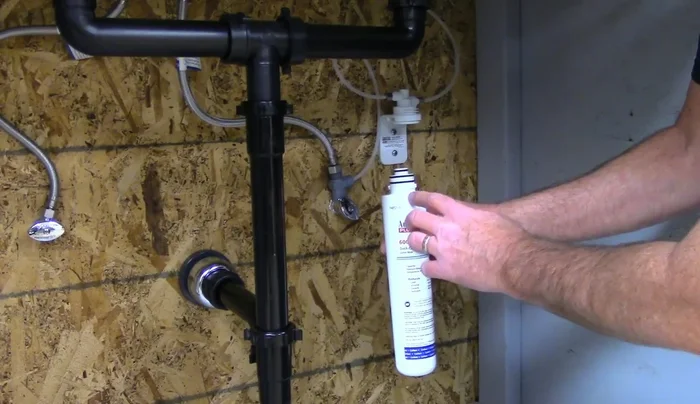
- Align the filter with the bracket arrow and twist to lock it into place.
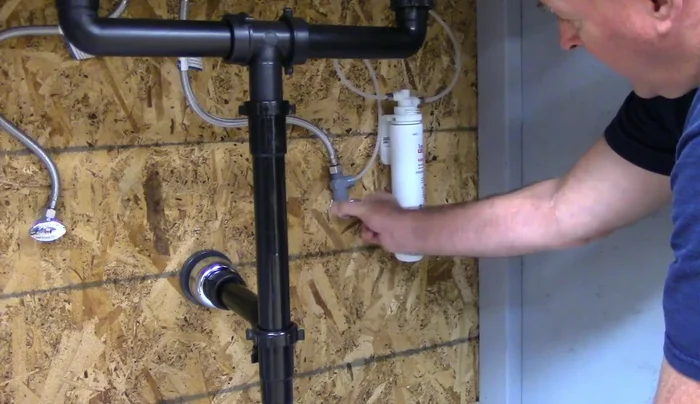
Filter and Faucet Connection Final Check and Water Activation
- Slowly turn on the water, checking for leaks. Tighten connections further if necessary.
Final Check and Water Activation

Read more: Fixing a Leaky Toilet Tank: A Step-by-Step Guide
Tips
- Use a basin wrench for easier tightening in hard-to-reach areas.
- Don't overtighten the connections; a quarter-turn after hand-tightening is usually sufficient.