Fiberglass doors, while durable, are susceptible to damage from everyday wear and tear. Scratches, dents, and fading paint are common issues that can significantly detract from your home's curb appeal. Fortunately, repairing and repainting a fiberglass door is a manageable DIY project, even for those without extensive experience in home improvement. Instead of costly professional repairs or replacements, you can revitalize your entrance with a little elbow grease and the right materials. This approach not only saves money but also allows you to customize the look to perfectly complement your home's style.
This guide will walk you through a comprehensive, step-by-step process for repairing and painting your fiberglass door, transforming a damaged entrance into a beautiful and functional feature. From identifying and addressing damage to achieving a professional-looking finish, we’ll cover every stage of the project, equipping you with the knowledge and confidence to tackle this rewarding undertaking. Let's get started!
Preparation and Safety Guidelines
- 320 grit sandpaper
- Acetone
- Bondo Fiberglass Repair Kit
- Plastic putty knife
- Oscillating sander with 220 grit sandpaper
- Painter's tape
- Sharp knife
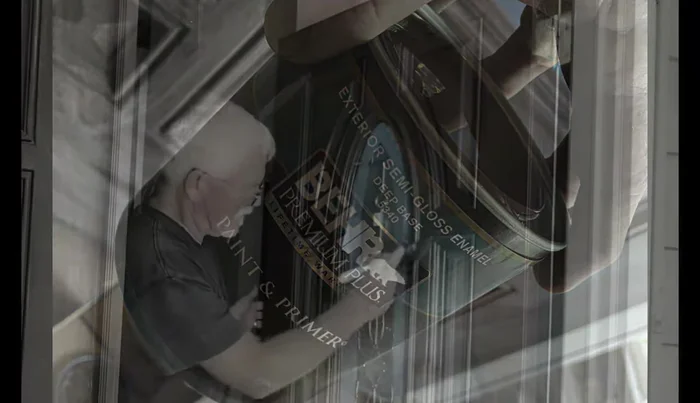
- Acrylic exterior semi-gloss paint
- High-quality paintbrush
- Always wear appropriate safety gear, including gloves, eye protection, and a respirator mask, when working with fiberglass, sanding materials, and paint. Fiberglass dust is irritating and paint fumes can be harmful.
- Work in a well-ventilated area. Fiberglass dust and paint fumes can be hazardous if inhaled. Consider using a respirator with appropriate filters.
- Use caution when handling sharp objects like knives or razor blades when trimming or repairing fiberglass. Protect your skin from cuts and scrapes.
Step-by-Step Instructions
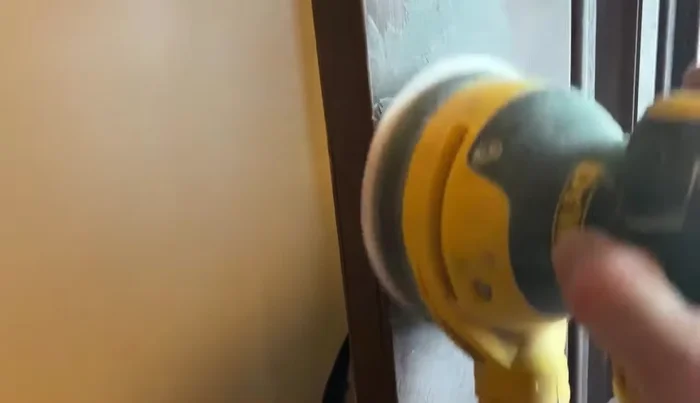
Prepare the Damaged Area
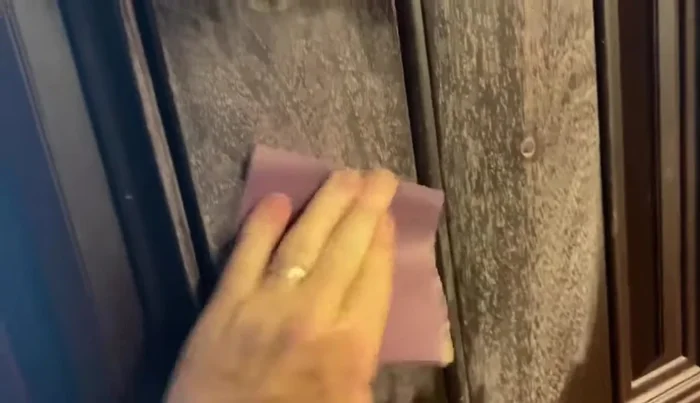
- Sand the lock set area with 320 grit sandpaper to prepare for repair.
- Clean the area with acetone to remove grease and debris.

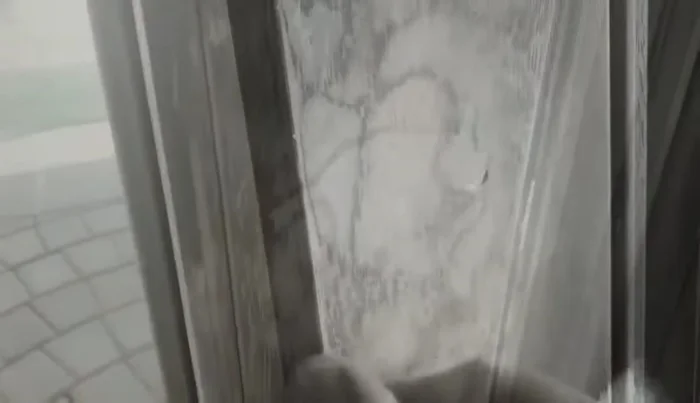
Prepare the Damaged Area Fill the Damage with Bondo (First Coat)
- Fill the damaged area(s) with Bondo fiberglass repair product, applying slightly more than needed.
- Let the Bondo dry (5-10 minutes).
Fill the Damage with Bondo (First Coat) Smooth the Bondo (First Coat)
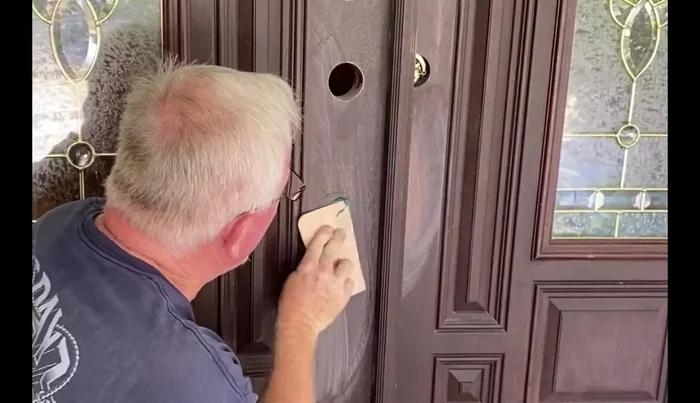
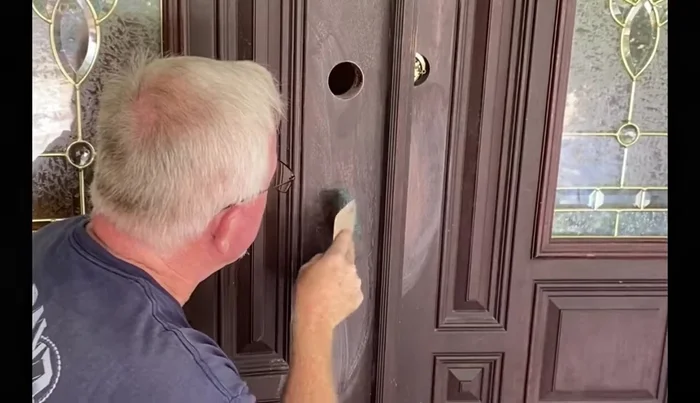
- Sand the dried Bondo smooth using an oscillating sander with 220 grit sandpaper, removing almost all of the excess.
Smooth the Bondo (First Coat) Fill the Damage with Bondo (Second Coat)
- Apply a second, thinner coat of Bondo to fill any remaining voids and allow it to dry.
Fill the Damage with Bondo (Second Coat) Prepare for Painting
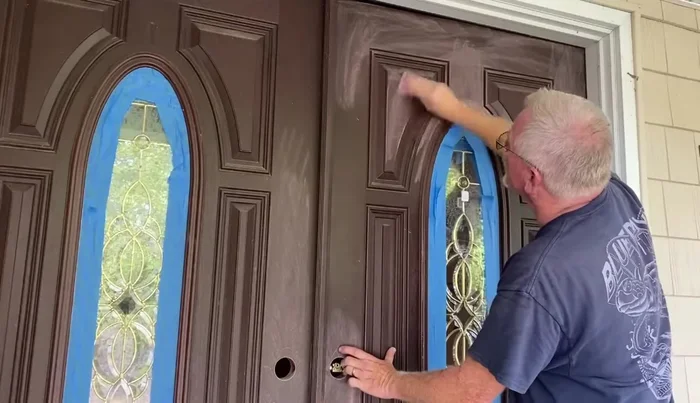
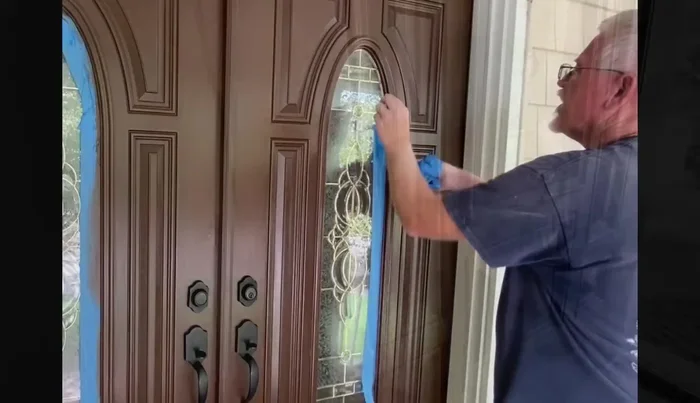
- Tape the windows using painter's tape, carefully pressing it into the creases and trimming excess with a sharp knife.
- Sand the entire door with 320 grit sandpaper to scuff the surface for better paint adhesion.
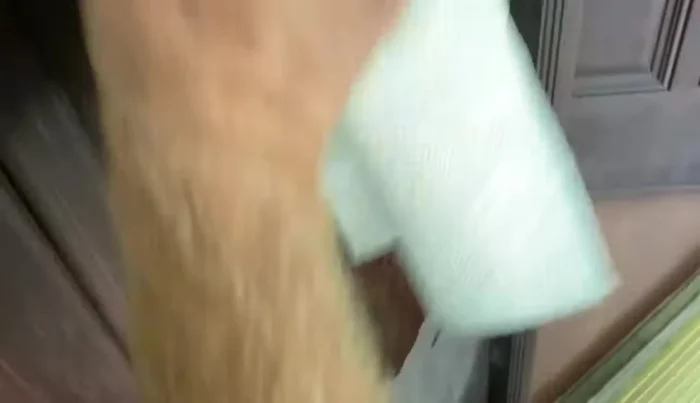
- Wipe down the entire door with acetone.
Prepare for Painting Paint the Door
- Apply acrylic exterior semi-gloss paint with a high-quality brush using mostly vertical strokes to mimic the original wood grain.
- Apply multiple coats as needed, especially in repaired areas.
Paint the Door Final Touches
- Once the paint is completely dry, remove the painter’s tape from the windows.
Final Touches


Read more: 3M Thinsulate Window Film Installation: A Step-by-Step Guide
Tips
- Always clean the fiberglass surface with acetone before painting or repairing to ensure proper adhesion.
- When using Bondo, apply slightly more than needed initially, then sand it down to a smooth finish. You may need multiple applications.
- Use painter's tape and a sharp knife to achieve clean lines around windows and other areas you don't want painted.
- Light sanding is sufficient to scuff the surface before painting. You don't need to remove the original finish.