Overheating problems in your 2001-2011 Ford Ranger 4.0L can be a major headache, often pointing to a failing water pump. Ignoring a malfunctioning water pump can lead to catastrophic engine damage, costly repairs, and considerable downtime. This DIY guide provides a straightforward approach to replacing your water pump, saving you money and empowering you to tackle this vital maintenance task yourself. We’ll walk you through the process, offering clear instructions and helpful tips to ensure a smooth and successful replacement.
This guide is designed for both novice and experienced mechanics, providing detailed instructions and images to help you confidently navigate each step. Whether you're facing a persistent overheat warning light, noticing a leak, or simply undertaking preventative maintenance, let's get started with the step-by-step process of replacing your Ford Ranger 4.0L water pump.
Preparation and Safety Guidelines
- Socket ratchet
- Long extension
- Flat blade screwdriver
- 10mm wrench
- 19mm wrench
- Phillips head screwdriver
- 7mm socket
- 36mm wrench or clutch fan removal tool
- 3/8 drive ratchet
- Slip-joint pliers
- 8mm socket
- Razor blade
- Brake cleaner
- Paper towels
- Funnel
- Drain bucket
- 50/50 coolant mix
- Distilled water
- Always allow the engine to cool completely before starting any work. Hot coolant can cause severe burns.
- Use proper jack stands to safely support the vehicle. Never work under a vehicle supported only by a jack.
- Wear safety glasses and gloves to protect yourself from coolant and other potential hazards.
Step-by-Step Instructions
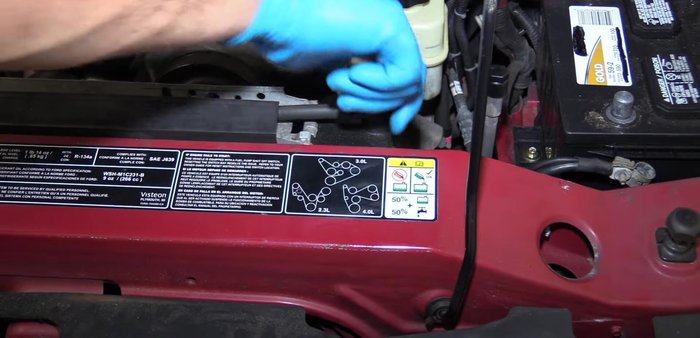
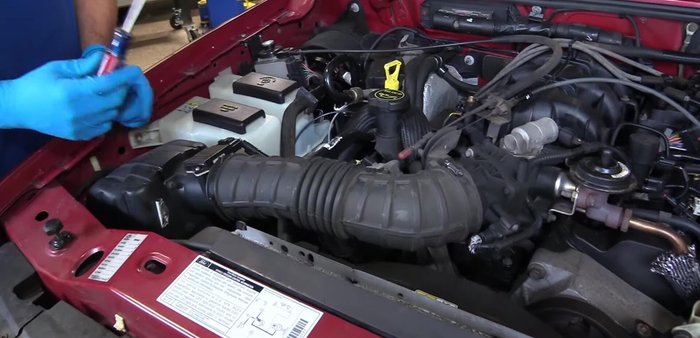
Prepare the Vehicle
- Remove the radiator cap.
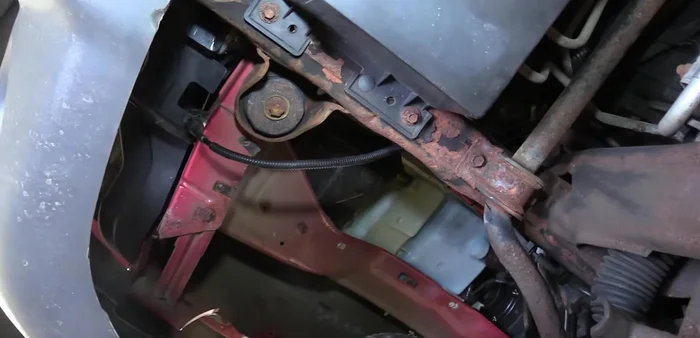
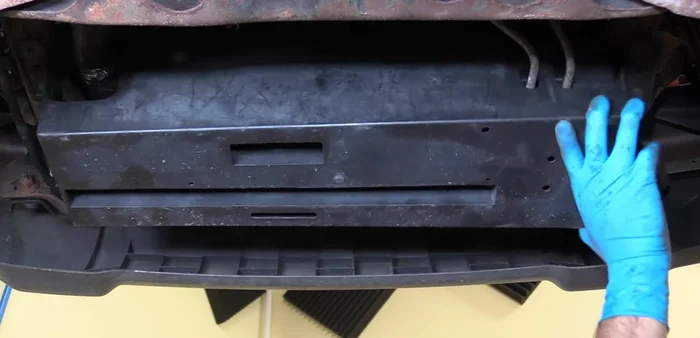
- Remove the plastic cover under the radiator using four 10mm bolts.
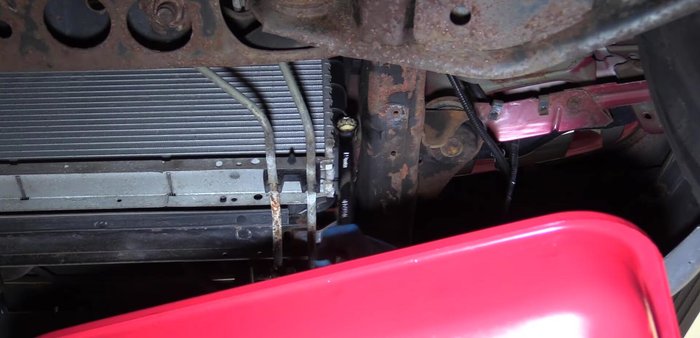
- Drain the radiator coolant using the petcock on the passenger side.

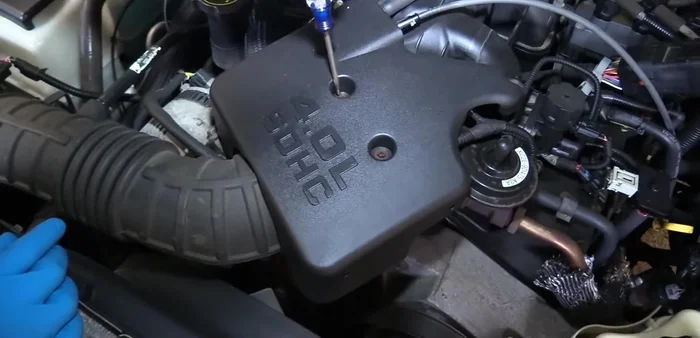
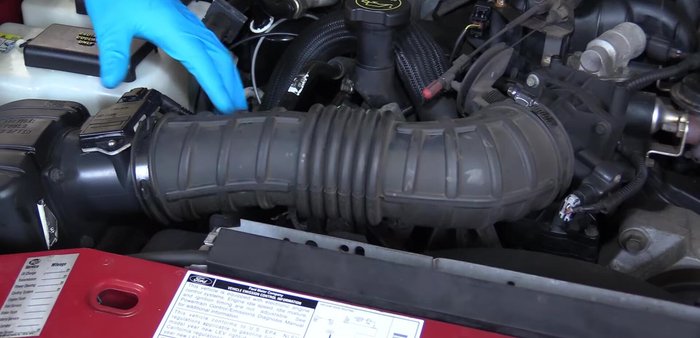
Prepare the Vehicle Remove Intake Components
- Remove the cover over the throttle body using a Phillips head screwdriver and 7mm socket.
- Remove the intake tube by loosening two clamps and disconnecting from the MAF sensor and throttle body.
- Remove the breather line from the back of the intake tube.
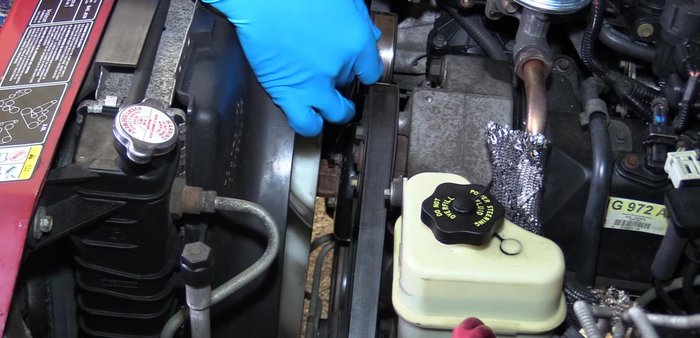
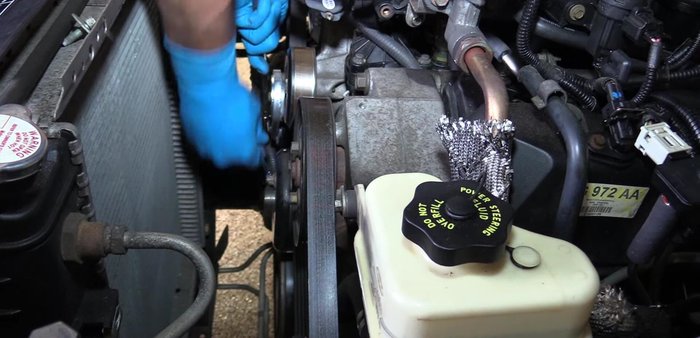
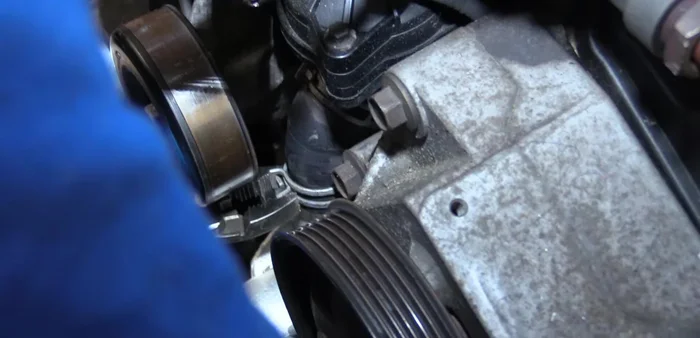
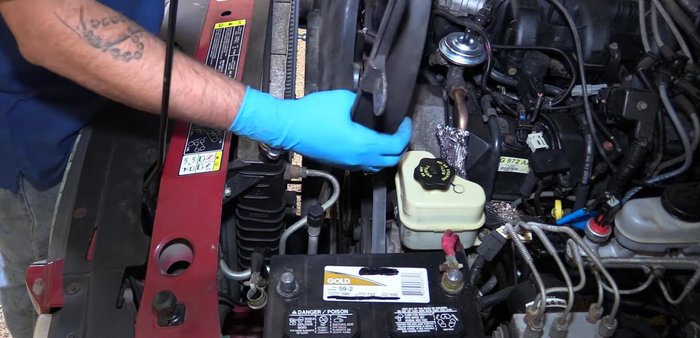
Remove Intake Components Remove Fan and Belt
- Remove the fan clutch nut using a 36mm wrench or clutch fan removal tool (or the alternative method shown in the video).
- Remove the serpentine belt by using the tensioner to release tension.
- Remove the water pump pulley bolts.
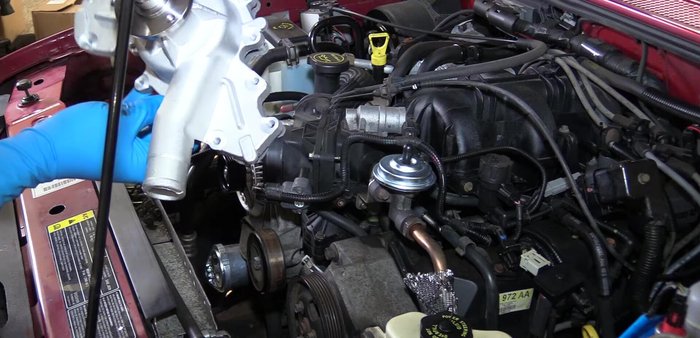
Remove Fan and Belt Remove Water Pump
- Remove the three hoses connected to the water pump using slip-joint pliers to compress the clamps.
- Remove the water pump by removing twelve 8mm bolts.
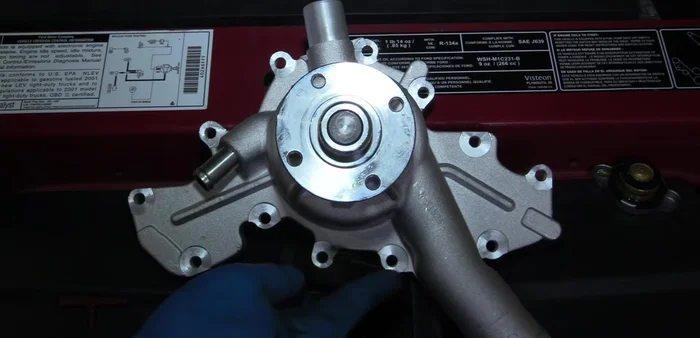
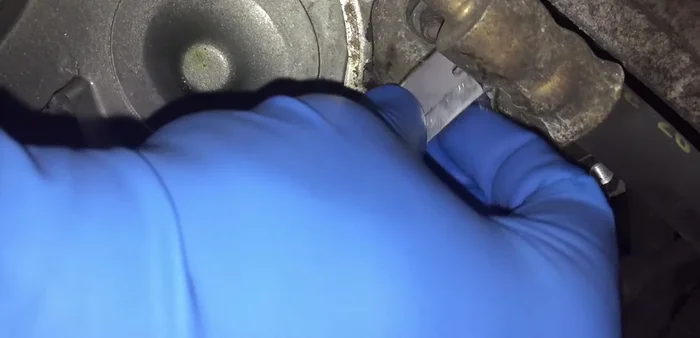
Remove Water Pump Prepare for New Pump Installation
- Clean the gasket surface of the engine block with a razor blade and brake cleaner.
Prepare for New Pump Installation Install New Water Pump
- Install the new water pump gasket and install the water pump with twelve 8mm bolts, torquing them to 89 inch-pounds.
Install New Water Pump Reconnect Components
- Reconnect the three hoses.
- Install the water pump pulley (two bolts initially).
Reconnect Components Reinstall Belt and Fan
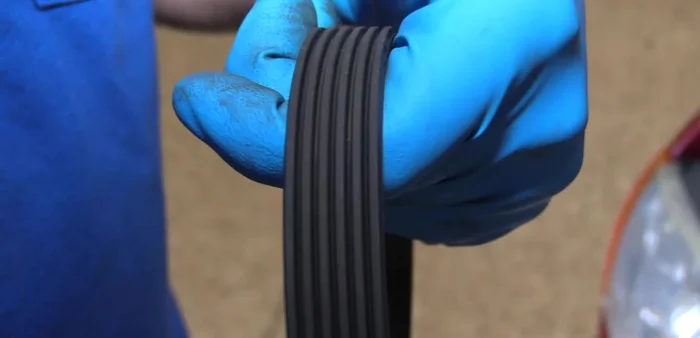
- Inspect and reinstall the serpentine belt.
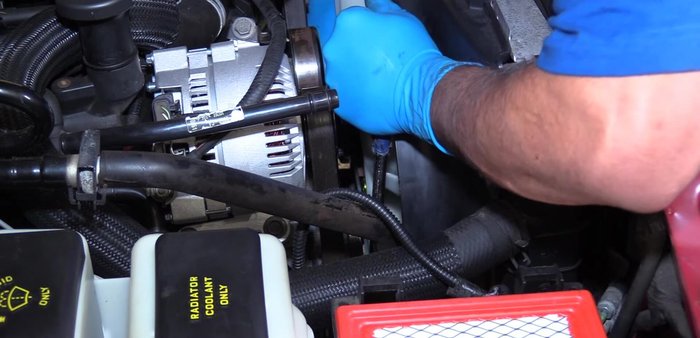
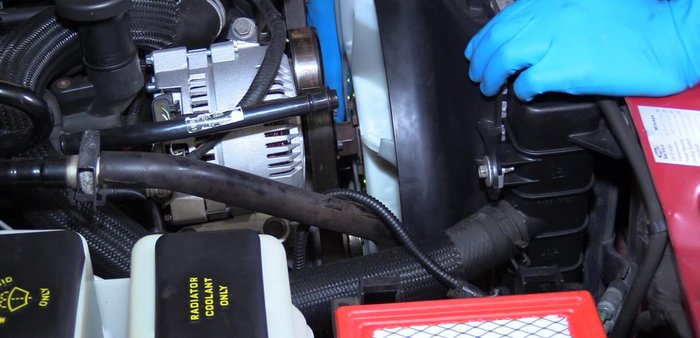
- Reinstall the fan shroud and fan clutch.
- Tighten the fan clutch nut.
- Install the remaining water pump pulley bolts.
Reinstall Belt and Fan Reassemble Vehicle
- Reinstall the intake tube, breather line, and engine cover.
- Reinstall the bottom cover.
Reassemble Vehicle Refill and Bleed Cooling System
- Refill the cooling system with a 50/50 mix of coolant and distilled water, bleeding the system to remove air pockets.
Test and Verify
- Test drive the vehicle and monitor cooling temperatures.


Read more: Fixing a Leaky Toilet Tank: A Step-by-Step Guide
Tips
- Use a lift or jack stands for easier access.
- Leave the drain bucket under the radiator to catch excess coolant.
- Don't fully open the drain plug to avoid coolant spillage.
- Use a clutch fan removal tool if possible for easier fan clutch nut removal.
- Always use a funnel and drain bucket when filling the coolant system.