GE dishwashers are known for their reliability, but like all appliances, they eventually require maintenance. One common issue that can disrupt the efficient cleaning cycle is a malfunctioning float sensor. This crucial component monitors the water level, preventing overflows and ensuring proper operation. A faulty float sensor can lead to various problems, including the dishwasher not filling with water, failing to drain, or even running excessively long cycles. Identifying a bad float sensor can save you time, money, and frustration in the long run, compared to unnecessarily calling a repair technician.
Fortunately, replacing a GE dishwasher float sensor is a manageable DIY repair for many homeowners with basic handyperson skills. This task often requires minimal specialized tools, and the cost of replacement parts is relatively low. To guide you through the process, we've prepared a comprehensive, step-by-step guide, complete with clear instructions and helpful images to assist you. Let's get started!
Preparation and Safety Guidelines
- Phillips head screwdriver
- Quarter-inch screwdriver
- Always disconnect the power supply to the dishwasher before starting any repairs. Failure to do so could result in electric shock.
- Use caution when handling water inside the dishwasher, as it may be hot or contain residual cleaning solution. Wear appropriate protective gear if needed.
- Ensure you have the correct replacement float switch for your specific GE dishwasher model. Using the wrong part could lead to further issues or damage.
Step-by-Step Instructions
Preparation
- Disconnect power to the appliance and turn off the water supply.
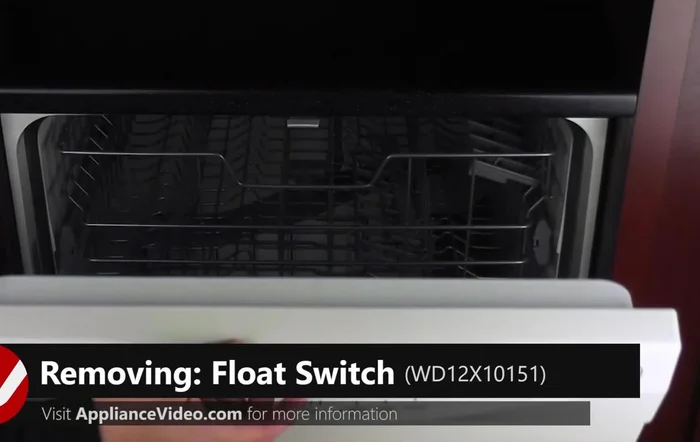
- Open the dishwasher door.

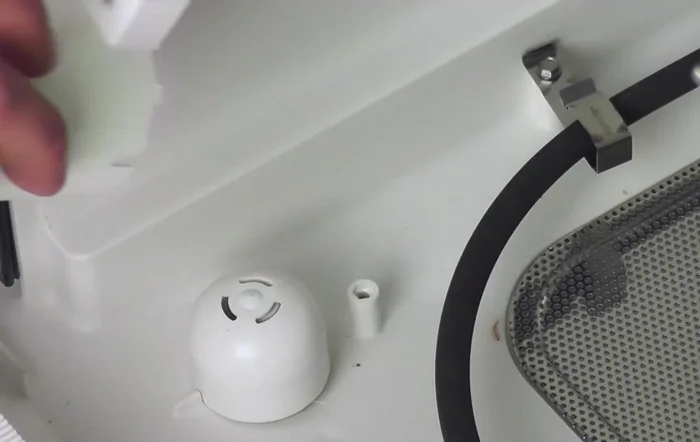
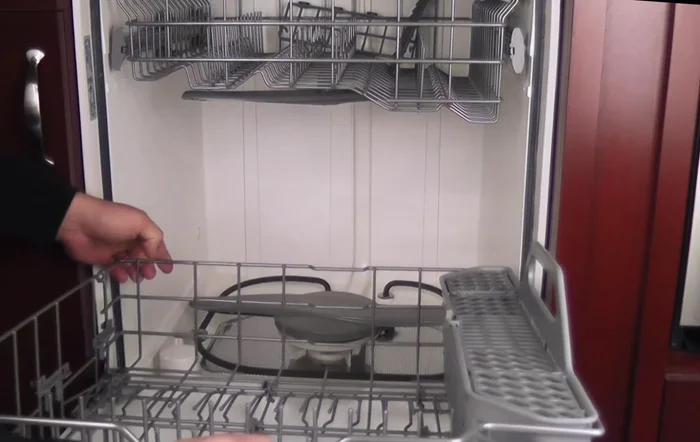
Preparation Accessing the Float Sensor
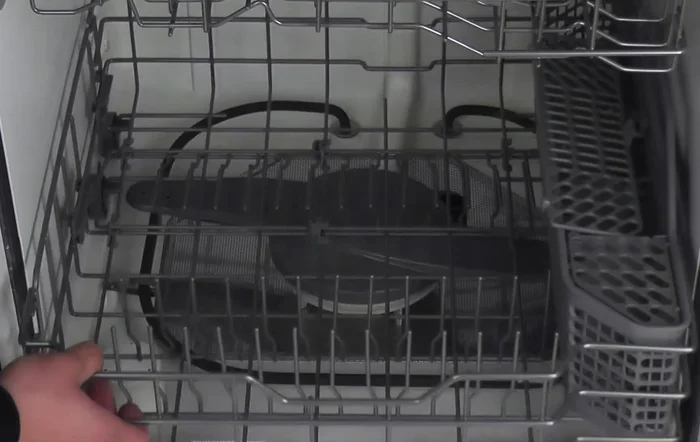
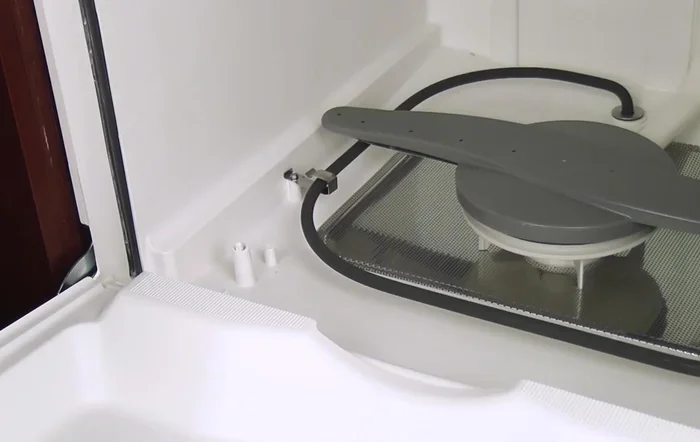
- Remove the bottom rack.
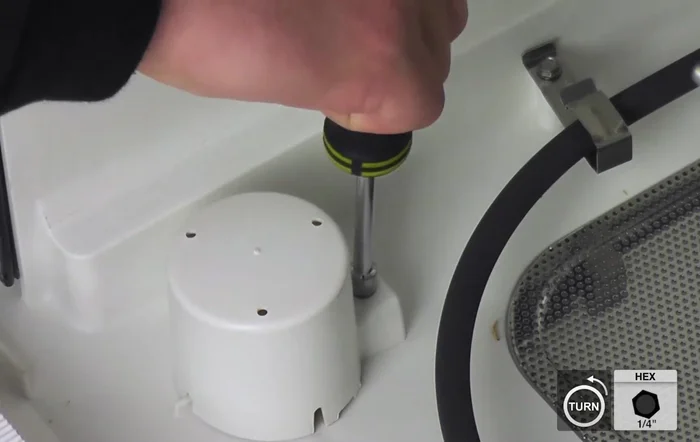
- Remove the quarter-inch screw on the back of the float sensor cover.
- Pull off the cover and set it aside.
Accessing the Float Sensor Removing the Old Float Sensor
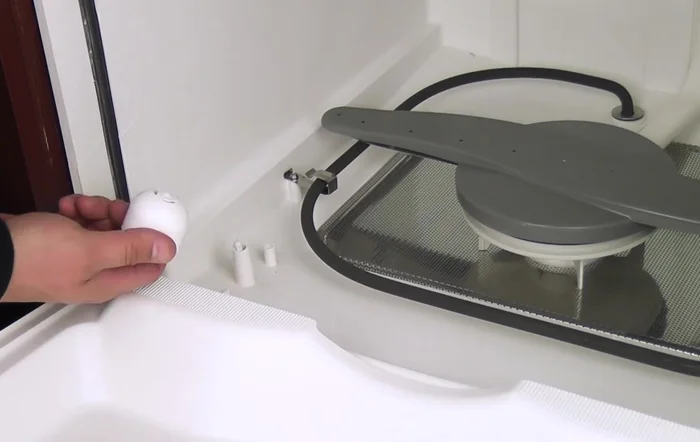
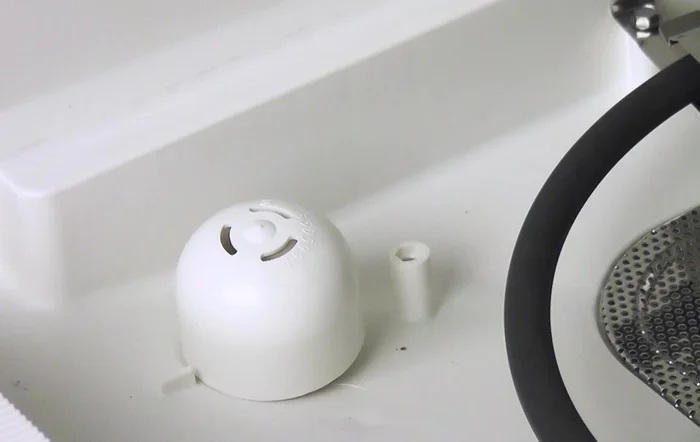
- Remove the float by pulling it straight off.
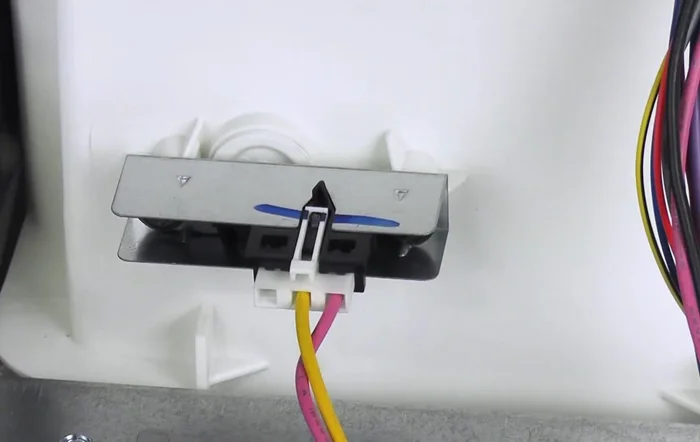
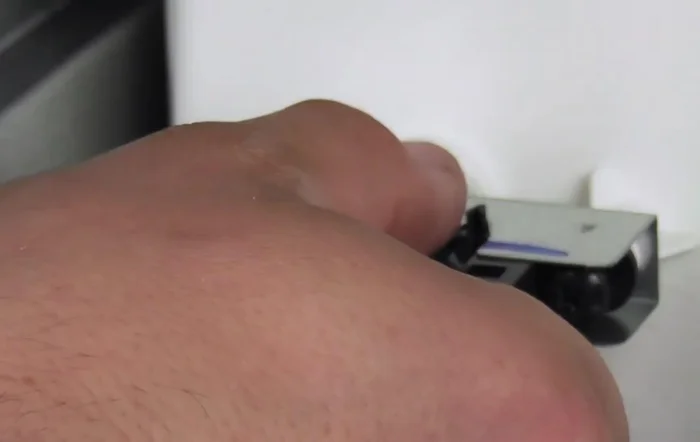
- Remove the wiring connector by squeezing the tab and pulling straight off.
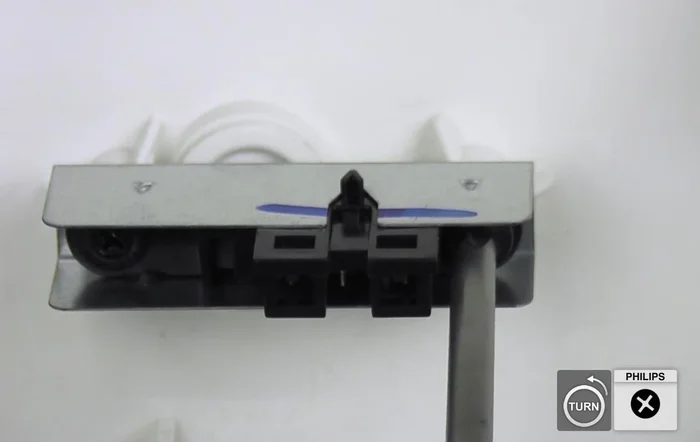
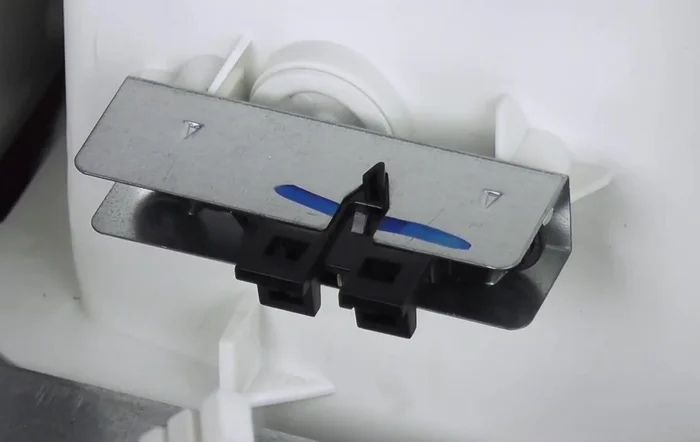
- Remove the two Phillips screws holding the float sensor to the dishwasher.
- Pull the sensor out and set it aside.
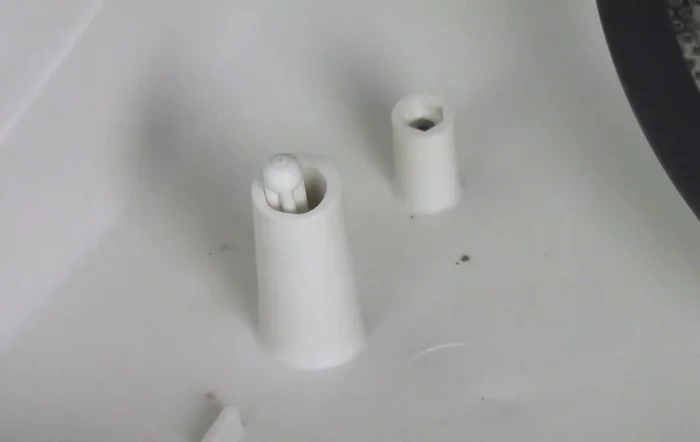
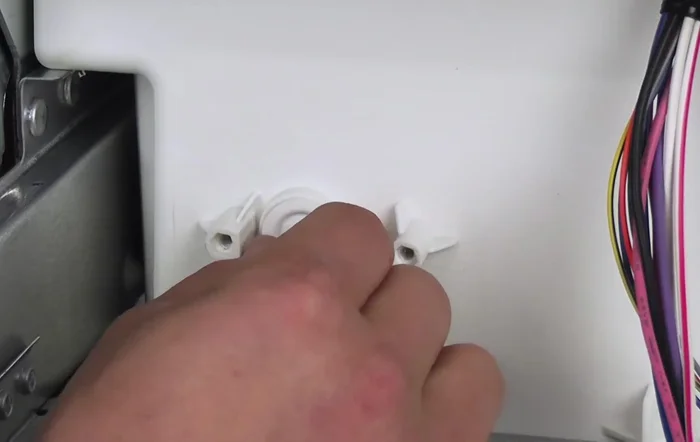
Removing the Old Float Sensor - Remove the float arm by pulling it straight out.
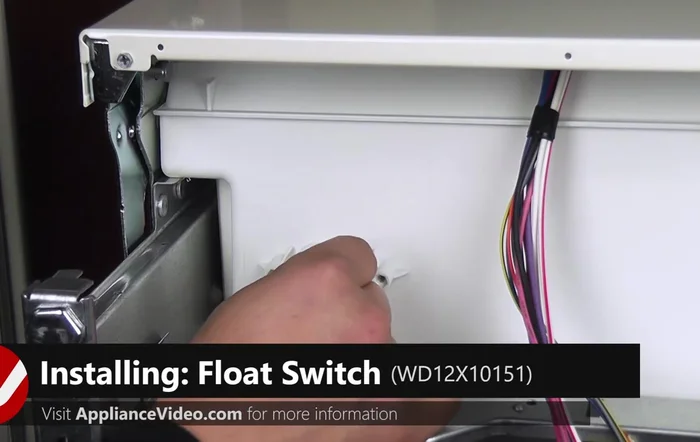
Removing the Old Float Sensor Installing the New Float Sensor
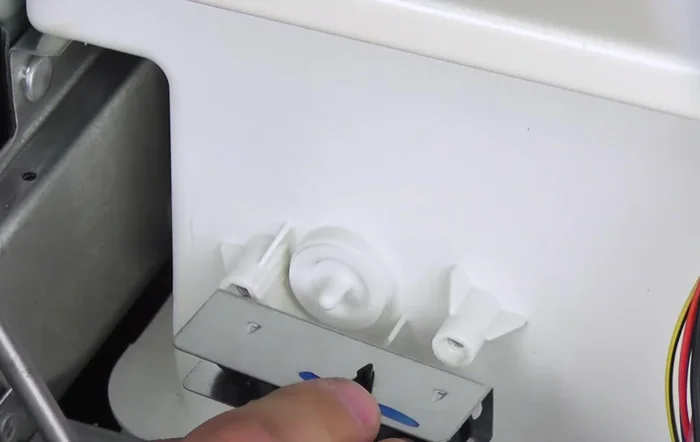
- Insert the float arm into the opening, ensuring the button on the sensor aligns with the protrusion on the float arm.
- Insert the screws through the holes on the sensor, line it up, and tighten the two Phillips screws.
- Install the wiring connector.
Installing the New Float Sensor Testing and Reassembly
- Check float arm actuation by gently pressing down and listening for a click.
- Set the bobber in place, aligning the hole with the arm.
- Replace the cover, aligning the notch in the front and the screw hole in the rear. Reinstall the quarter-inch screw.
- Reinstall the bottom rack and close the door.
Testing and Reassembly
Read more: Fix Washing Machine Won't Spin: Quick & Easy Motor Coupler Replacement
Tips
- Always disconnect power to the appliance before beginning any repair and test the outlet for proper voltage.
- Remember to turn off the water supply.
- Take note that the sensor could be installed incorrectly. Be sure to line up the button on the sensor with the protrusion on the float arm.