That unsettling grinding noise emanating from your GE washing machine? It's a common problem, but one that can quickly escalate into a costly repair if ignored. A grinding sound often indicates a mechanical issue, potentially involving worn-out bearings, a damaged motor, or even foreign objects lodged within the machine. Ignoring the problem could lead to further damage and potentially shorten the lifespan of your appliance, costing you significantly more in the long run. Understanding the source of the noise is crucial for effective troubleshooting and repair.
Fortunately, many grinding noise issues can be addressed with relatively simple fixes. This guide will help you pinpoint the cause of the grinding in your GE washing machine and provide you with a comprehensive, step-by-step approach to resolving the problem. Let's get started on silencing that unwanted sound and getting your laundry back on track.
Preparation and Safety Guidelines
- 3/8 socket wrench
- 38 socket wrench or screwdriver
- 9/16 socket wrench or 15mm socket
- Multimeter
- Phillips head screwdriver
- 7/16 socket wrench
- Hammer or impact gun (optional)
- Motor puller (optional)
- Silicone-based dielectric grease
- Cell phone camera (optional)
- Oil filter wrench (optional)
- Always unplug the washing machine from the power outlet before attempting any repairs. Electricity and water are a dangerous combination.
- If you are uncomfortable performing any repairs yourself, contact a qualified appliance repair technician. Improper repairs can cause further damage or injury.
- Before starting, locate and consult your washing machine's owner's manual for specific troubleshooting and safety information relevant to your model.
Step-by-Step Instructions
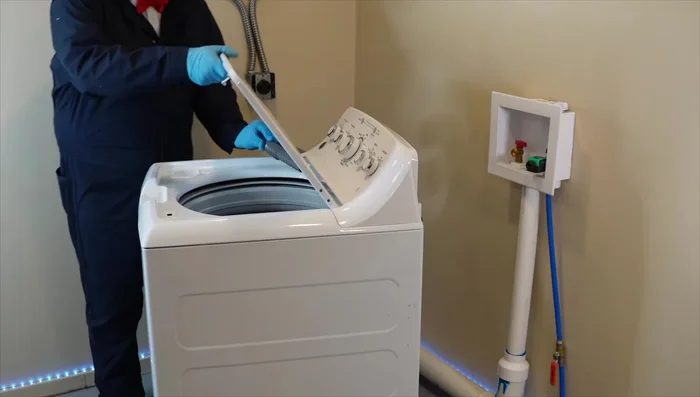
Prepare the Washing Machine
- Unplug the washing machine and carefully tilt it back to access the underside.

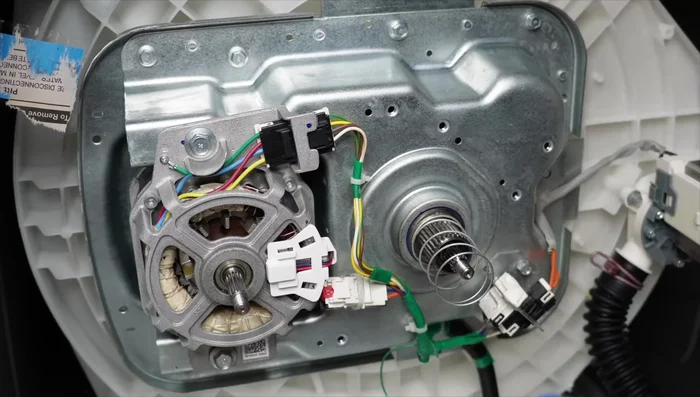
Prepare the Washing Machine Access Internal Components
- Remove the plastic belt cover using a 38 socket wrench or screwdriver.
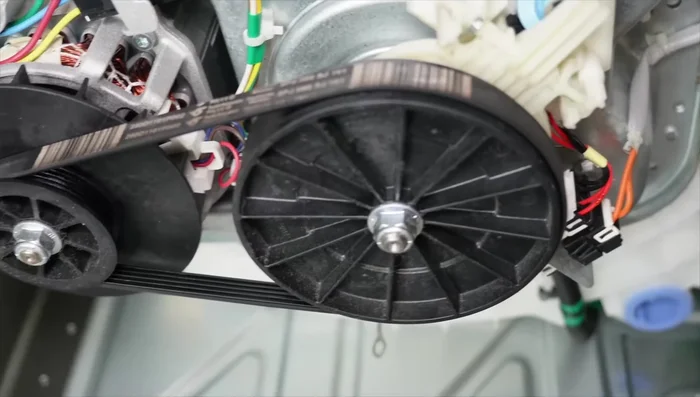
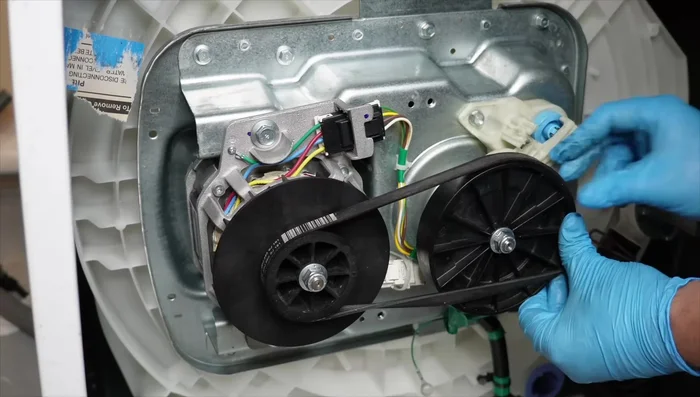
Access Internal Components Inspect Belt and Pulleys
- Inspect the belt and pulleys for damage, wear, or obstructions. Remove the belt if necessary.
- Check for excessive play in the pulleys.
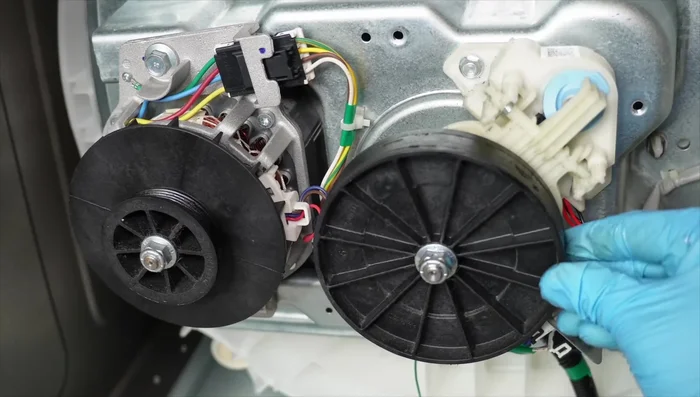
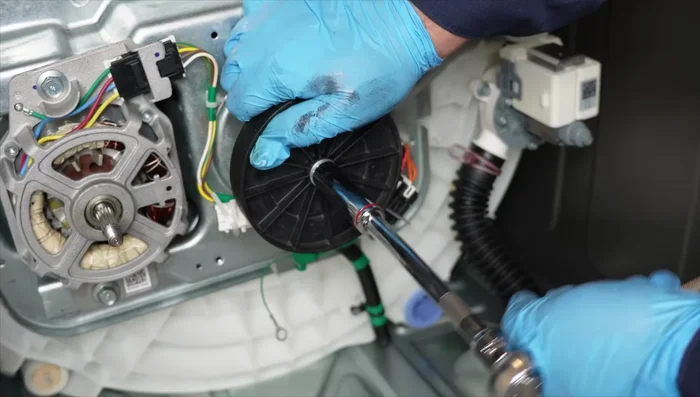
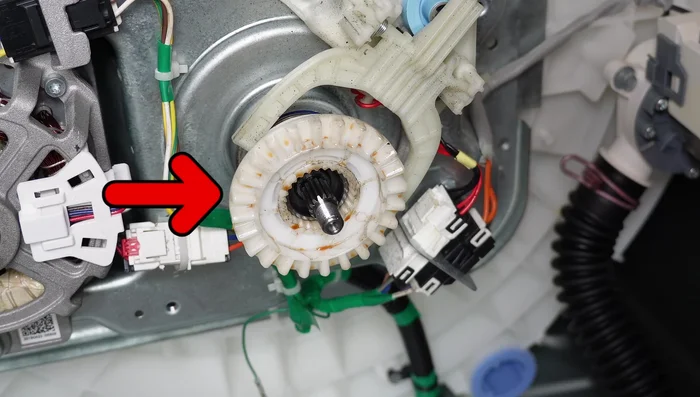
Inspect Belt and Pulleys Remove and Inspect Clutch Assembly
- Remove the black pulley using a 9/16 or 15mm socket wrench and a tapping tool or motor puller.
- Inspect the white clutch (plastic gear) for wear. Replace if necessary.
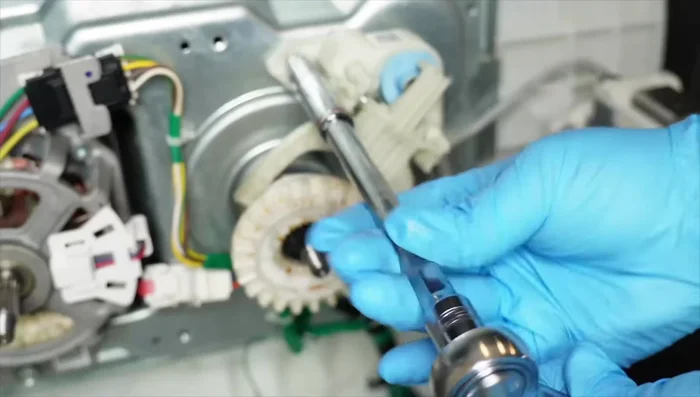
Remove and Inspect Clutch Assembly Test and Replace Shifter (If Necessary)
- Test the shifter using a multimeter set to ohms resistance. Replace if necessary. (Check the schematic for correct resistance values).
Test and Replace Shifter (If Necessary) Reassemble Clutch and Pulley System
- Reinstall the clutch spring, white clutch, and black pulley. Lubricate with silicone-based grease.
Reassemble Clutch and Pulley System Reinstall Belt and Cover
- Reinstall the belt and belt cover.
Reinstall Belt and Cover Inspect Tub and Agitator
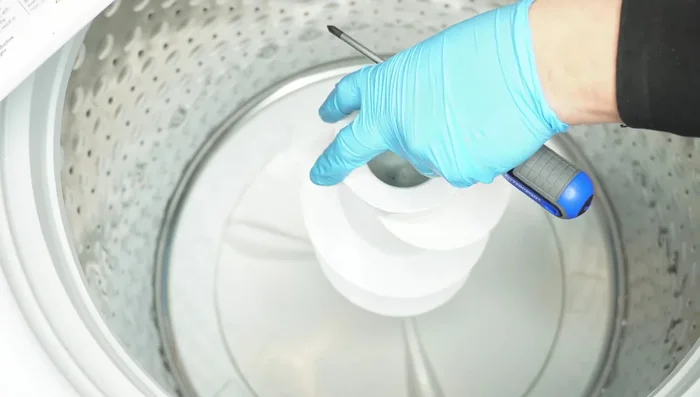
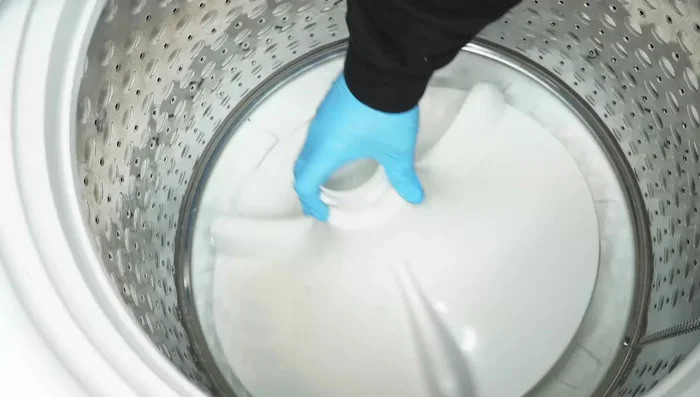
- Remove the agitator using a Phillips head screwdriver to access the central metal part of the tub.
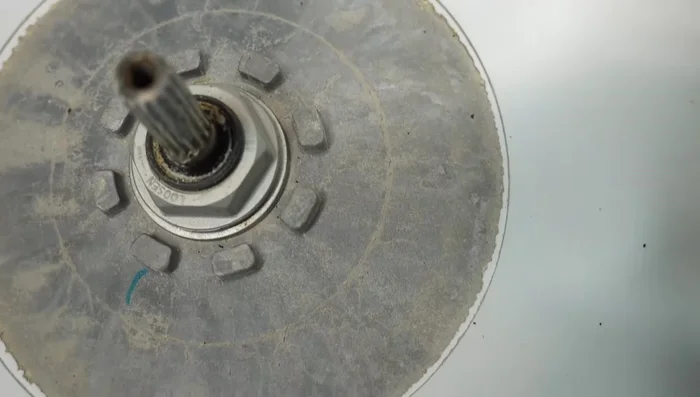
- Inspect the central metal part of the tub and the nut for damage or looseness. Replace if necessary. (Requires specialized tools).
Inspect Tub and Agitator Reinstall Agitator
- Reinstall the agitator.
Reinstall Agitator

Read more: Fix Washing Machine Won't Spin: Quick & Easy Motor Coupler Replacement
Tips
- Use a box to elevate the back of the machine while tilting to prevent water spillage from the drain hose.
- Be careful removing the shifter assembly; the spring can be forceful.
- Use a cell phone camera to help locate the hole in the agitator for removal.
- Removing the agitator can be difficult; consider using an oil filter wrench or having a helper.