Hard water can significantly diminish the enjoyment of your shower, leaving your skin feeling dry and your hair looking dull. A simple solution to this common problem is installing a shower head filter, and the Hammerhead All-Metal Shower Head Filter is a popular and effective choice. Its all-metal construction promises durability and a sleek, modern look, making it a worthwhile upgrade for any bathroom. But the installation process might seem daunting to those unfamiliar with plumbing.
This guide provides a comprehensive, step-by-step walkthrough of installing your Hammerhead All-Metal Shower Head Filter, ensuring a smooth and successful installation, even for first-timers. We'll cover everything from preparing your existing shower head to the final tightening, leaving you with clean, refreshing water in minutes. Let's get started!
Preparation and Safety Guidelines
- Thread tape
- Rag
- Adjustable wrench
- Always turn off the water supply to the shower before starting the installation. Failure to do so could result in water damage or injury.
- Use Teflon tape (plumber's tape) on the threads of the shower arm connection to ensure a watertight seal. Wrap it carefully in the direction of the tightening.
- If you are unsure about any step of the installation process, consult a qualified plumber. Incorrect installation could lead to leaks or damage to your plumbing system.
Step-by-Step Instructions
Remove Old Shower Head
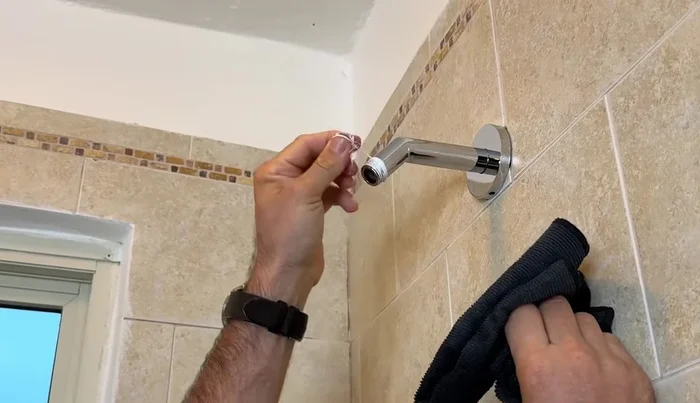
- Remove the old shower head using an adjustable wrench (and optionally a cloth for extra care).

Remove Old Shower Head Clean Shower Arm Threads
- Clean the shower arm threads using a microfiber cloth to remove old thread tape and debris.
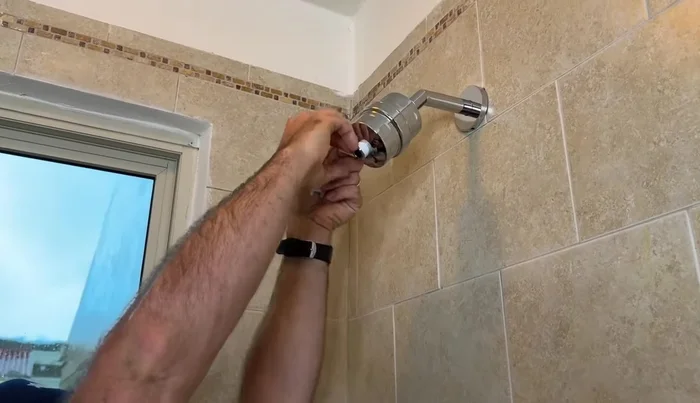
Clean Shower Arm Threads Prepare Filter and Apply Thread Seal Tape
- Apply thread seal tape around the shower arm threads five times clockwise.
- Open the filter housing, remove the authenticity sticker, and insert the filter cartridge.
- Tighten the filter cartridge, ensuring the washer is properly seated.
- Hand-tighten the filter onto the shower arm.
Prepare Filter and Apply Thread Seal Tape Flush the Filter
- Flush the filter cartridge for 1 minute with warm water to remove any particulate matter.
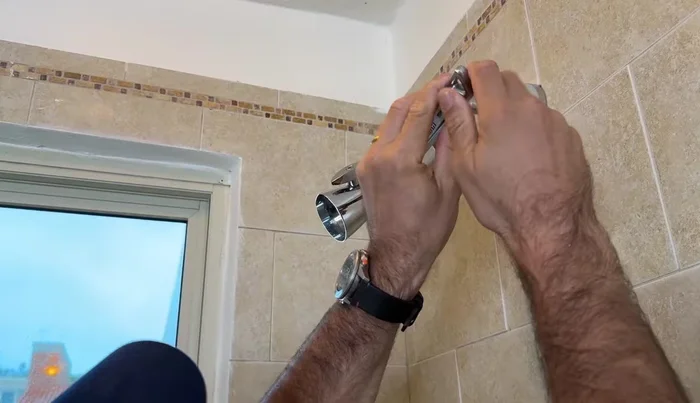
Install Shower Head
- Apply thread tape to the shower head threads.
- Install the shower head, ensuring the washer is seated, and hand-tighten it onto the filter.
- Use an adjustable wrench to give the shower head a final turn.
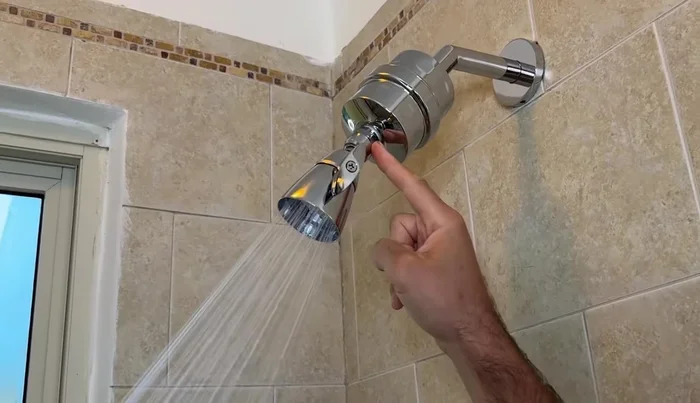
Install Shower Head Check for Leaks
- Check for leaks at the shower head and filter connections.
Check for Leaks


Read more: Fixing a Leaky Toilet Tank: A Step-by-Step Guide
Tips
- Clean the threads thoroughly for a better seal.
- Don't overtighten the connections to avoid pushing the washer into the pipe and causing leaks.