Leaky outdoor faucets, also known as hose bibs, are a common homeowner headache. A dripping faucet wastes water, potentially leading to higher bills and even damage to your landscaping over time. Fortunately, replacing a faulty hose bib is a manageable DIY project, even for beginners, saving you the cost of a plumber. Forget about complicated plumbing jargon and expensive tools; this guide focuses on a straightforward, easy-to-follow method that anyone can tackle.
This article provides a simple, step-by-step approach to replacing your hose bib, eliminating the frustration often associated with plumbing repairs. We'll walk you through the process, from turning off the water supply to installing the new faucet, ensuring a watertight seal with minimal fuss. Ready to conquer that leaky faucet and reclaim your peace of mind? Let's dive into the easy steps below!
Preparation and Safety Guidelines
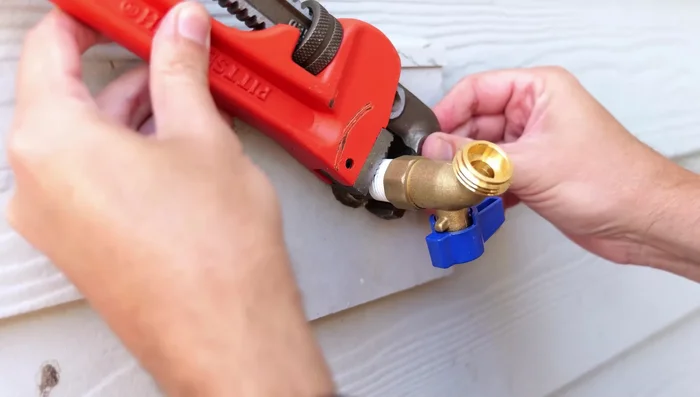
- Pipe wrench
- Adjustable wrench
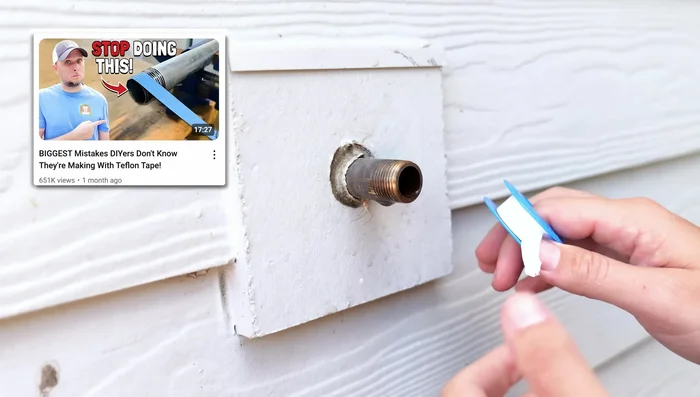
- Teflon tape
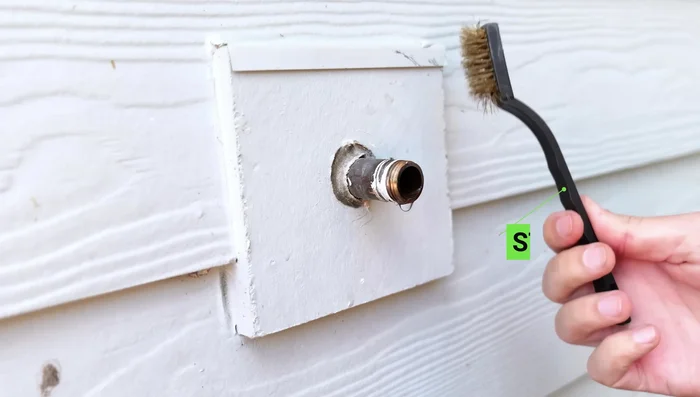
- Steel bristle brush or steel wool
- Vacuum breaker
- Always turn off the water supply to the hose bib at the main shut-off valve before starting any work. Failing to do this can lead to a significant water mess and potential damage.
- Wear safety glasses to protect your eyes from flying debris or water pressure.
- If you are unsure about any step of the process, consult a qualified plumber. Improper installation can lead to leaks and water damage.
Step-by-Step Instructions
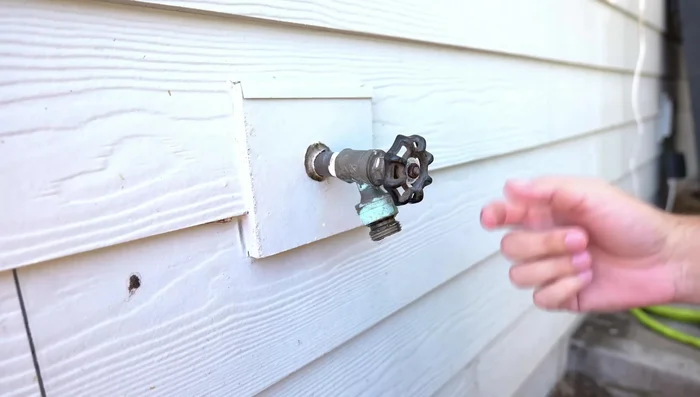
Turn Off Water Supply
- Turn off the main water valve.

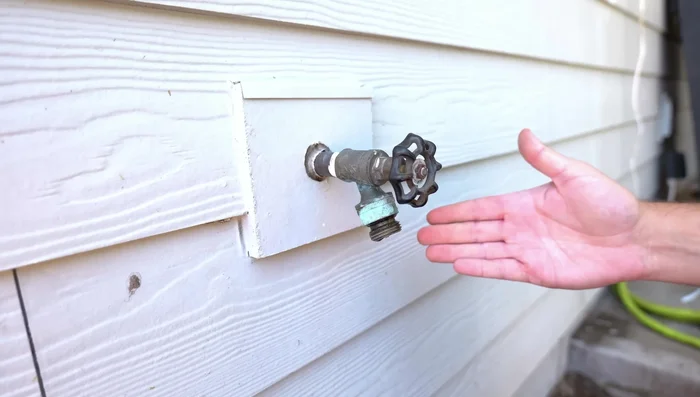
Turn Off Water Supply Relieve Water Pressure
- Open the hose bib to relieve pressure.
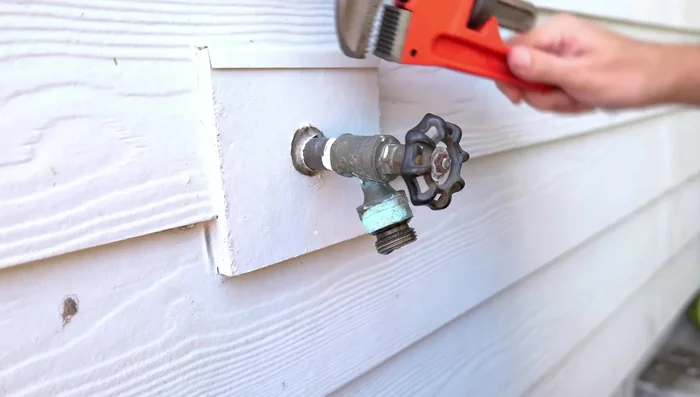
Relieve Water Pressure Remove Old Hose Bib
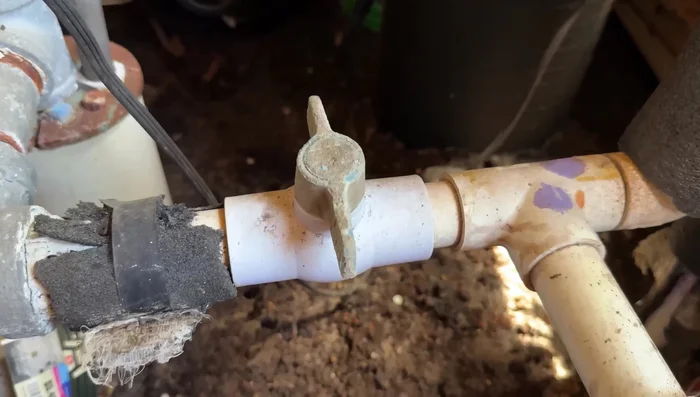
- Use pipe wrench and adjustable wrench to loosen the old hose bib.
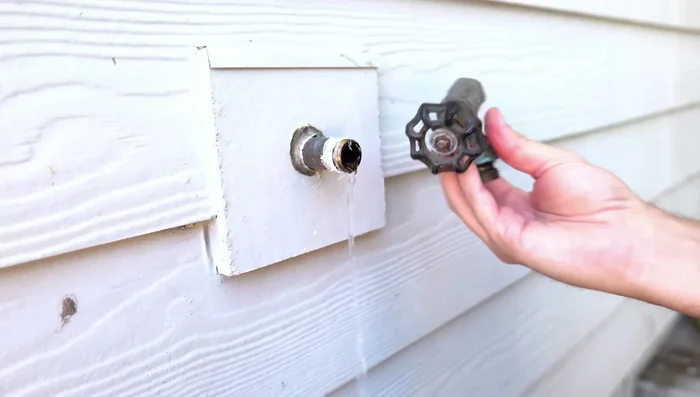
- Remove the old hose bib.
Remove Old Hose Bib Prepare Pipe Threads
- Clean the pipe threads.
Prepare Pipe Threads Apply Teflon Tape
- Apply Teflon tape to the pipe threads in a clockwise direction.
Apply Teflon Tape Install New Hose Bib
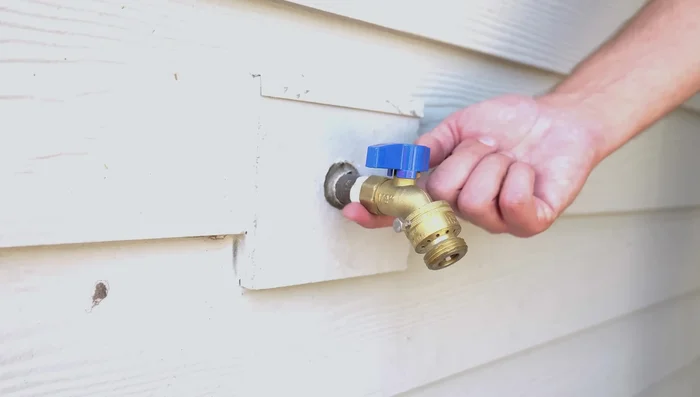
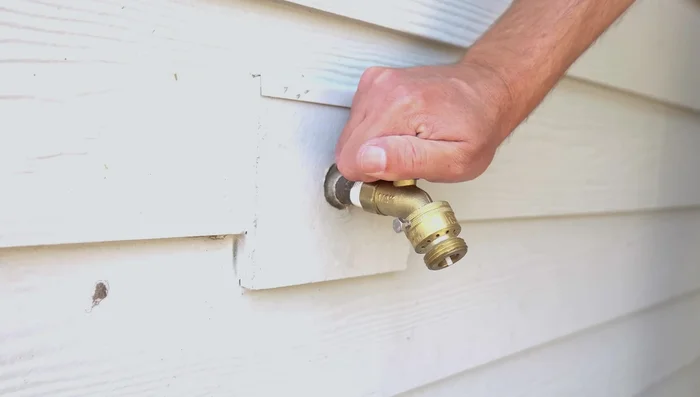
- Install the new hose bib.
- Tighten the new hose bib using pipe wrench and adjustable wrench.
Install New Hose Bib Install Vacuum Breaker
- Install the vacuum breaker.
- Tighten the vacuum breaker.
Install Vacuum Breaker Turn Water Back On and Check
- Turn the main water valve back on.
- Check for leaks.
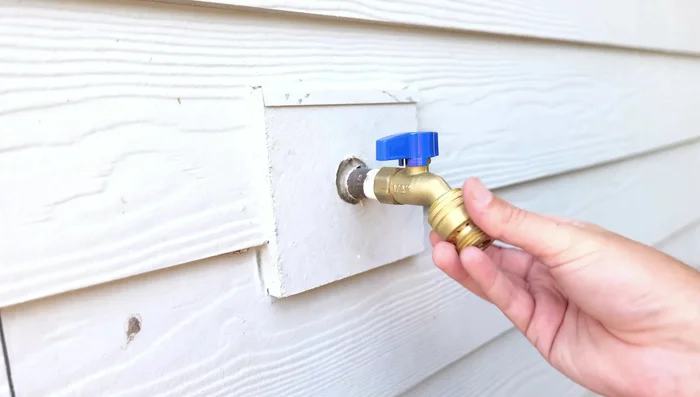
Turn Water Back On and Check Test New Faucet
- Test the new faucet.
Test New Faucet


Read more: Fixing a Leaky Toilet Tank: A Step-by-Step Guide
Tips
- Not all outdoor faucets are the same; consider geographical location and freeze-proof faucets.
- Use a pipe wrench to hold the pipe steady while loosening/tightening the hose bib.
- If possible, use an adjustable wrench on the hose bib for better grip and to avoid marring the finish.
- Apply Teflon tape clockwise to ensure a tight seal.
- Always install a vacuum breaker to prevent backflow contamination.