A leaky P-trap under your sink is not only annoying with its constant dripping, but it can also lead to unpleasant smells and even water damage over time. This seemingly insignificant plumbing problem can quickly escalate into a bigger headache if left unaddressed. Fortunately, fixing a leaky P-trap is often a straightforward DIY project that even novice homeowners can tackle, saving you the expense of calling a plumber. A faulty seal or loose connection is usually the culprit, and with the right tools and a bit of patience, you can restore the integrity of your plumbing system in a short amount of time.
This simple fix involves only a few basic tools and a minimal amount of effort. Before you know it, that persistent drip will be a thing of the past. Ready to get your hands dirty and conquer that leak? Let's dive into the step-by-step guide on how to quickly and easily fix your leaky P-trap.
Preparation and Safety Guidelines
- Channel locks (optional)
- Bowl
- New P-trap washer
- Always turn off the water supply to the sink before starting any repairs. Locate the shut-off valves under the sink for both hot and cold water lines.
- Wear protective gear, including gloves and eye protection, to avoid contact with potentially dirty water.
- If you are uncomfortable performing this repair, or if the leak persists after attempting the fix, call a licensed plumber immediately.
Step-by-Step Instructions
Prepare for Repair
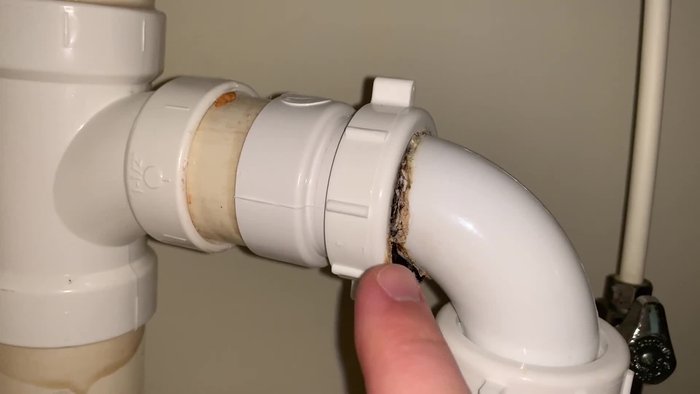
- Locate the leaky P-trap under your sink.
- Place a bowl underneath the P-trap to catch any water.

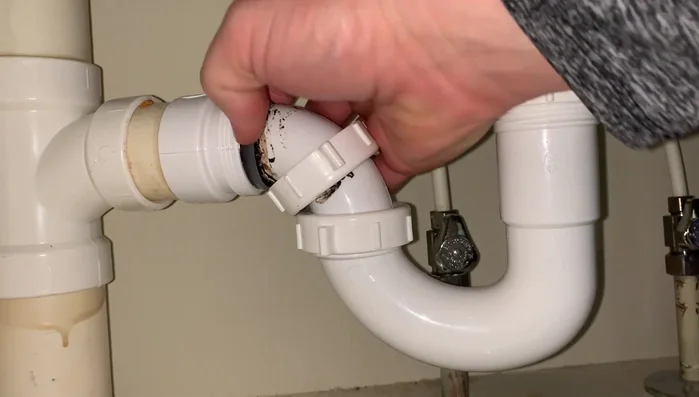
Prepare for Repair Remove the P-trap
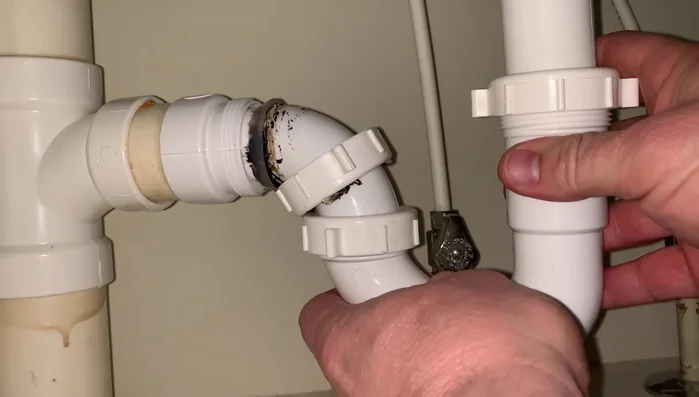
- Carefully loosen and remove the plastic nuts connecting the P-trap to the drain lines using your hands or channel locks. Be prepared for some water spillage.
- The P-trap might contain unpleasant substances.
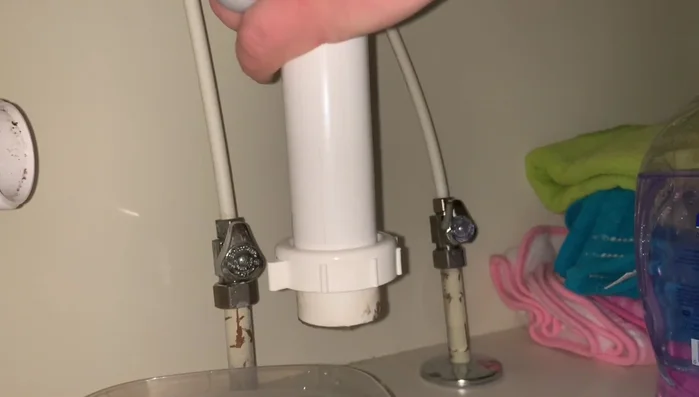
Remove the P-trap Inspect and Clean
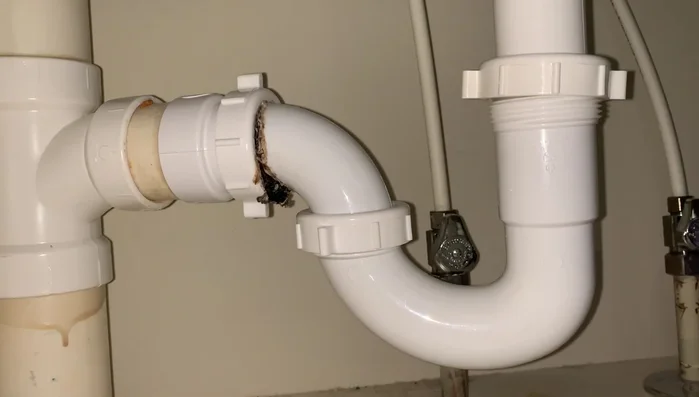
- Inspect the P-trap and identify the source of the leak. Usually, this is a worn-out washer.
- Clean the P-trap and drain pipes thoroughly.
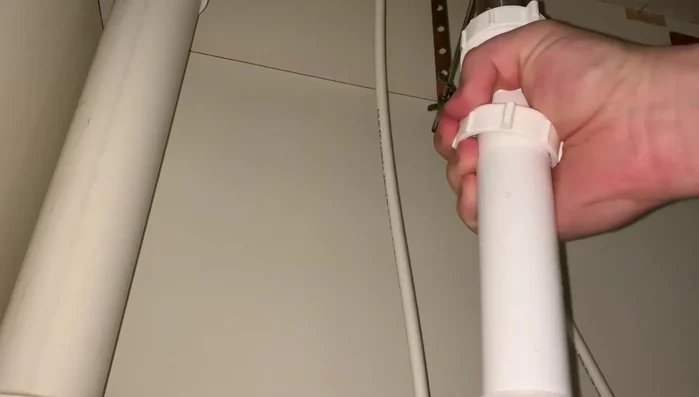
Inspect and Clean Replace Washer and Reassemble
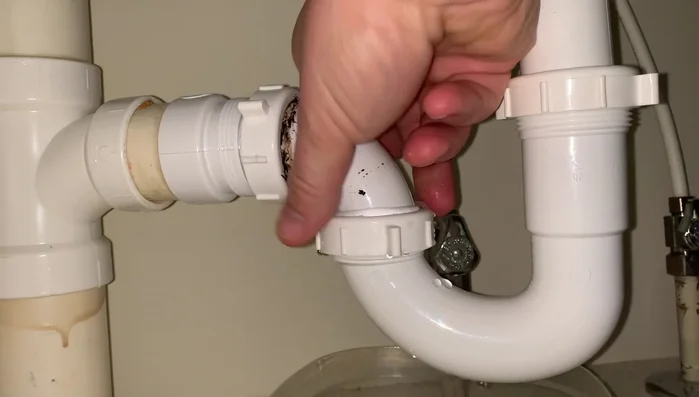
- Replace the old washer with a new one.
- Reassemble the P-trap, ensuring the new washer is properly seated and the connections are tight but not over-tightened.
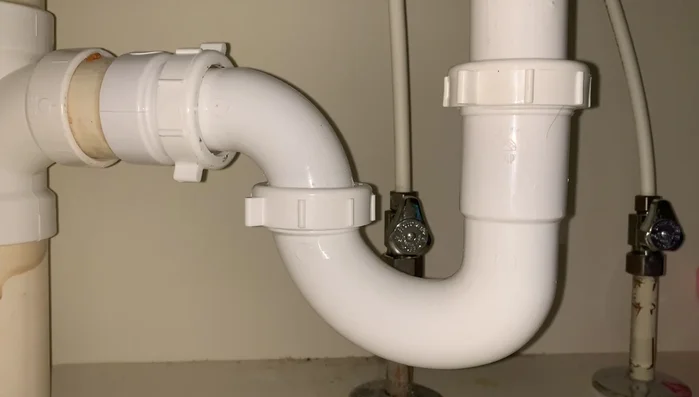
Replace Washer and Reassemble Test and Verify
- Turn on the water and check for leaks. Let the water run for a while to test thoroughly.
- Check again after a few hours or the next day to ensure the leak is completely resolved.
Test and Verify


Read more: Fixing a Leaky Toilet Tank: A Step-by-Step Guide
Tips
- Having channel locks can make loosening the nuts easier.
- Use a bowl to catch the water that will drain out when you remove the P-trap.
- The P-trap often contains unpleasant substances, so be prepared.
- New washers are readily available at most hardware stores.
- Don't over-tighten the nuts when reassembling the P-trap.