A constantly running toilet is more than just an annoying sound; it's a significant source of wasted water and, ultimately, wasted money. That persistent drip, drip, drip can add up to hundreds of gallons lost each month, impacting both your water bill and the environment. The good news is that fixing a leaky toilet flapper is often a simple DIY project, easily tackled with basic tools and a little patience. A faulty flapper is one of the most common culprits behind a running toilet, and thankfully, it's usually a straightforward fix that can save you considerable expense and effort in the long run.
This seemingly minor plumbing problem can be solved quickly and easily, saving you the cost of a plumber's visit. This guide will walk you through a step-by-step process, providing clear instructions and helpful tips to ensure a successful repair. Let's get started and silence that irritating drip!
Preparation and Safety Guidelines
- new toilet flapper
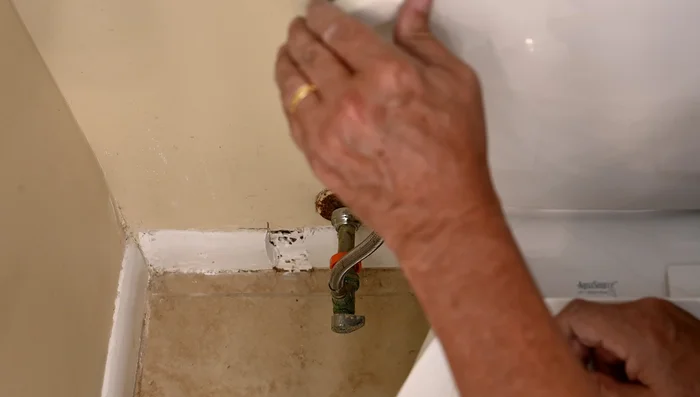
- Turn off the water supply to the toilet before starting any repairs. This is crucial to prevent flooding.
- Wear safety glasses to protect your eyes from splashing water or broken parts.
- If you are uncomfortable with any part of the repair process, call a qualified plumber. Attempting a repair beyond your skill level could cause further damage.
Step-by-Step Instructions
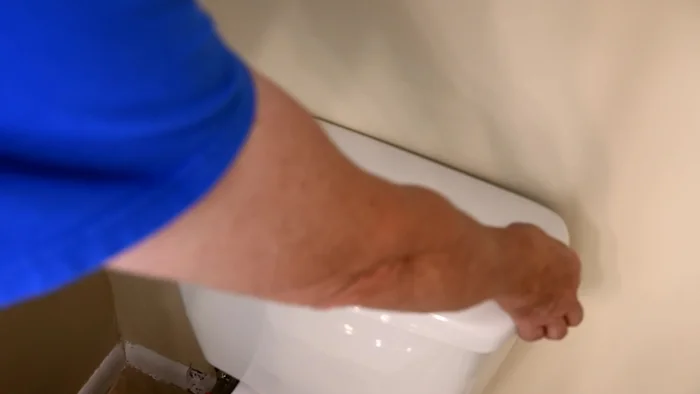
Prepare for Repair
- Open the back of the toilet and put the lid in a safe place.
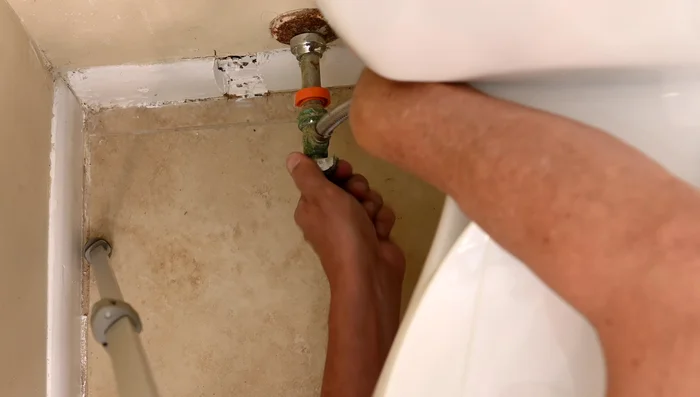
- Turn off the water supply to the toilet.
- Flush the toilet to remove as much water from the tank as possible.

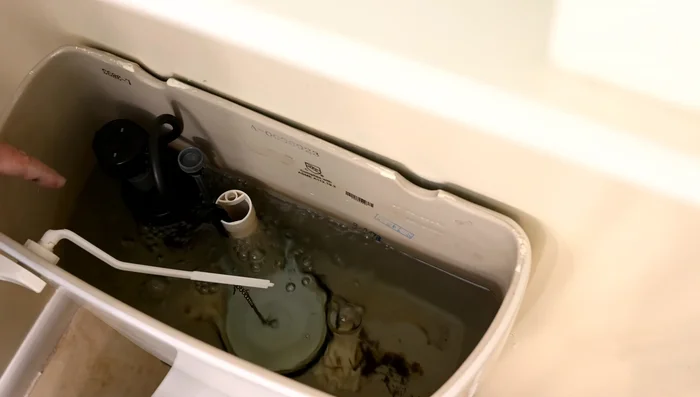
Prepare for Repair Diagnose the Problem
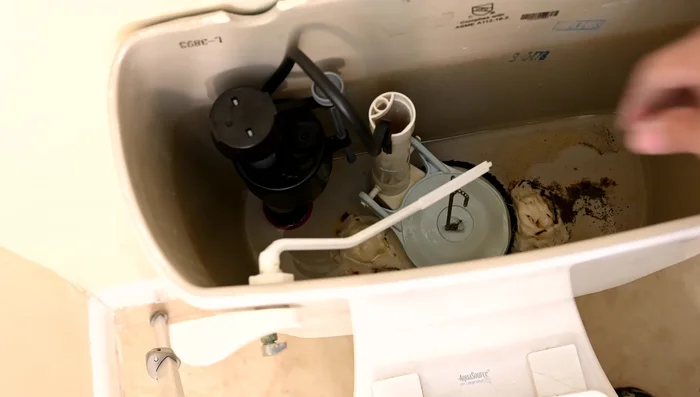
- Inspect the inside of the toilet tank to identify the cause of the leak.
- Observe the flapper (the large round component at the bottom of the tank). A leaky flapper is usually the culprit.
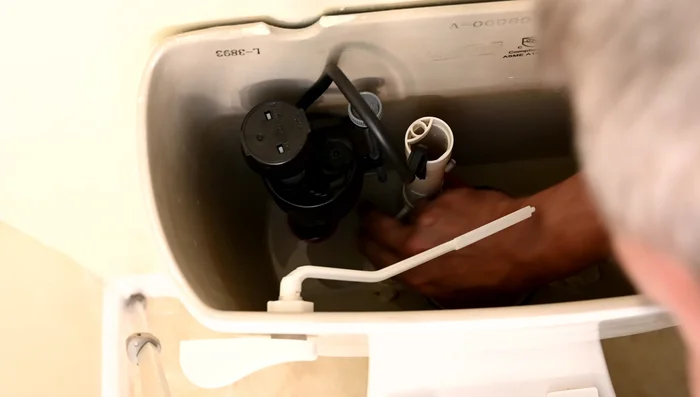
Diagnose the Problem Remove Old Flapper
- Remove the old flapper by lifting the side arms and detaching it from the flush arm.
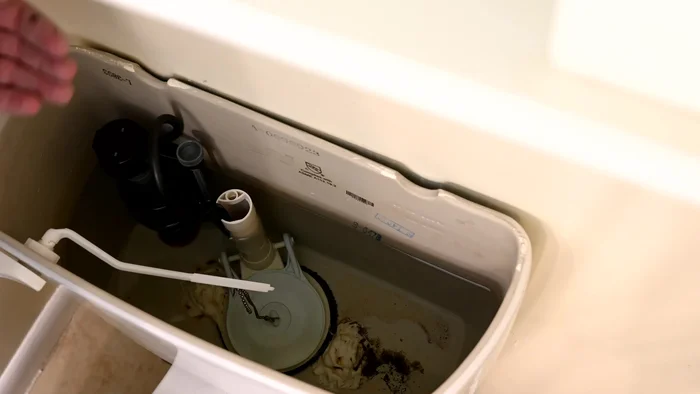
Remove Old Flapper Get Replacement Flapper
- Take the old flapper to a hardware store to ensure you purchase the correct size replacement.
Install New Flapper
- Install the new flapper by hooking it onto the flush arm and securing it in place.
Install New Flapper Test Repair
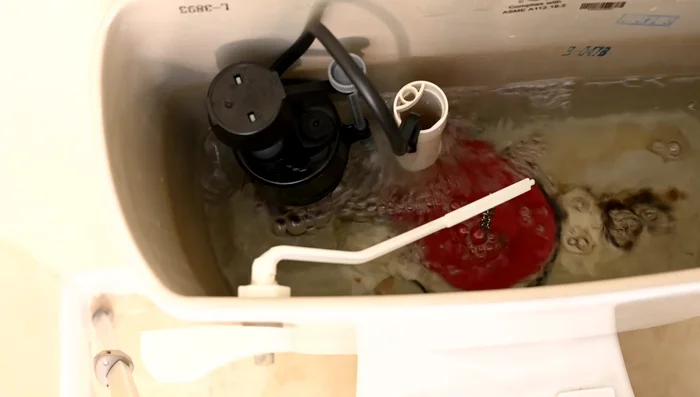
- Turn the water supply back on.
- Flush the toilet to test the repair.
Test Repair
Read more: Fixing a Leaky Toilet Tank: A Step-by-Step Guide
Tips
- A quiet toilet indicates no leaks; sounds usually mean water is leaking.
- Over time, flappers can collect sediment, warp, and lose their seal, leading to leaks. Even microscopic leaks waste water and increase bills.
- Regularly check your flapper for wear and tear to prevent leaks and water waste.
- Ensure you buy the correct size flapper for your toilet. Taking the old flapper to the store helps guarantee a proper fit.