Is your microwave humming but the turntable stubbornly refuses to spin? A non-rotating plate can be incredibly frustrating, leaving you with unevenly cooked food and a sense of culinary defeat. Before you panic and start searching for a costly replacement, consider the simplest culprit: the microwave door switch. This small but crucial component ensures the microwave only operates when the door is securely closed, and a malfunctioning switch can easily prevent the turntable from turning. A broken or misaligned door switch is often a quick and inexpensive fix, potentially saving you the expense and hassle of a professional repair or a new appliance.
This common problem is frequently easier to solve than you might think, and often requires only basic tools and a bit of patience. Forget wrestling with complex internal mechanisms; in this guide, we'll take you through a step-by-step process to diagnose and repair your microwave's door switch, getting your turntable spinning smoothly once again. Let's get started!
Preparation and Safety Guidelines
- Screwdriver (Phillips and Flathead)
- Dremel tool (optional, for security screws)
- Multimeter (optional, for testing)
- Replacement microwave door switch
- Sharpie
- Always unplug the microwave from the power outlet before attempting any repairs. Electricity can be lethal.
- Do not attempt to repair your microwave if you are not comfortable working with electrical components. Seek professional help if needed.
- Be cautious when handling the door switch; it's a delicate part. Avoid excessive force.
Step-by-Step Instructions
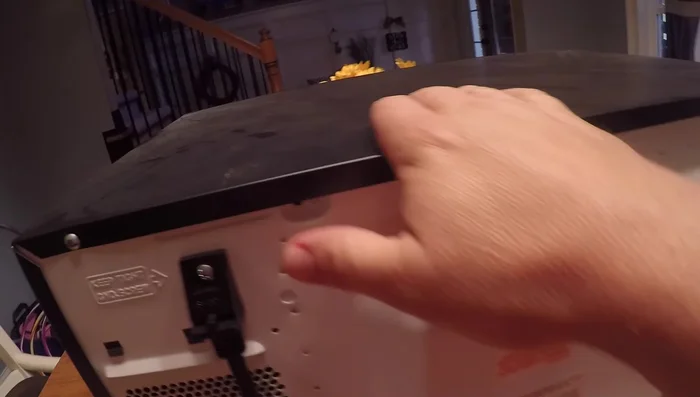
Prepare the Microwave
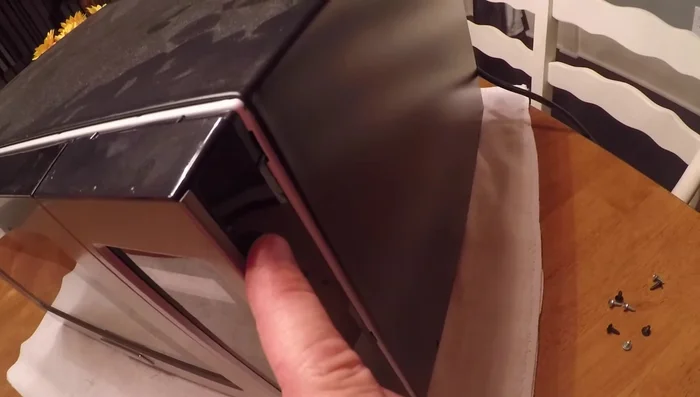
- Remove the microwave from the cabinet.
- Remove the back cover of the microwave (usually involves removing four screws).
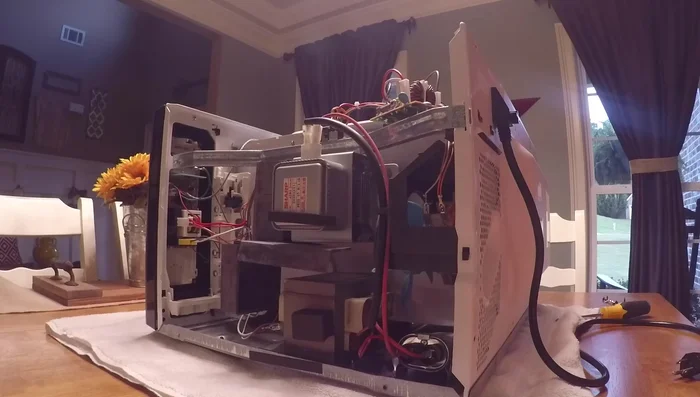
- Carefully remove the top cover of the microwave to access the internal components. Be cautious of the high-voltage capacitor; if unsure, discharge it safely using an insulated screwdriver.

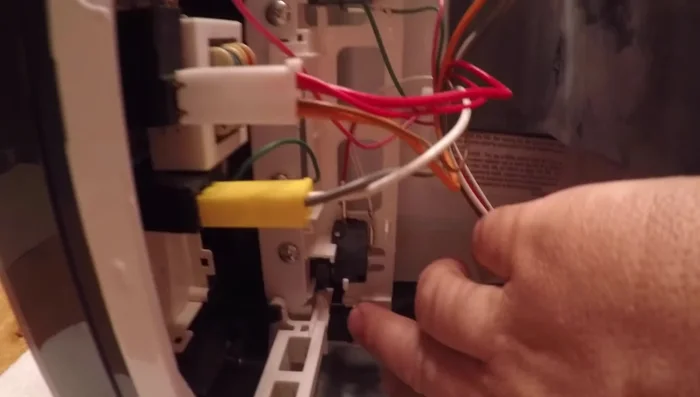
Prepare the Microwave Identify and Remove the Faulty Switch
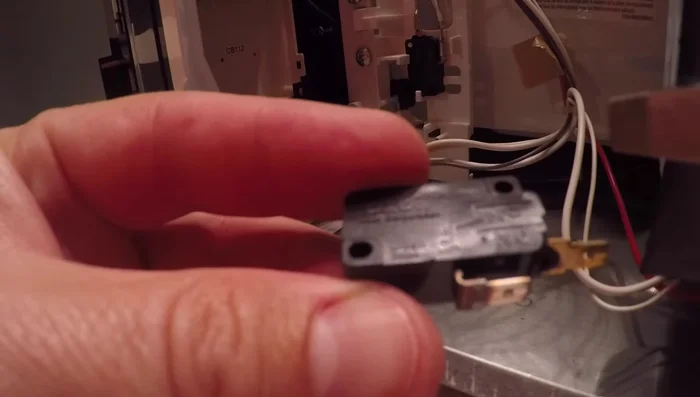
- Identify the door switches (typically two). The lower switch usually controls the turntable and heating functions, while the upper switch controls the light.
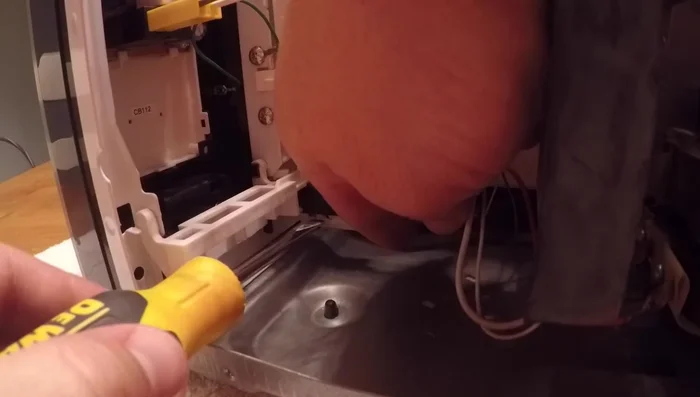
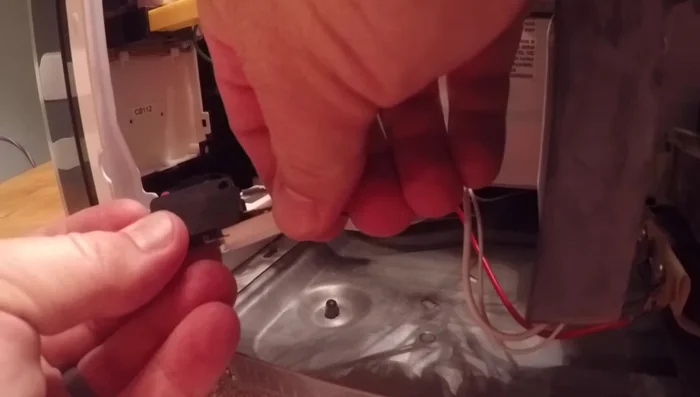
- Remove the suspected faulty switch (usually the lower one). This often involves releasing a plastic clip.
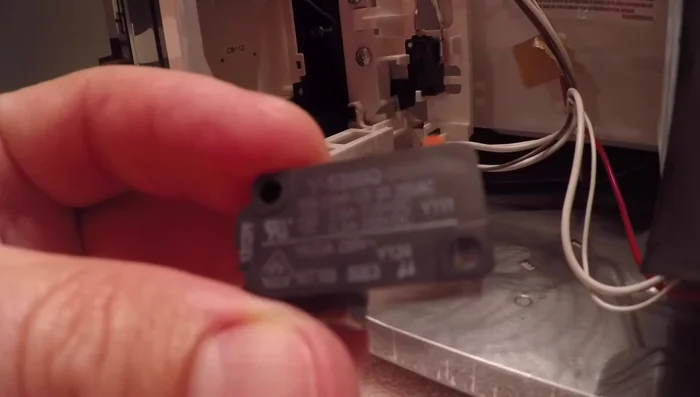
- Note the specifications (amp fuse, voltage) of the old switch.
Identify and Remove the Faulty Switch Replace the Switch
- Purchase a replacement switch with identical specifications.
- Install the new switch, ensuring proper orientation and connections.
Replace the Switch Reassemble and Test
- Reassemble the microwave, carefully sliding the top cover back on and securing it with screws.
- Plug in the microwave and test its functionality.
Reassemble and Test
Read more: Fix Washing Machine Won't Spin: Quick & Easy Motor Coupler Replacement
Tips
- If security screws are present, use a Dremel to cut slots for easier removal.
- Have someone help you remove the microwave from the cabinet due to the wall outlet placement.
- Always discharge the high-voltage capacitor before working on the internal components.
- Use a multimeter to test the switches if needed.
- Always reassemble the microwave with the cover ON before testing.