Have you ever dreamed of creating a charming miniature world, filled with intricate details and captivating craftsmanship? Perhaps you've envisioned a perfectly scaled dollhouse, complete with all the comforts of home. If so, this guide is for you! We'll delve into the surprisingly simple process of crafting your very own miniature cardboard couch, a delightful addition to any miniature scene, whether it's a dollhouse, a diorama, or simply a decorative piece for your desk. This project is perfect for beginners, requiring only basic crafting materials and a touch of patience.
Forget expensive miniature furniture – unleash your inner artist and build something unique and personal. This ultimate guide will take you through every step, from gathering materials and creating the basic framework to adding those finishing touches that will make your miniature couch truly stand out. Get ready to embark on this fun and rewarding crafting journey; let's dive into the detailed, step-by-step process below.
Preparation and Safety Guidelines
- Cardboard
- Exacto knife
- Hot glue gun
- All-purpose joint compound
- Sandpaper
- Elmer's glue
- Acrylic paint (white and gray)
- Cardstock
- Leaf punches
- Felt or quilt batting
- Batik fabric (or other fabric scraps)
- Embroidery thread
- Masking tape
- Pliers
- Always supervise children during crafting. Small parts pose a choking hazard.
- Use sharp craft tools with caution. Adult supervision is required when using knives, scissors, or other potentially dangerous tools.
- Avoid using cardboard that has been exposed to moisture or chemicals, as it may be weakened and unsafe.
Step-by-Step Instructions
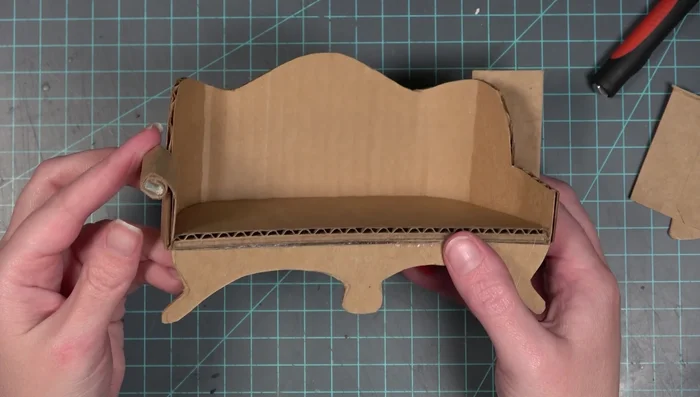
Couch Base Construction
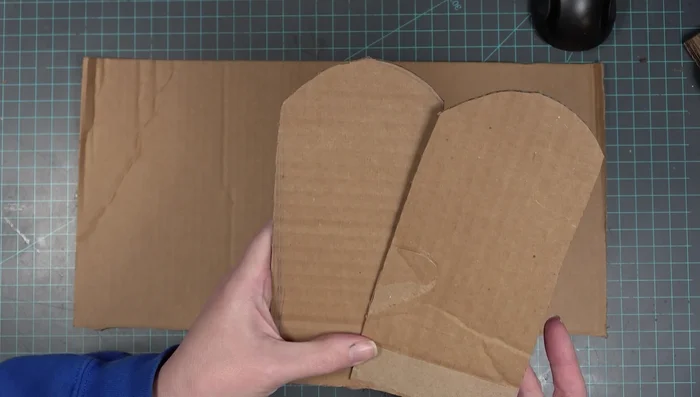
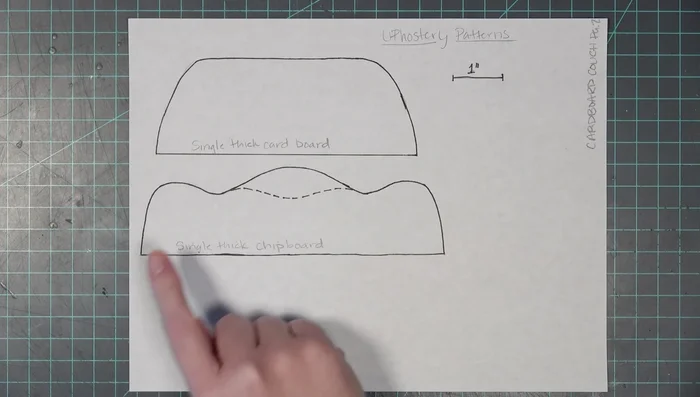
- Cut out the couch seat (double thickness cardboard with corrugation running in opposing directions for strength).
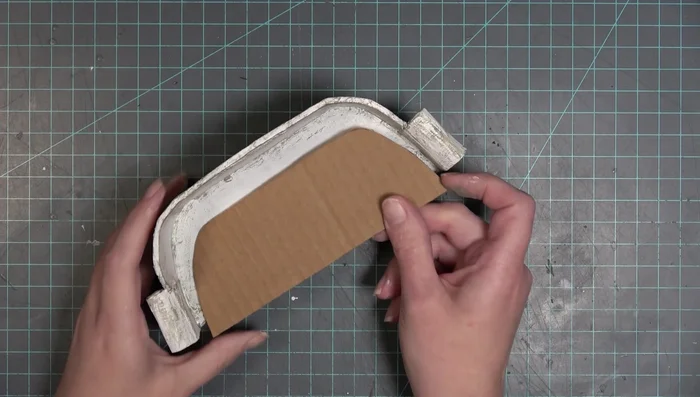
- Cut out the back piece (single thickness cardboard, corrugation running vertically for easier curving). Score vertically along the corrugations to facilitate curving.
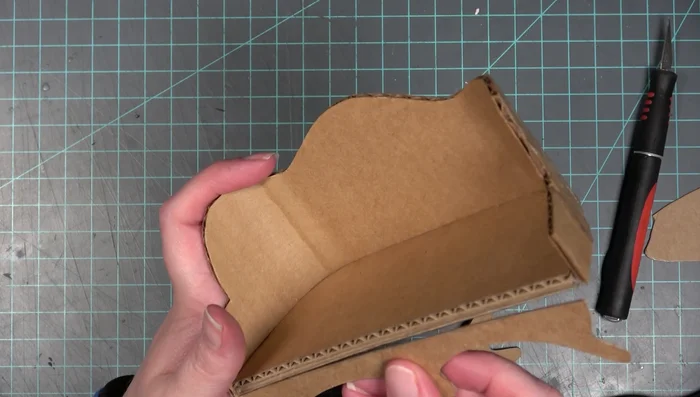
- Glue the back piece to the couch seat, starting from the center and working outwards.
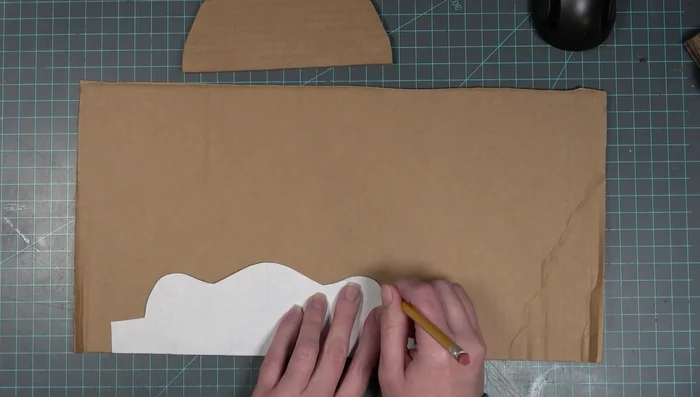
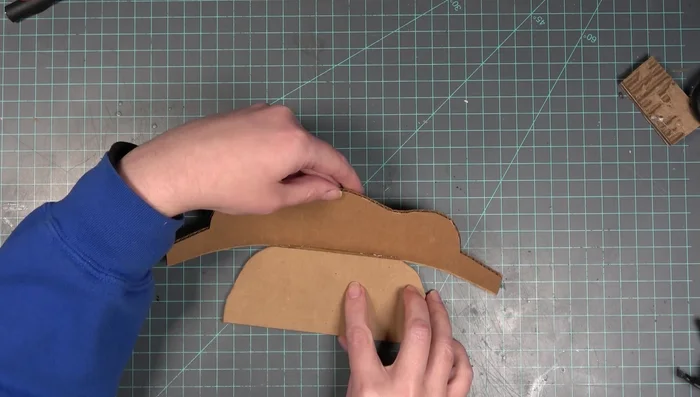
- Cut out and glue the legs (double thickness chipboard).

Couch Base Construction - Glue the legs to the couch base.
- Cut and roll the arm pieces (single layer chipboard). Glue the rolled portions to the couch.
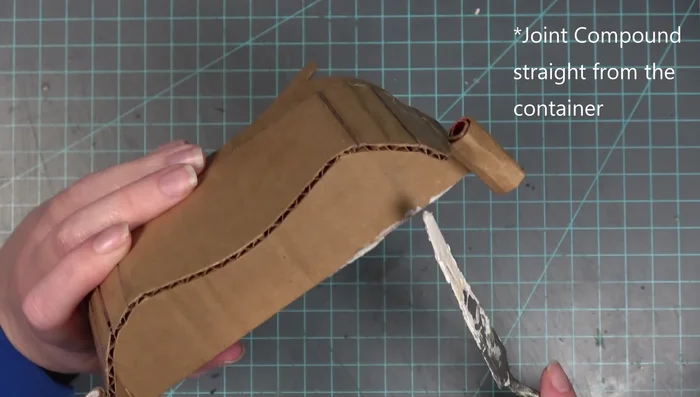
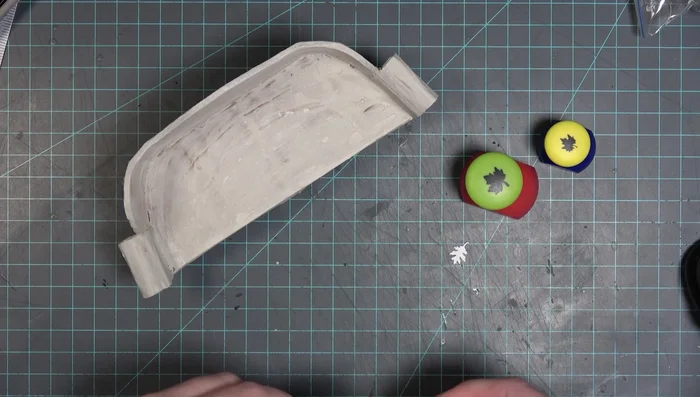
Couch Base Construction Surface Preparation
- Apply all-purpose joint compound to fill gaps and smooth the surface.
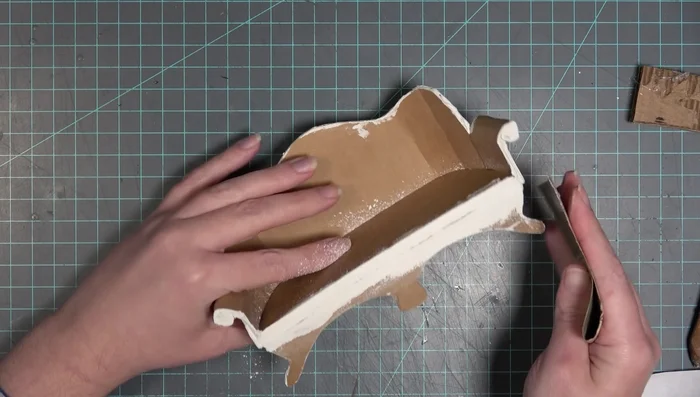
- Sand the couch until smooth.
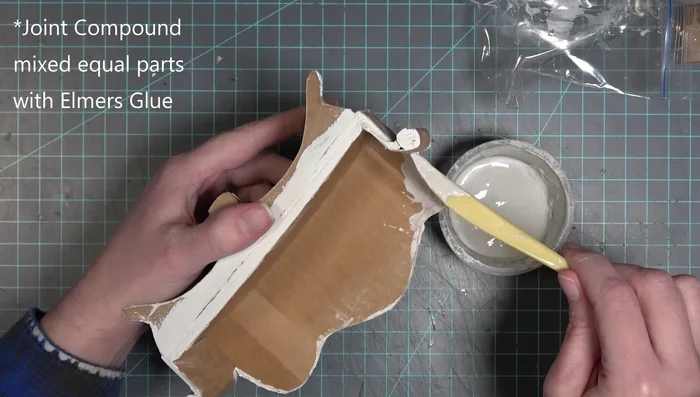
- Apply a mixture of Elmer's glue and joint compound to the couch for a smooth, solid finish. Sand again.
Surface Preparation Seat Cushion Creation
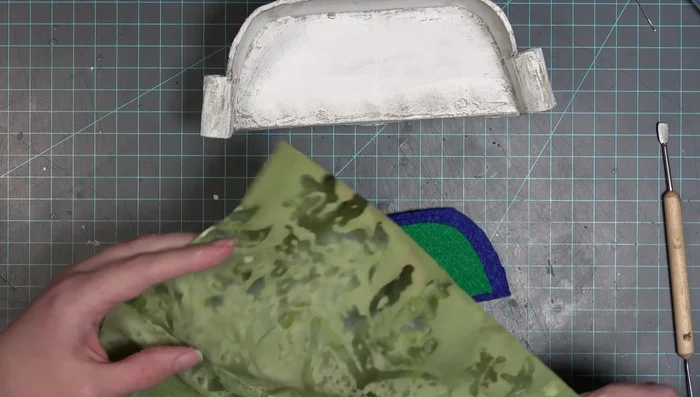
- Cut and layer felt (or quilt batting) to create the seat cushion. Add smaller layers on top for a rounded shape.
- Upholster the seat cushion with fabric.
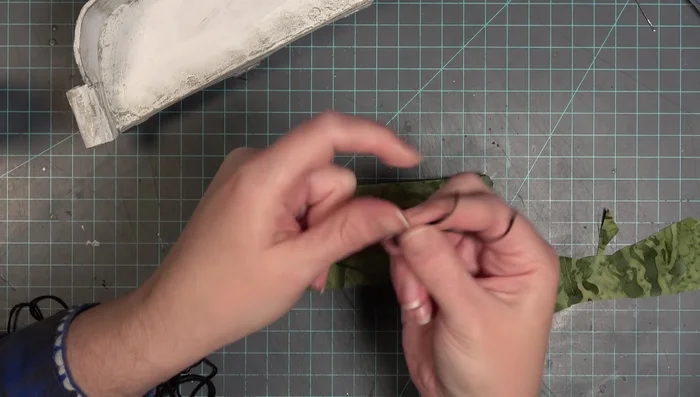
- Add tufting (optional).
Seat Cushion Creation Back Upholstery
- Cut and layer felt for the back upholstery. Upholster the back with fabric.
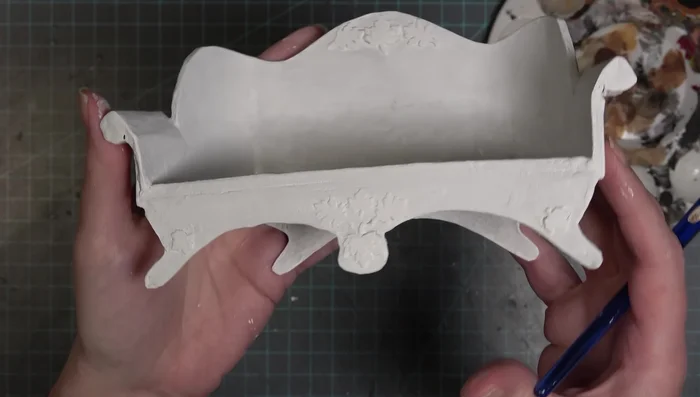
Back Upholstery Finishing Touches
- Add embellishments (e.g., leaf punches from cardstock).
- Paint the couch with a base coat of white acrylic paint, followed by a dry brush of gray for highlighting.
Finishing Touches

Read more: DIY King-Size Tufted Headboard: Budget-Friendly Guide
Tips
- Use double-thickness cardboard for the seat for extra strength. Orient corrugations oppositely for maximum support.
- Score cardboard before curving to prevent cracking.
- When gluing the back piece, start with the center for better alignment and strength.
- Apply glue and joint compound to both sides of the cardboard simultaneously to prevent warping.
- Use felt or quilt batting for upholstery, felt is more readily available.