A leaky Moen shower cartridge can be a frustrating and wasteful problem, leading to increased water bills and potential water damage. The constant drip, drip, drip can disrupt your peace and quiet, not to mention the potential for mold and mildew growth. Fortunately, fixing a leaky Moen shower cartridge is often a manageable DIY project, saving you the cost of a plumber. Many times, the problem stems from a worn-out or damaged cartridge, a relatively inexpensive and easily replaceable part. This is especially true for Moen's reliable, yet sometimes problematic, pressure-balancing cartridges.
Understanding how to diagnose the issue and replace the cartridge correctly is key to a successful repair. This guide will walk you through each step of the process, providing clear instructions and helpful tips to ensure a watertight and smoothly functioning shower once again. Let's dive into the step-by-step guide to repairing your leaky Moen shower cartridge.
Preparation and Safety Guidelines
- vise grips
- needle nose pliers
- Phillips head screwdriver
- Allen wrench
- replacement cartridge
- Moen puller (optional)
- Turn off the water supply to the shower before starting any repairs. This prevents flooding and potential injury.
- Use appropriate tools for the job to avoid damaging the shower valve or surrounding surfaces. Improper tools can strip screws or break parts.
- If you are uncomfortable performing this repair yourself, consult a qualified plumber. Improper repair can worsen the leak or cause further damage.
Step-by-Step Instructions
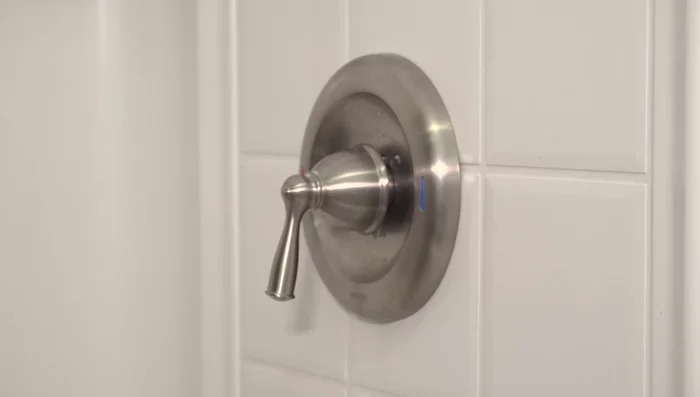
Shut Off Water Supply
- Turn off the water supply to the shower. In some houses, this means turning off the main water supply; in others, you can just turn off the water to the bathroom.

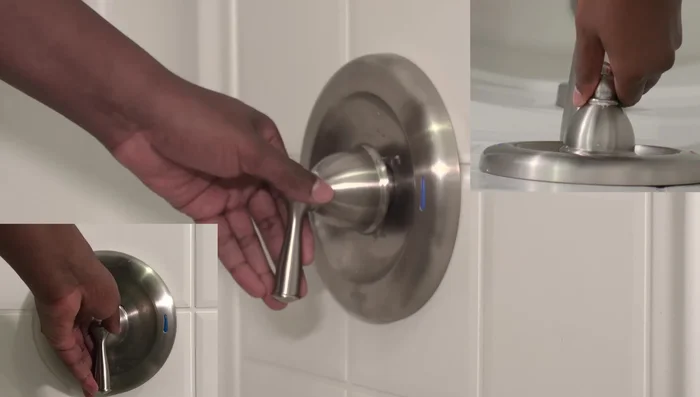
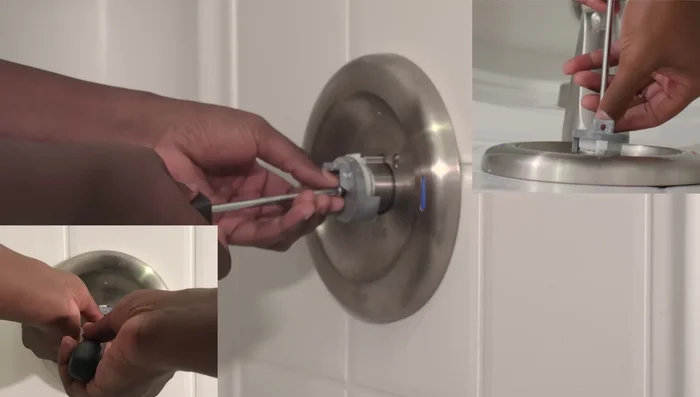
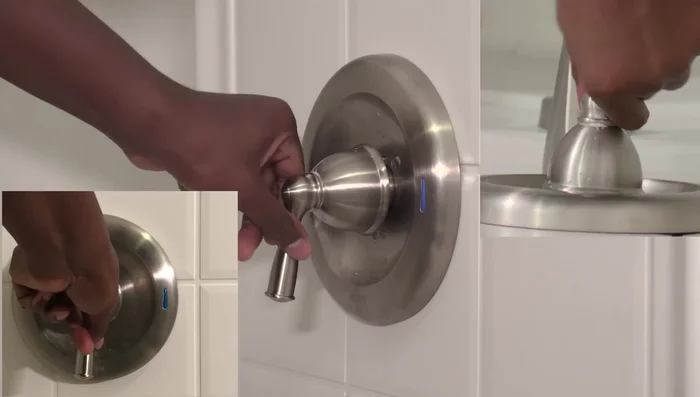
Shut Off Water Supply Remove Shower Handle
- Turn the handle up to expose the set screw. Remove the set screw using an Allen wrench (or electronic screwdriver).
- Remove the handle.
- Remove the handle adapter screw and the handle adapter.
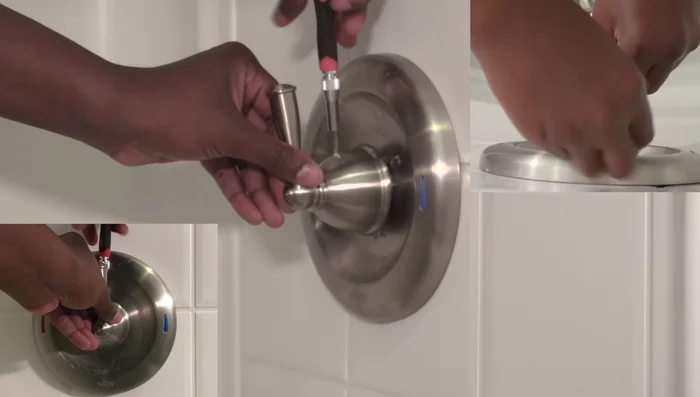
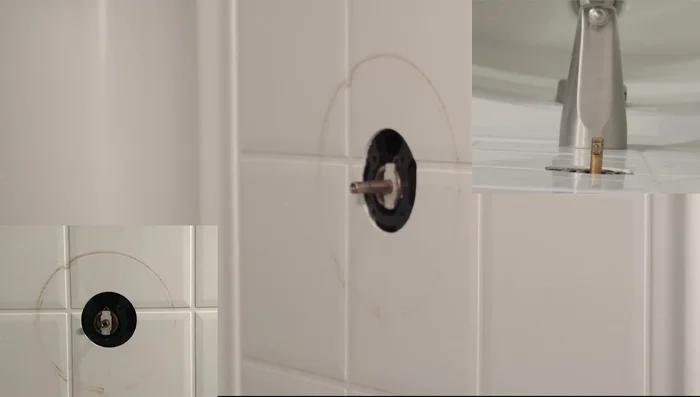
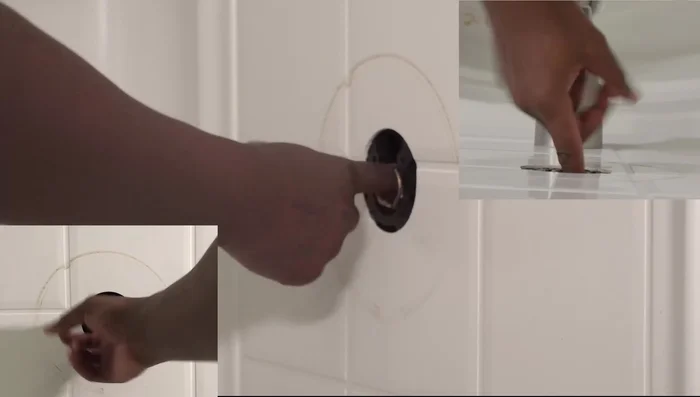
Remove Shower Handle Prepare for Cartridge Removal
- Locate and optionally adjust the temperature limiter (small white piece) to control hot water temperature.
- Remove the faceplate (if necessary to access the cartridge retaining clip).
- Remove the retaining clip using needle-nose pliers.
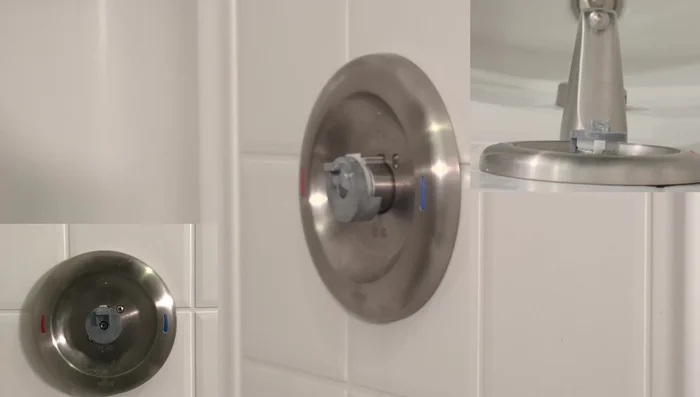
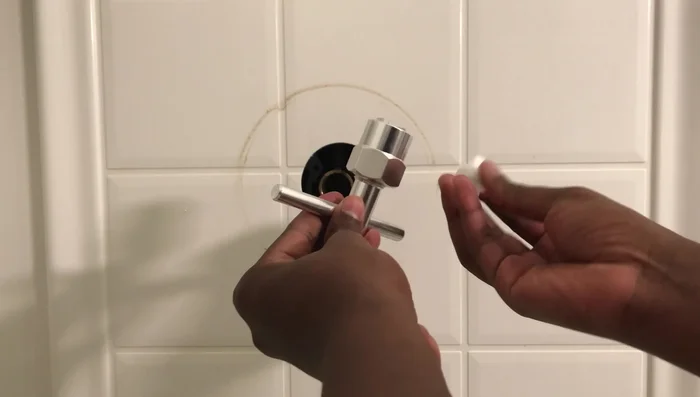
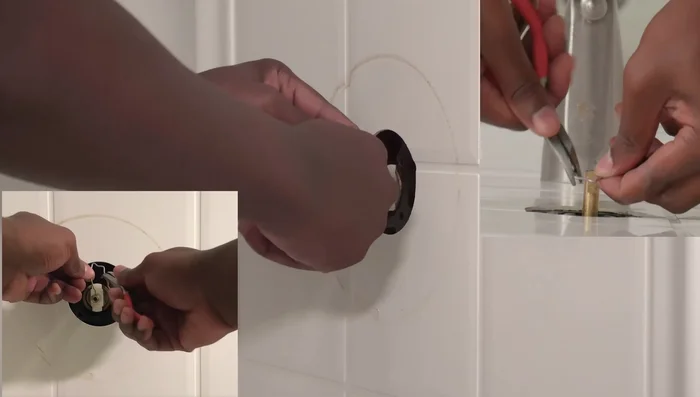
Prepare for Cartridge Removal Remove Old Cartridge
- Remove the metal cylinder. Note the position of the 'H' and 'C' markings on the cartridge to remember the hot and cold water orientation.
- Remove the old cartridge using either a Moen puller or vise grips and the small white plastic piece. The Moen puller is recommended for easier removal.
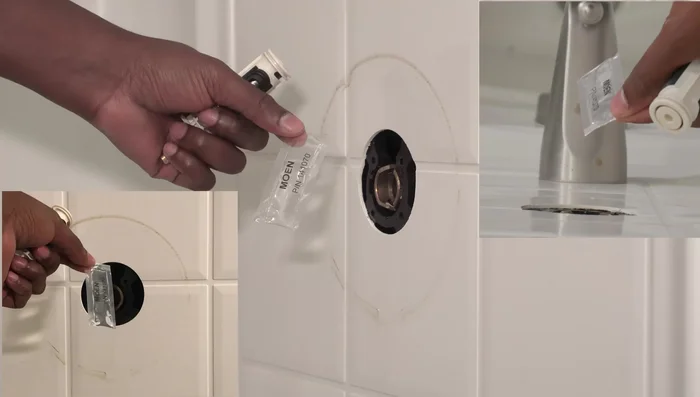
Remove Old Cartridge Clean and Prepare for New Cartridge
- Clean the piping to remove any obstructions or debris.
- Lubricate the rubber pieces on the new cartridge to ease installation.
Clean and Prepare for New Cartridge Install New Cartridge
- Install the new cartridge, ensuring the 'H' and 'C' markings are correctly aligned and the brass piece is flush. Use the Moen puller to ensure proper seating; avoid pushing the brass piece in too far with your hands.
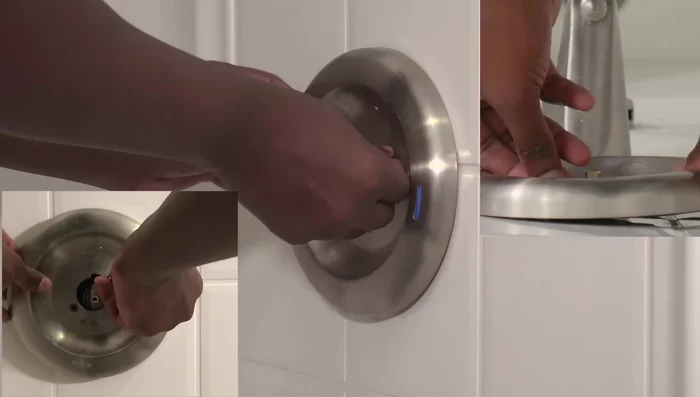
Reassemble Shower Handle
- Reinstall the retaining clip.
- Reinstall the faceplate.
- Reinstall the metal cylinder, temperature limiter (if adjusted), handle adapter, and handle. Secure with the set screw.
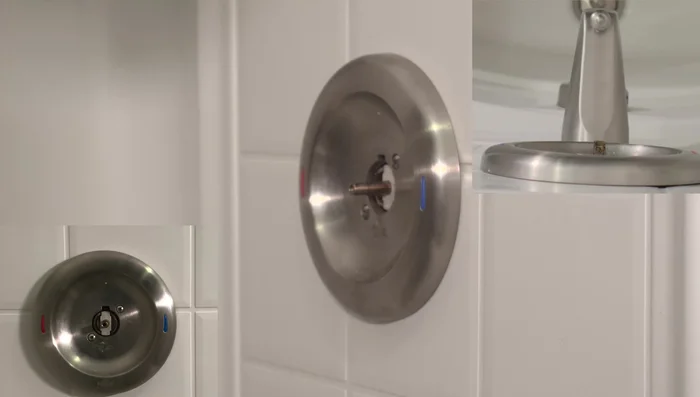
Reassemble Shower Handle Test Water Flow
- Turn the water back on and test the shower to ensure hot and cold water function correctly.
Test Water Flow


Read more: Fixing a Leaky Toilet Tank: A Step-by-Step Guide
Tips
- Remember the orientation of the hot and cold water ('H' and 'C') on the old cartridge before removing it.
- Use the Moen puller tool for easier cartridge removal and installation. It prevents damaging the cartridge.
- Lubricate the O-rings on the new cartridge to make installation easier and prevent leaks.
- Ensure the brass piece on the new cartridge is flush with the valve body. Use the puller tool to ensure proper seating. If not flush, the faucet will leak.
- When tightening screws, rotate back and forth to avoid over-tightening one side.