Mortise locks, with their elegant profile and robust security, are a hallmark of quality doors. However, these intricate mechanisms can sometimes malfunction, requiring repair or even replacement. Whether you're facing a sticky latch, a broken key, or a completely jammed lock, tackling the issue yourself can save you significant expense and frustration. Understanding the inner workings of a mortise lock isn't as daunting as it might seem; with the right tools and a methodical approach, you can restore your door's security and functionality.
This guide provides a comprehensive, step-by-step process for removing and repairing a mortise door lock, empowering you to handle the job efficiently and confidently. From identifying the correct tools and understanding the lock's components to reassembling and testing your repair, we'll guide you through each crucial stage. Let's begin by exploring the essential steps involved in this rewarding DIY project.
Preparation and Safety Guidelines
- Screwdriver (Phillips and flathead)
- Possibly a set screw driver
- Always disconnect the power to the door circuit breaker before starting any electrical work. This prevents electric shock.
- Take photos or detailed notes of each step as you disassemble the lock. This will be invaluable during reassembly.
- Use the correct tools for the job to avoid damaging the door or lock mechanism. Improper tools can cause irreversible damage.
Step-by-Step Instructions
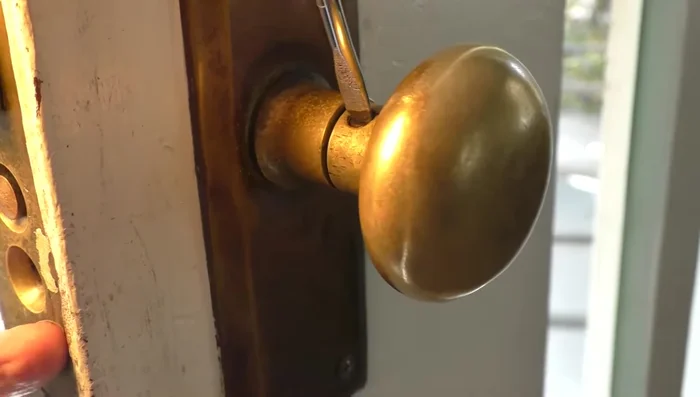
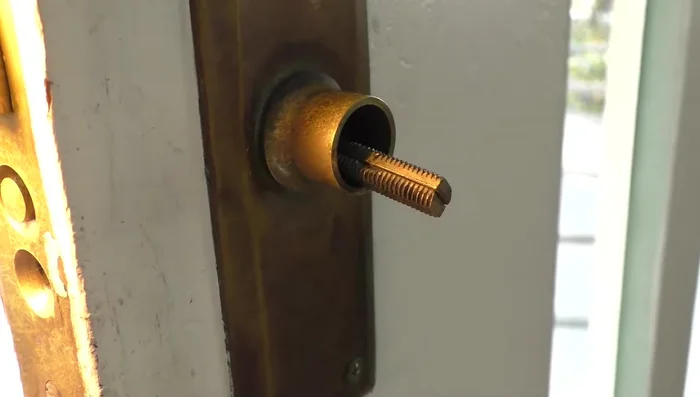
Remove Door Handle
- Remove the door handle by loosening the set screw and unscrewing the handle.
- Remove the threaded rods holding the handle in place.

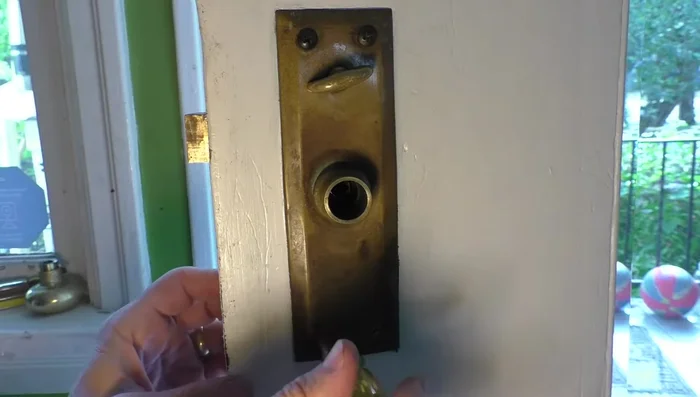
Remove Door Handle Remove Trim Plate
- Remove the trim plate by unscrewing the screws.
Remove Trim Plate Remove Key Cylinder
- Remove the key cylinder by loosening the set screw and unscrewing the cylinder.
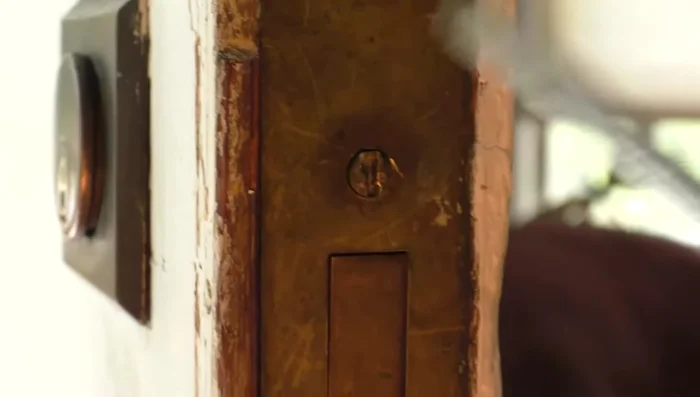
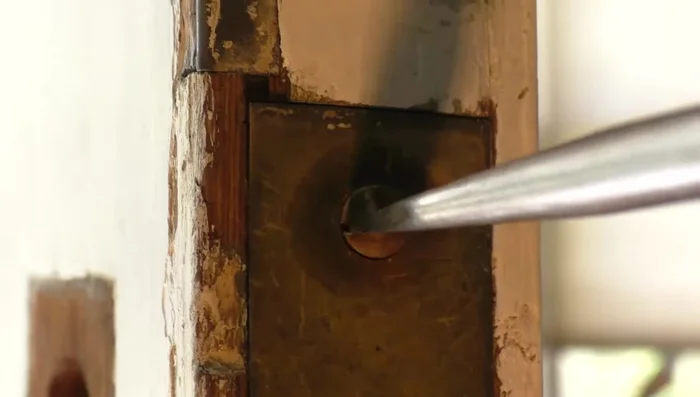
Remove Key Cylinder Remove Lock Case
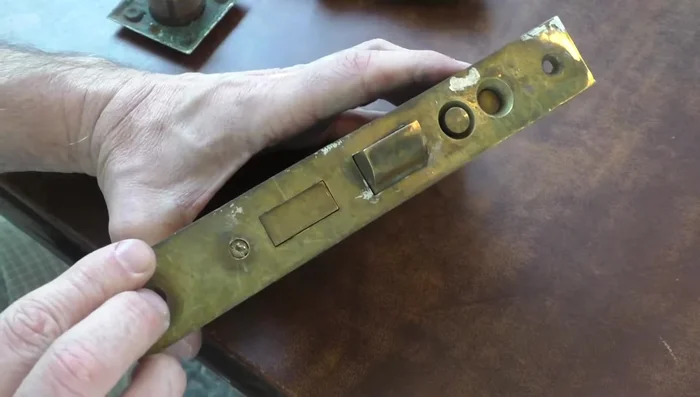
- Remove the lock case by unscrewing a couple of screws. If you have a thumb trigger, lift it out of the way first.
Remove Lock Case Open Lock Case
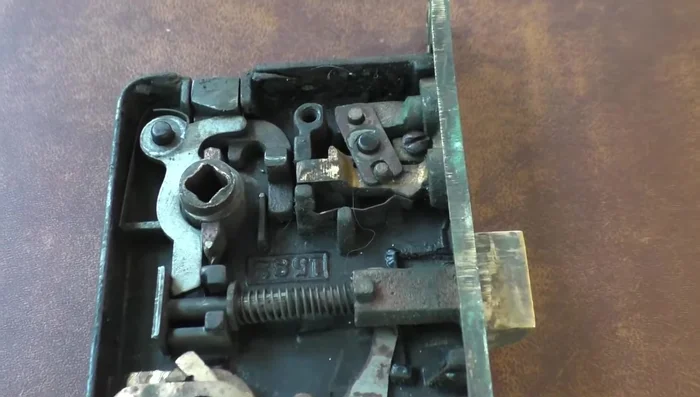
- Open the lock case by unscrewing two screws on the side.
- Remove the side plate to access the internal mechanisms.
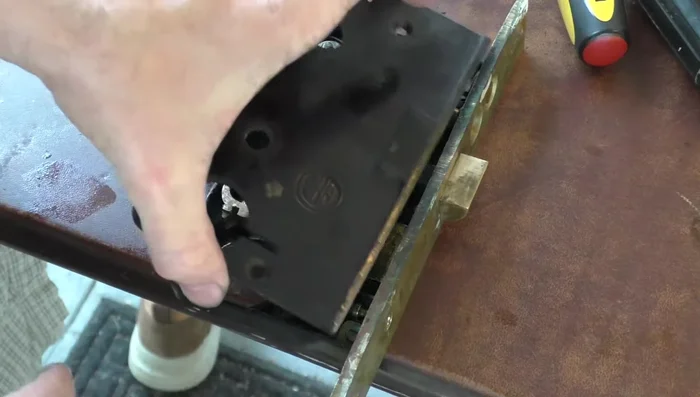
Open Lock Case Reassemble
- Reassemble in reverse order, making sure the key cylinder is properly aligned and the set screw is tightened.
Reassemble
Read more: 3M Thinsulate Window Film Installation: A Step-by-Step Guide
Tips
- If your door handles are on both sides of the door, remove both before proceeding.
- Mortise locks vary; your internal components may look slightly different.
- Adjust the lock cylinder's set screw to ensure proper operation and alignment with the door. The cylinder can extend further than expected.
- To solve a latch bolt that locks in both directions, reverse the hub ring.
- Understand the function of the stop and release plungers in relation to the thumb trigger mechanism.