Tired of backbreaking labor and endless weeding? Yearning for a vibrant flower garden without the strenuous digging and soil upheaval? Then prepare to discover the revolutionary world of no-dig gardening! This innovative approach prioritizes soil health and minimizes physical exertion, allowing you to cultivate a breathtaking bloom-filled haven with minimal effort. Forget the arduous task of turning over heavy soil; we’ll show you how to create a thriving garden ecosystem that nourishes your plants while nurturing your spirit.
This ultimate guide will walk you through every step of building your own no-dig flower bed, from selecting the perfect location and choosing the right materials to planting, maintaining, and enjoying the fruits (or rather, flowers!) of your labor. Get ready to embrace a simpler, more sustainable, and significantly less strenuous way to experience the joy of gardening – let’s dive into the step-by-step process!
Preparation and Safety Guidelines
- Rolled cardboard or recycled cardboard boxes (without tape or shiny coatings)
- Newspaper (uncoated)
- Hose with nozzle
- Tape measure
- Spade/shovel
- Garden gloves
- Compost
- Mulch
- Always check for underground utilities before digging or using any tools, even if you're only working on the surface. Contact your local utility companies to mark their lines.
- Wear appropriate safety gear, including gloves and sturdy footwear, to protect yourself from sharp objects, thorns, and potential injuries.
- Be mindful of the materials you use. Some cardboard or wood mulches can attract pests or decompose unevenly. Choose materials suitable for your climate and gardening style.
Step-by-Step Instructions
Planning and Preparation
- Determine the size of your garden bed and calculate the required amount of compost and mulch using an online calculator (link provided in video description).
Site Preparation
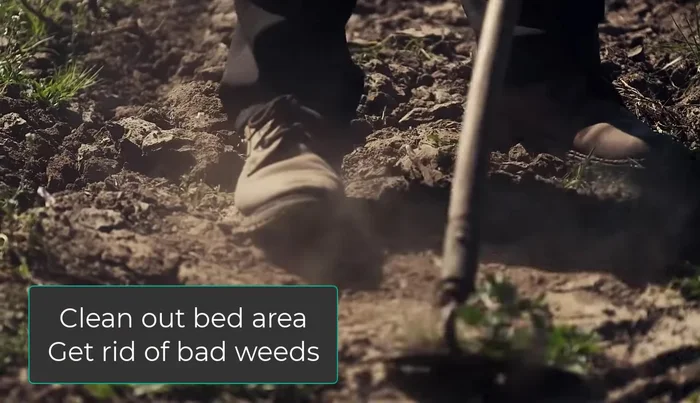
- Clean the area, removing weeds if necessary. This step can be skipped if covering grass.
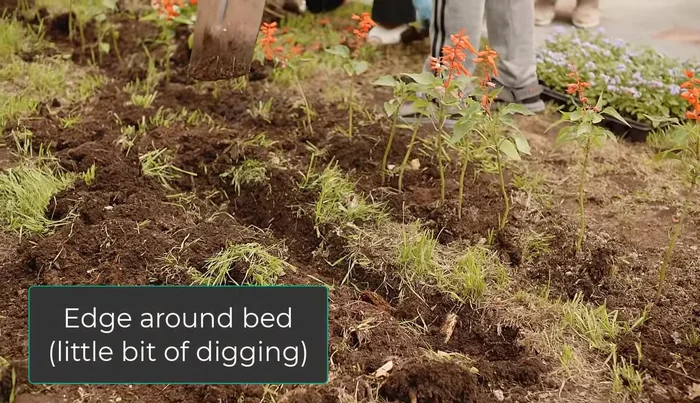
- Edge the area with a trench 3-4 inches deep and 8-12 inches wide to contain the soil and mulch.

Site Preparation Planting Larger Plants
- Pre-plant larger trees and shrubs (5 gallons or larger) slightly above soil level, keeping mulch away from their bases.
Planting Larger Plants Watering
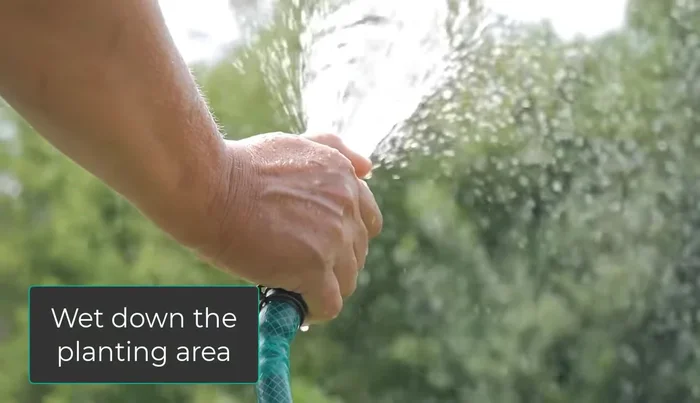
- Water the entire area thoroughly.
Watering Laying the Base
- Lay down two layers of rolled cardboard or several layers of recycled cardboard/newspaper in a crosshatch pattern. Soak thoroughly with water.
Adding Compost
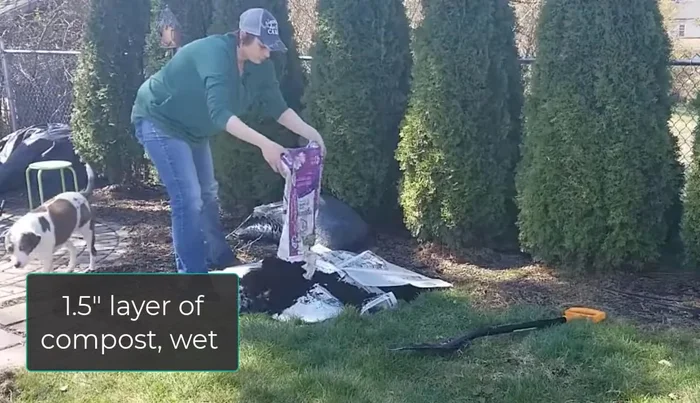
- Spread a 1.5-inch layer of compost over the soaked cardboard/newspaper, and water again.
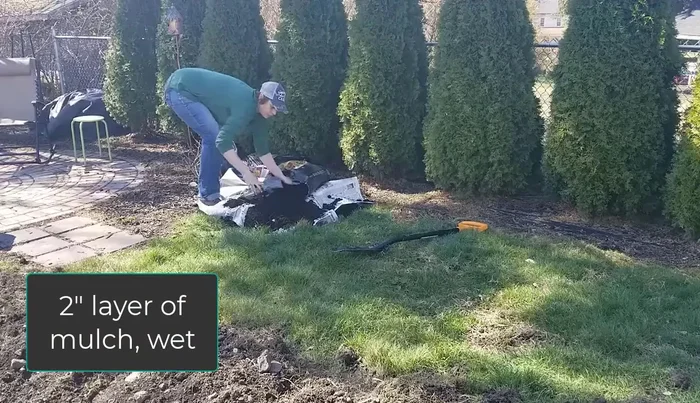
Adding Compost Adding Mulch
- Add a 2-inch layer of mulch on top of the compost.
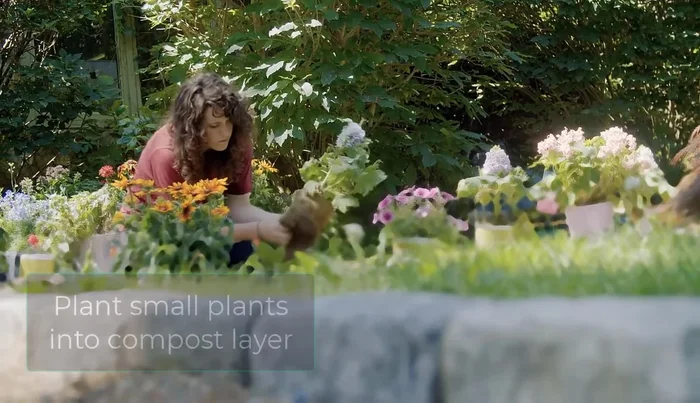
Adding Mulch Planting
- Plant smaller plants directly into the compost layer or poke holes through the cardboard to plant larger ones, adding organic matter to the holes.
Planting

Read more: DIY King-Size Tufted Headboard: Budget-Friendly Guide
Tips
- Use an online calculator to determine the amount of compost and mulch needed.
- Soaking the cardboard/newspaper is crucial for holding it in place and starting decomposition.
- If you have a lot of weeds, use a thicker layer of mulch.