Love the look of scrappy quilts but intimidated by the sewing? Fear not, quilters! This tutorial introduces a wonderfully simple, no-sew method for creating stunning scrappy fabric blocks using the amazing adhesive Wonder Under. Transform your fabric scraps into charming patchwork designs without ever picking up a needle and thread, perfect for beginners and experienced quilters alike who want a faster, easier approach to quilting. Forget the frustration of precise stitching and enjoy the satisfying process of creating beautiful, unique blocks with minimal effort.
This exciting technique allows you to unleash your creativity and experiment with a wide array of colors and patterns. From playful and colorful designs to more sophisticated and subtle palettes, the possibilities are endless. Ready to dive into the fun and start crafting? Let's get started with our step-by-step guide on how to make these easy, no-sew scrappy fabric blocks using Wonder Under!
Preparation and Safety Guidelines
- Wonder Under fusible interfacing
- Scrap muslin or fabric
- Scissors
- Iron
- Sewing machine (optional, double needle recommended)
- Wonder Under is heat-activated adhesive; always use caution near heat sources like irons. Test a small area first to ensure it won't damage your fabric.
- Ensure your iron is at the correct temperature for your fabric type. Too much heat can scorch or melt fabrics, while too little may not activate the adhesive properly.
- Always use a pressing cloth or parchment paper between your iron and the fabric to prevent adhesive residue from sticking to your iron and to protect the fabric's surface.
Step-by-Step Instructions
Prepare Fabric and Wonder Under
- Prepare small pieces of fabric and Wonder Under.
- Apply Wonder Under to the wrong side of your fabric scraps (rough side of paper facing the wrong side of fabric). Trim excess Wonder Under.
- Press the Wonder Under firmly onto the fabric, ensuring good adhesion. Allow to cool.

Prepare Fabric and Wonder Under Cut and Arrange Fabric Pieces
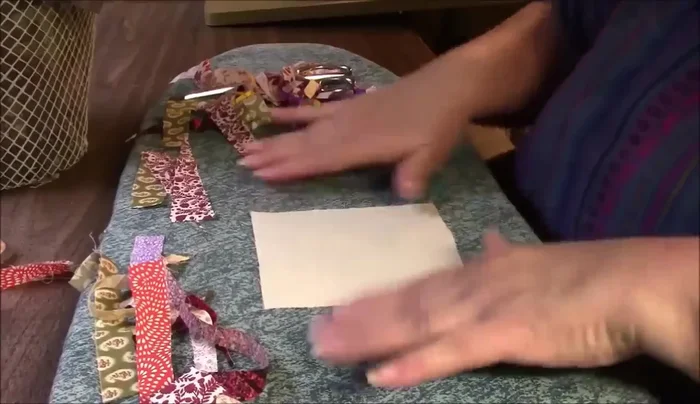
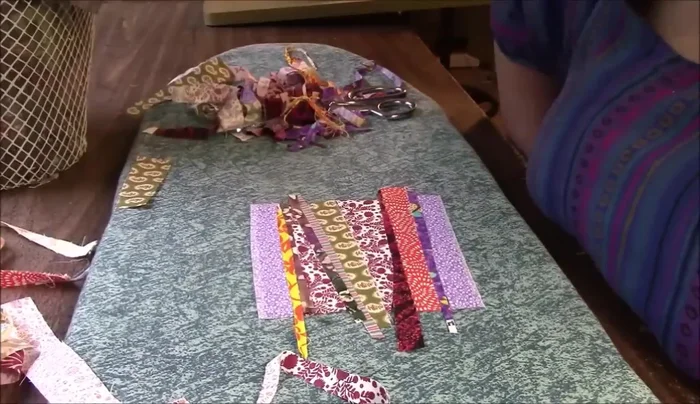
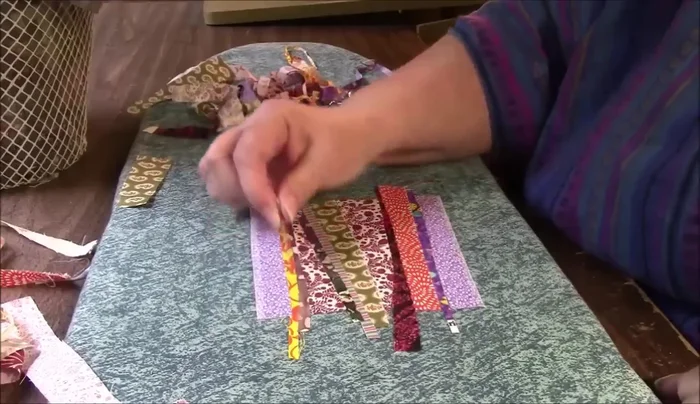
- Cut out various shapes and sizes of fabric (the creator cuts preemptively off-camera).
- Arrange the fabric pieces on a larger piece of fabric or backing (in a wonky, unplanned manner, as demonstrated).
Cut and Arrange Fabric Pieces Adhere Fabric to Backing
- Press the arranged fabric pieces to adhere them to the backing fabric.
Adhere Fabric to Backing Optional: Sew and Finish
- use a double needle for faster results – two parallel lines of stitching at once).
Optional: Sew and Finish Wash and Reveal
- Wash the finished block to set the design and see the final result.


Read more: DIY Vibrant Car Organizer: A Step-by-Step Quilting Tutorial
Tips
- Using a thread between Wonder Under and fabric makes peeling the paper easier.
- Press the Wonder Under thoroughly and let it cool completely to ensure a strong bond.
- A double needle speeds up the sewing process by creating two lines of stitching simultaneously.
- Experiment with different fabric arrangements and shapes for unique designs.