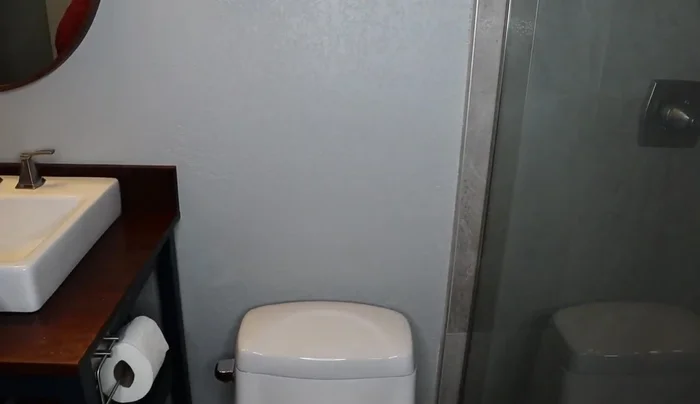
Transform your bathroom from cluttered to chic with the simple addition of over-toilet shelving! Limited on space but overflowing with toiletries and cleaning supplies? This common bathroom dilemma has a surprisingly easy solution: DIY installation of stylish and functional shelves above your toilet. Forget expensive, pre-fabricated units and embrace the satisfaction of a personalized project that perfectly suits your needs and aesthetic. With just a few readily available materials and a little bit of elbow grease, you can dramatically increase your bathroom's storage capacity. The process is surprisingly quick and simple, even for novice DIY enthusiasts.
This guide will walk you through a step-by-step process, providing clear instructions and helpful tips to ensure a seamless installation. From choosing the right materials and measuring accurately to securing the shelves safely and adding those finishing touches, we'll cover everything you need to know to complete your project efficiently and effectively. Let's get started and create that spa-like bathroom you've always dreamed of!
Preparation and Safety Guidelines
- Shelves (with mounting hardware)
- Drywall anchors
- Drywall screws
- Screwdriver
- Drill with appropriate drill bits (smaller than screw size and pilot hole size if desired)
- Level
- Pencil
- Tape measure (optional)
- Stud finder (optional)
- Ensure the toilet's supporting wall is sturdy enough to hold the weight of the shelves and their contents. Avoid installing shelves on drywall alone; use wall studs for secure mounting.
- Always turn off the water supply to the toilet before starting the installation. This prevents accidental flooding during the process.
- Use appropriate safety gear like safety glasses to protect your eyes from debris during drilling and installation.
Step-by-Step Instructions
Planning and Preparation
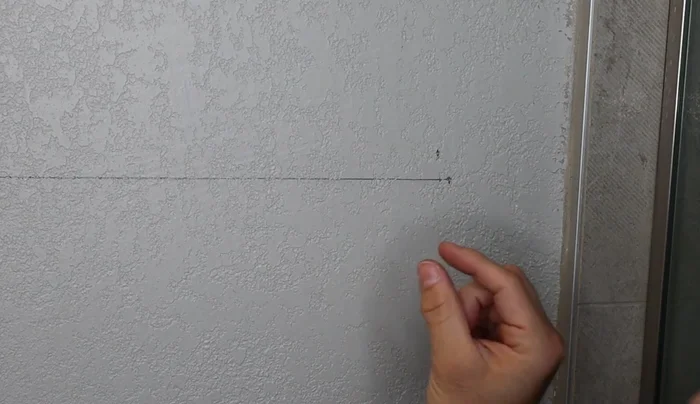
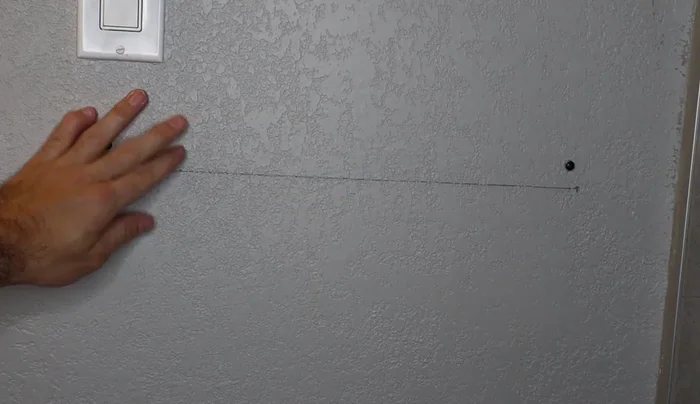
- Measure and mark the desired shelf locations on the wall. Center the shelves over the toilet, not necessarily centered between other bathroom fixtures.
- Use a stud finder to locate wall studs if possible. This will provide extra support. If you can't find studs, mark the location for pilot holes if desired.

Planning and Preparation Pre-Installation (Optional)
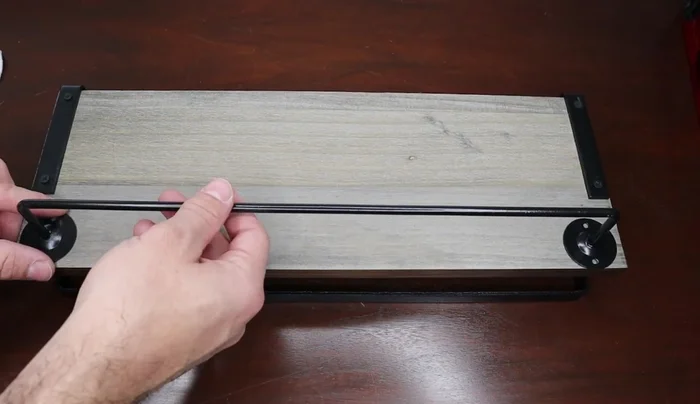
- Attach the towel bar (if using) to one of the shelves. Position it slightly back from the front edge for better towel placement.
Pre-Installation (Optional) Drilling Pilot Holes and Anchors (If Necessary)
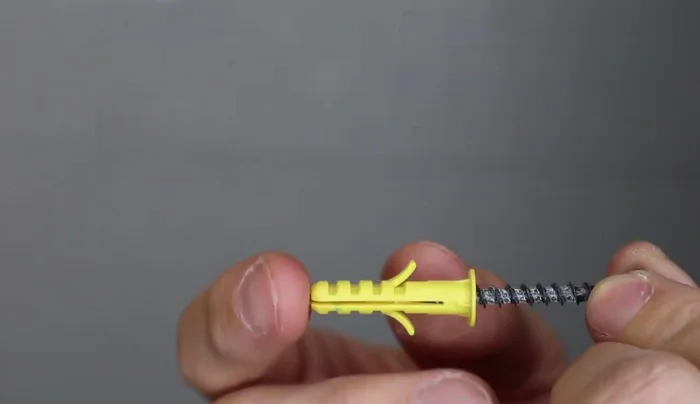
- Drill pilot holes (optional) using a drill bit smaller than your screw size. If hitting a stud, only use the screw. If not hitting a stud, use drywall anchors before inserting screws.
- Insert and secure the drywall anchors into the pilot holes (if necessary).
Drilling Pilot Holes and Anchors (If Necessary) Installing Brackets
- Position the shelf brackets on the wall, ensuring they are level and align with the marks. Partially insert the screws to allow for shelf placement.
Installing Brackets Attaching Shelves
- Hang the shelves, aligning them with the brackets. Tighten the screws securely to ensure the shelves are stable.
Attaching Shelves

Read more: DIY Mason Jar Soap Dispensers: A Step-by-Step Guide with Two Stunning Designs
Tips
- Consider the placement of the shelves in relation to the toilet and other bathroom fixtures. Prioritize centering over the toilet for a clean look.
- Use a level to ensure the shelves are installed straight and level. Even small inconsistencies can make the shelves look awkward.
- Use a stud finder to maximize support, especially for heavier items. Drywall anchors are a good backup option, but studs are preferable.
- Test the screws in your pilot holes to determine whether the screws are biting into a stud. If not, use drywall anchors to provide sufficient support.