Dive into the vibrant world of crazy patchwork and transform your fabric scraps into unique and beautiful bags and pouches! This exciting craft project is not only a fantastic way to upcycle those beloved fabric remnants gathering dust in your sewing box, but also a rewarding creative outlet that allows for endless personalization and experimentation. Forget uniform stitches and predictable patterns; crazy patchwork embraces the beauty of asymmetry and celebrates the joy of using a variety of textures, colors, and prints to create truly one-of-a-kind accessories.
Imagine the satisfaction of crafting a stylish bag entirely from repurposed fabrics, each piece telling its own story. This process is surprisingly straightforward, even for beginners! Whether you’re aiming for a whimsical tote, a practical pouch, or a charming cosmetic bag, let's get started with the step-by-step guide below to creating your own crazy patchwork masterpiece.
Preparation and Safety Guidelines
- sewing machine
- scissors
- iron
- pins
- zipper
- Always use sharp, well-maintained scissors or rotary cutter to prevent injury. Dull blades require more force and increase the risk of slips.
- Handle sewing machine needles and pins with care. Store them properly when not in use to avoid accidental pricks and injuries.
- Be mindful of fabric types. Some fabrics may fray easily or be more difficult to sew than others. Pre-wash fabrics to prevent shrinkage and colour bleeding in the finished product.
Step-by-Step Instructions
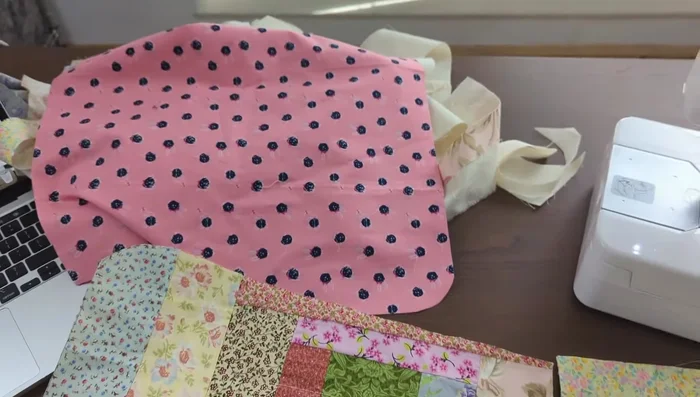
Preparation & Fabric Selection
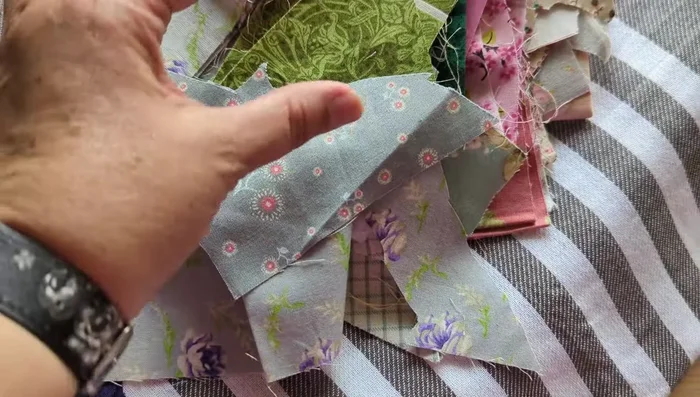
- Organize fabric scraps by color.
- Select panels for the main bag fabric (log cabin method).
- Choose backing fabric for the bags.

Preparation & Fabric Selection Patchwork Panel Construction
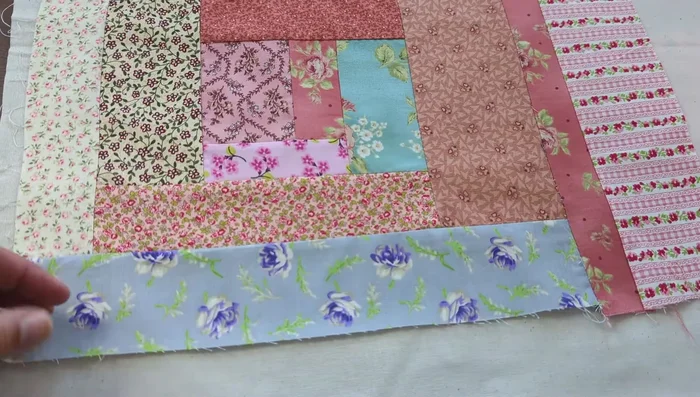
- Assemble patchwork panels using the log cabin method (placing one piece at a time, adding around).
- Cut and iron patchwork pieces.
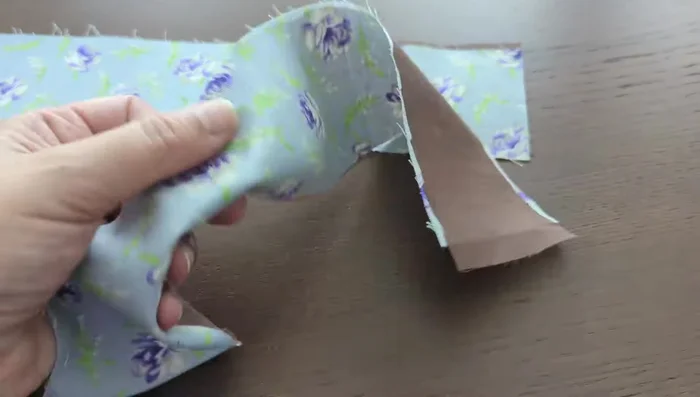
Patchwork Panel Construction Bag Assembly
- cut the patchwork panel and the backing fabric to the desired size.
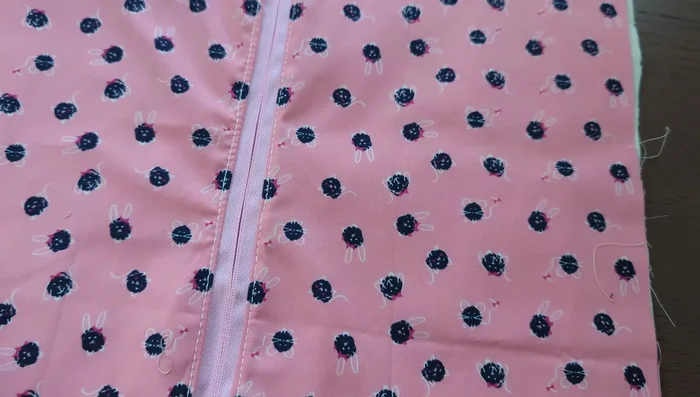
Bag Assembly Zipper Installation
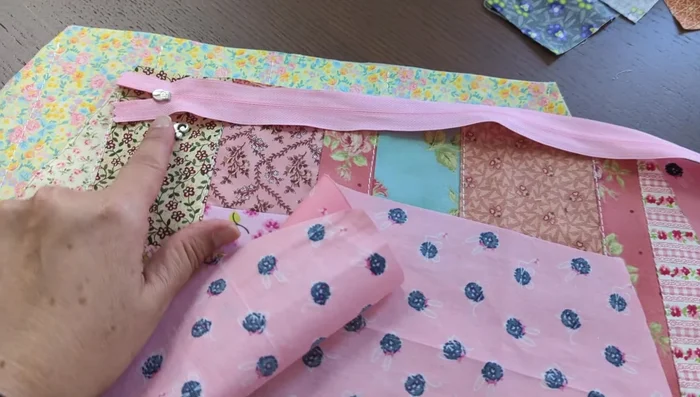
- Attach the zipper to the bag front.
- Sew the lining and outside fabric together around the zipper.
- Top stitch the zipper to the bag front and lining.
Zipper Installation Sewing & Finishing
- Sew the side and bottom seams of the bag leaving a small opening for turning right side out.
- Turn the bag right side out. Close the opening by hand stitching or machine stitching.
Sewing & Finishing Strap Creation & Attachment
- Make straps for the tote bag.
- Attach straps to the bag.
Strap Creation & Attachment


Read more: DIY Vibrant Car Organizer: A Step-by-Step Quilting Tutorial
Tips
- When shopping for fabric scraps at thrift stores, pick everything you want because the selection will change.
- Use interfacing to strengthen straps.