Are you tired of rummaging through a chaotic travel bag, desperately searching for your passport amidst a tangle of toiletries and clothes? A well-organized bag can transform a stressful journey into a smooth and enjoyable experience. This tutorial will guide you through creating your own personalized, patchwork travel bag organizer, offering a unique and practical solution to travel chaos. Forget generic, mass-produced organizers; we'll craft a beautiful and functional piece tailored to your specific needs and style, utilizing the satisfying techniques of patchwork sewing. The result will be a custom-made solution that perfectly fits your luggage and keeps your belongings neatly in place.
Imagine the satisfaction of effortlessly locating your essentials, knowing exactly where everything is. This project is perfect for sewers of all skill levels, allowing you to personalize your organizer with your favorite fabrics and colors. Ready to transform your travel experience and unleash your creativity? Let's dive into the step-by-step process of creating your own patchwork masterpiece, starting with gathering your materials and choosing your pattern.
Preparation and Safety Guidelines
- Fabric scraps
- Zipper
- Elastic
- Interfacing
- Piping
- Webbing
- Sewing machine
- Scissors
- Pins
- Iron
- Measuring tape
- Always use sharp scissors and pins to prevent injury. Handle your sewing machine with care, following the manufacturer's instructions.
- Pre-wash all fabrics before sewing to avoid shrinkage and color bleeding after the bag is finished.
- Ensure all seams are securely stitched to prevent the organizer from tearing under the weight of your belongings. Consider reinforcing stress points like the bottom and handles.
Step-by-Step Instructions
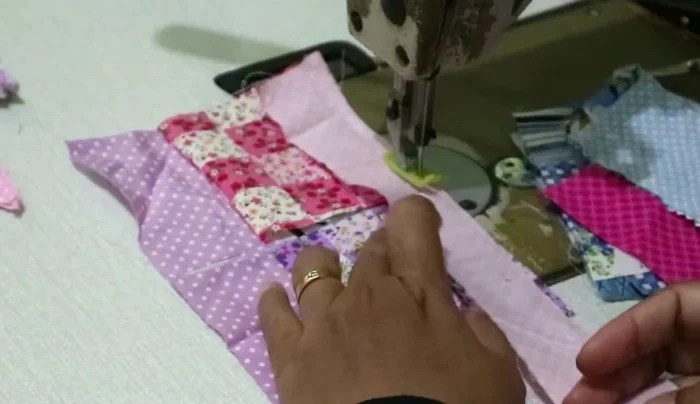
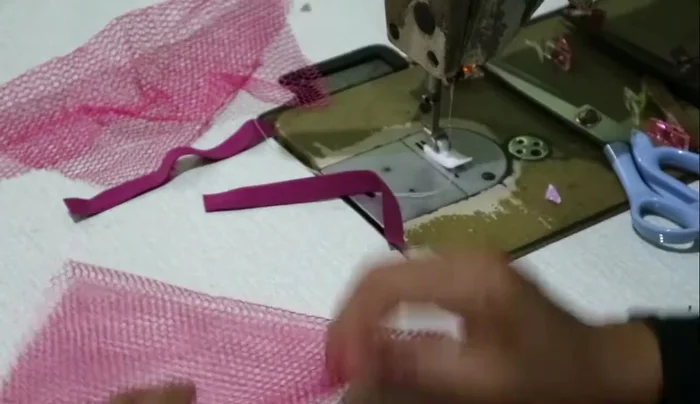
Prepare Patchwork
- Prepare patchwork from fabric scraps.

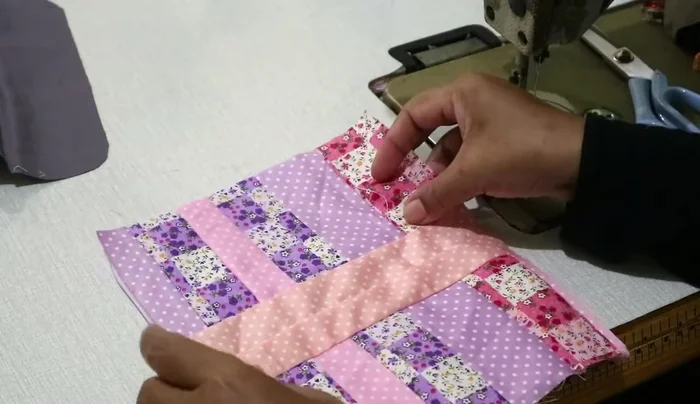
Prepare Patchwork Prepare Base and Lid
- Apply patchwork to interlining; one for the base and one for the lid.
Prepare Base and Lid Attach Lid Components
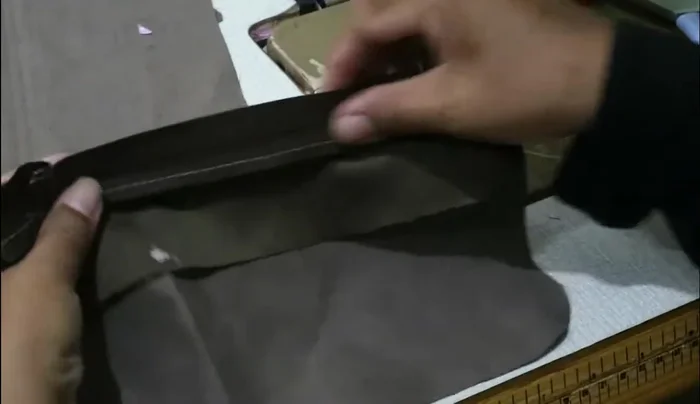
- Sew the handle to the lid.
- wrap with synthetic leather tape).
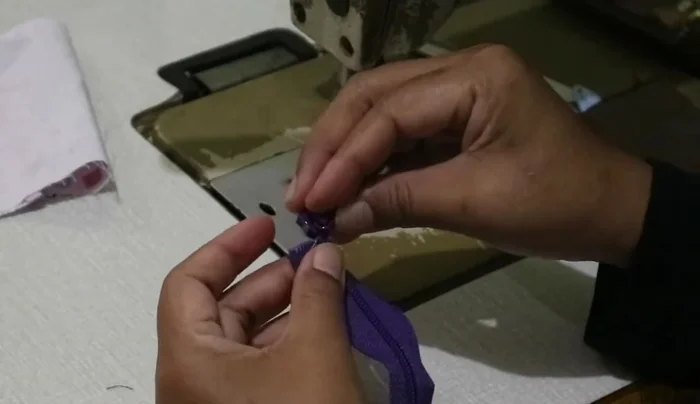
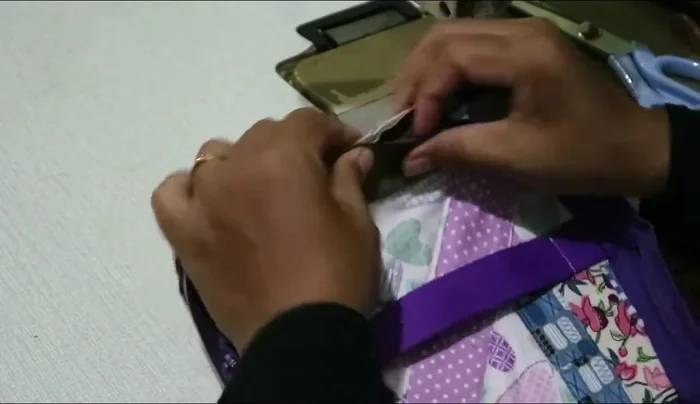
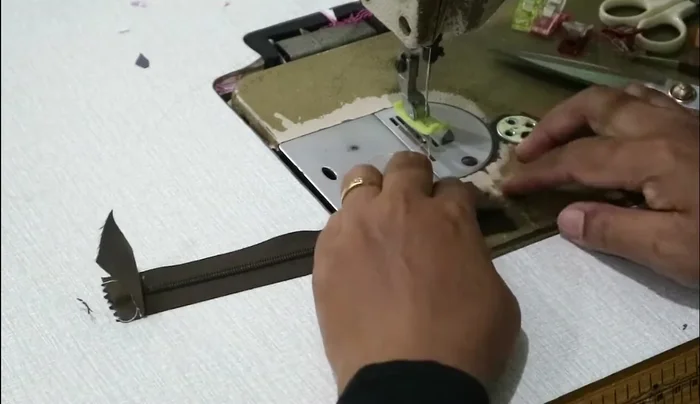
Attach Lid Components Attach Zipper
- Sew the zipper, adding sliders beforehand.
- Attach the zipper connector to the top.
- Make small cuts on zipper curves and top corners.
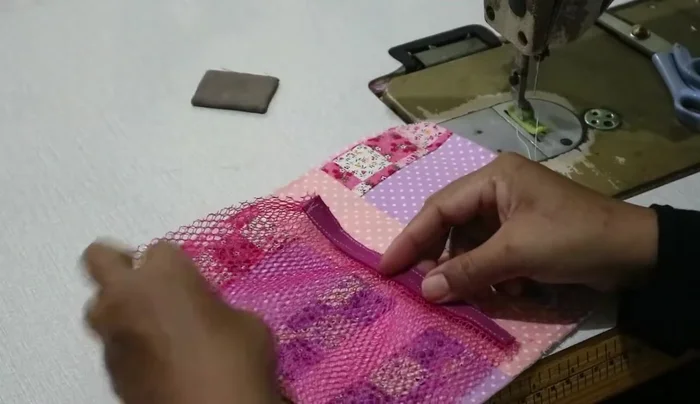
Attach Zipper Create Top Pockets
- Sew pockets onto the top lid.
Create Top Pockets Create Base Pockets
- Sew the smaller elastic pockets to the base.
- Sew the larger elastic pockets to the base.
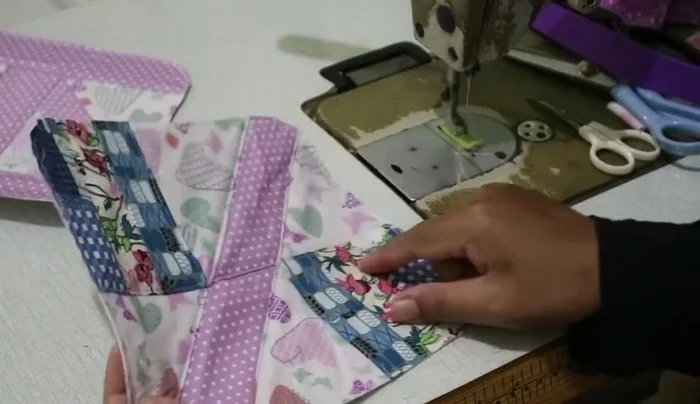
Create Base Pockets Prepare Divider
- Sew the elastic pockets for the divider.
- Sew the patchwork to the interlining for the divider and add connectors.
- Sew the pockets to the divider.
Prepare Divider Attach Interior Sides
- Sew the interior side parts, attaching the divider connector.
Attach Interior Sides Attach Main Interior
- Sew the main interior patchwork to the base.
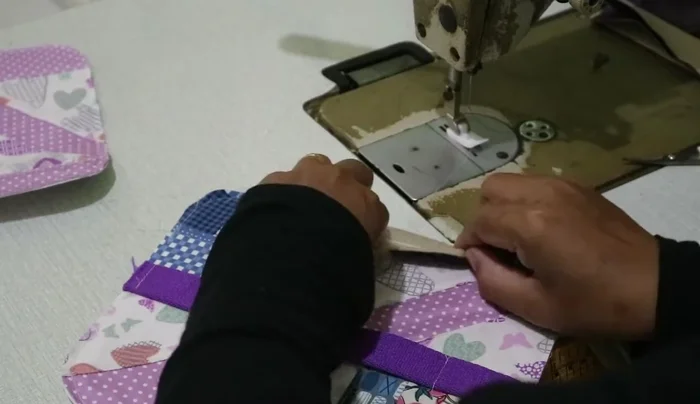
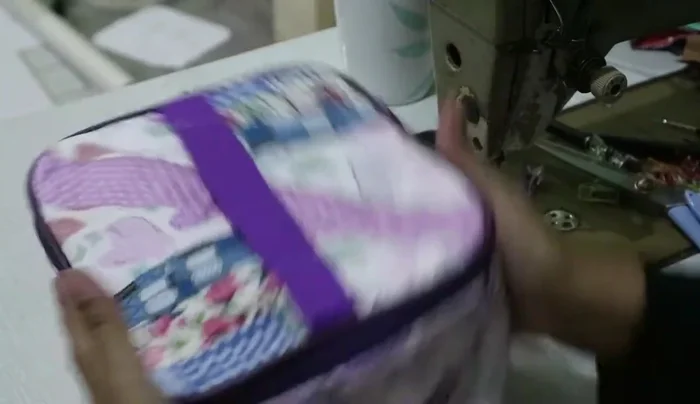
Attach Main Interior Assemble Main Components
- Join the three main parts (top, base, and interior).
- Top stitch all around the upper side of the main exterior.
Assemble Main Components Attach and Finish Interior
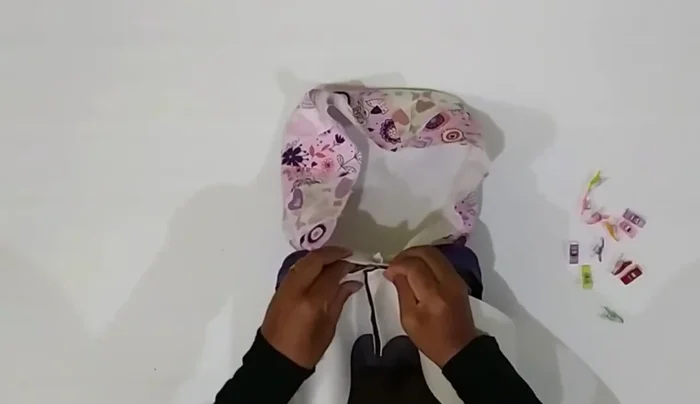
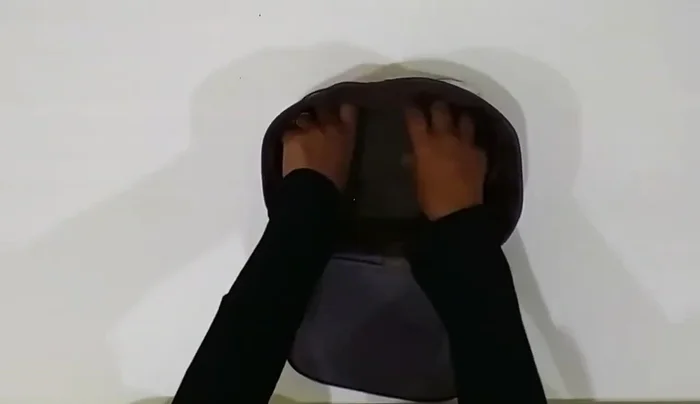
- Attach the main interior to the base, leaving an opening to turn inside out.
- Close the opening using a hem stitch.
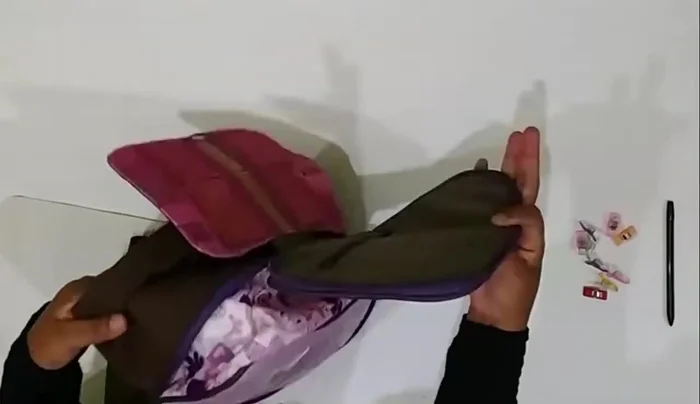
Attach and Finish Interior


Read more: DIY Vibrant Car Organizer: A Step-by-Step Quilting Tutorial
Tips
- Use a piping foot for neater seams.
- Make small cuts on curves to prevent puckering.
- Use a small seam allowance (about half a centimeter).
- Leave an opening to turn the fabric inside out.