Frustrated with a sticky, squeaking, or completely jammed patio sliding glass door? Replacing the wheels is often the simple solution, but the daunting prospect of removing the entire door often deters homeowners from tackling this project themselves. Fortunately, you don't need to be a seasoned handyman to conquer this common household repair! Many sliding glass doors can have their rollers replaced without ever removing the door from its track, saving you time, effort, and potential damage. This means no heavy lifting, no awkward maneuvering, and no need for specialized tools beyond a basic screwdriver and perhaps a putty knife.
This quick and straightforward guide will walk you through the entire process of replacing your patio sliding glass door wheels, step-by-step. Forget wrestling with heavy glass panes; we’ll show you how to easily access and replace those troublesome rollers, getting your sliding door smoothly gliding again in minutes. Ready to get started? Let's dive into the simple, no-door-removal process!
Preparation and Safety Guidelines
- Screwdriver
- Drill or Impact Gun (optional)
- Rubber Mallet (or hammer)
- Putty Knife or Pry Bar
- Nylon block or piece of wood
- New Wheels
- Silicone Spray
- Always wear safety glasses to protect your eyes from debris.
- Ensure the patio door is securely locked before starting any work to prevent accidental movement.
- If you are uncomfortable with any step of the process, consult a professional handyman or glazier.
Step-by-Step Instructions
Prepare the Rail
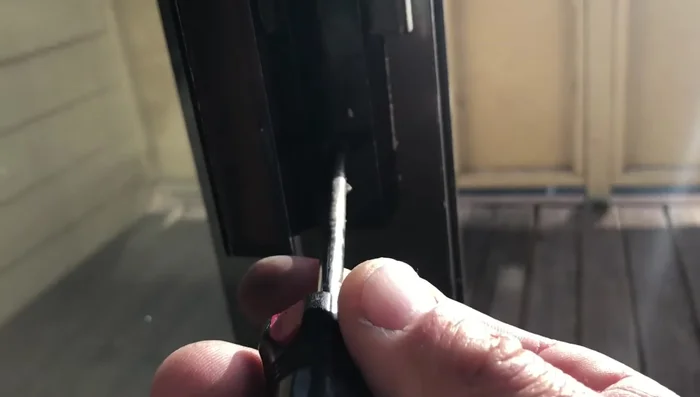
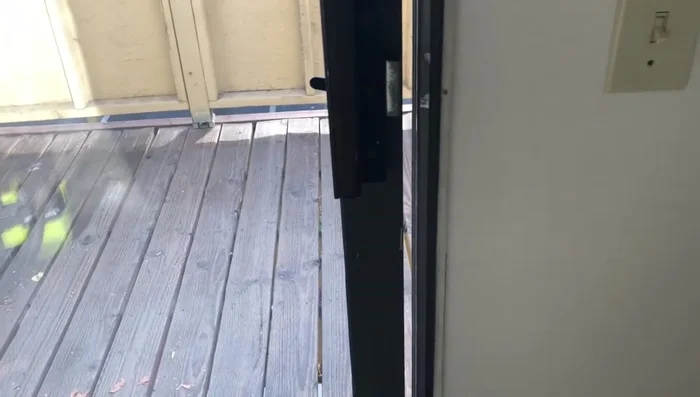
- Loosen (don't remove) the two screws on the door handle to release pressure on the rail.
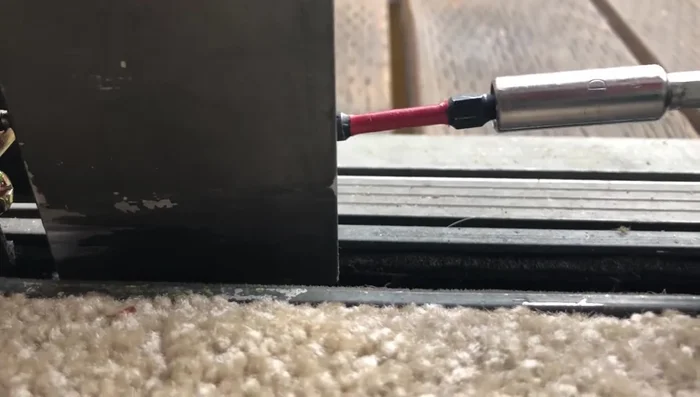
- Remove the screw in the corner of the rail using a screwdriver, drill, or impact gun.
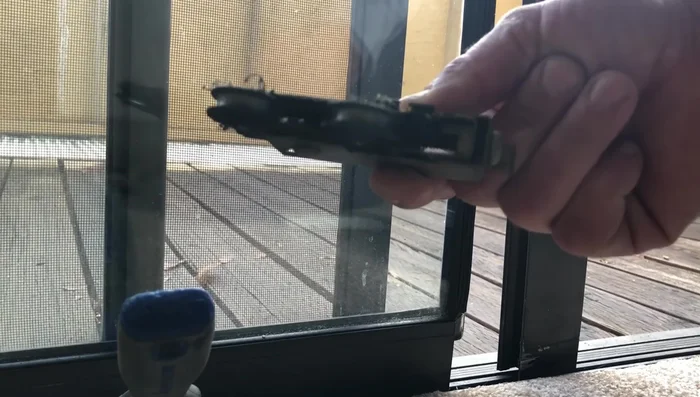
- Using a rubber mallet and a block of wood (to protect the frame), gently tap the back of the rail to remove it from the glass.

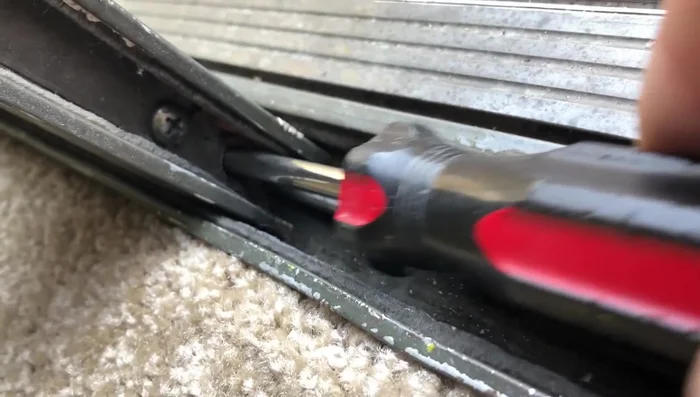
Prepare the Rail Access and Remove Old Wheel
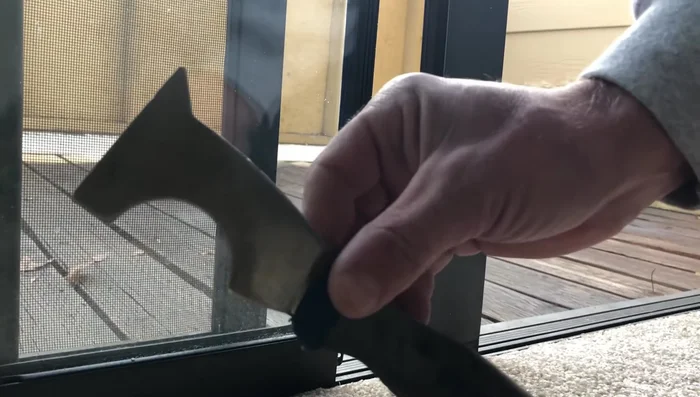
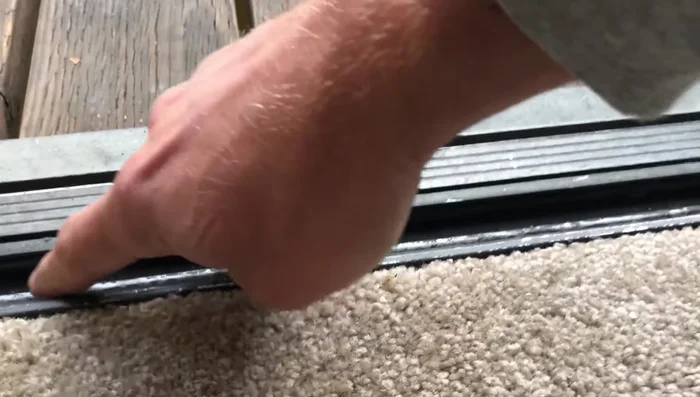
- Use a putty knife or pry bar to lift one end of the door and suspend the frame, allowing access to the roller.
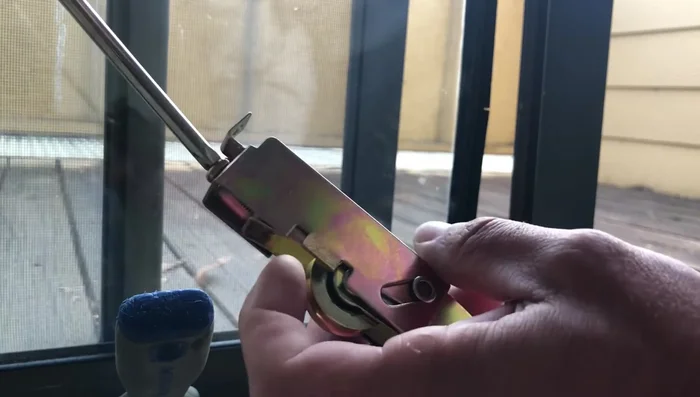
- Remove the old wheel using the putty knife or pry bar.
Access and Remove Old Wheel Install New Wheel
- Adjust the screw on the new wheel to the halfway point.
- Slide the new wheel into the frame, ensuring alignment with the screw hole.
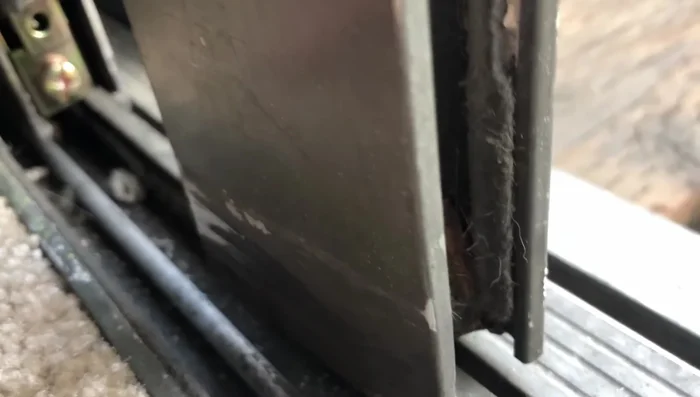
- Check and ensure the rubber gasket is properly seated on the glass before reinstalling the frame.
- Gently tap the frame back onto the glass using a rubber mallet and a block of wood.
Install New Wheel Repeat for Other Wheel
- Repeat steps 4-9 for the other wheel.
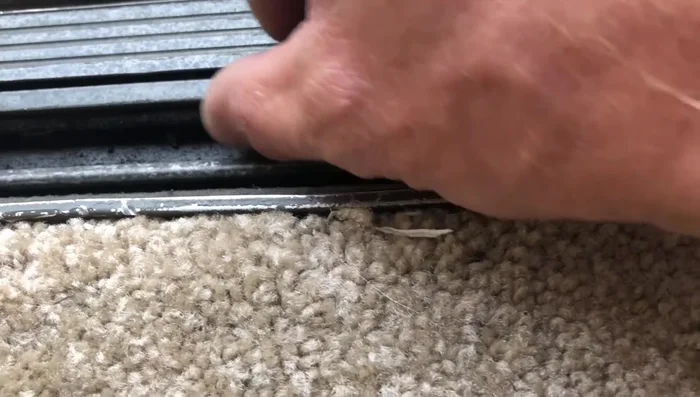
Repeat for Other Wheel Clean and Adjust
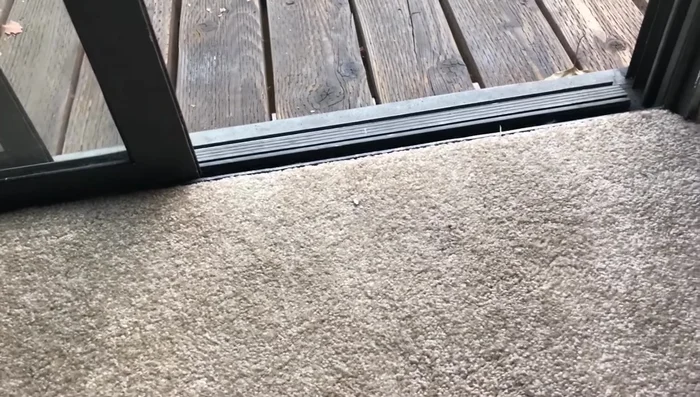
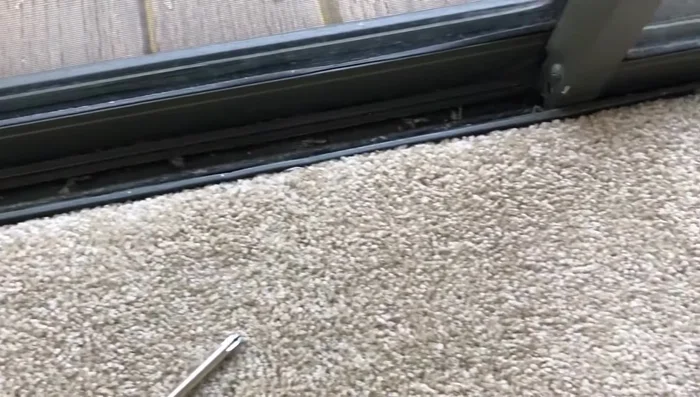
- Vacuum the track to remove debris.
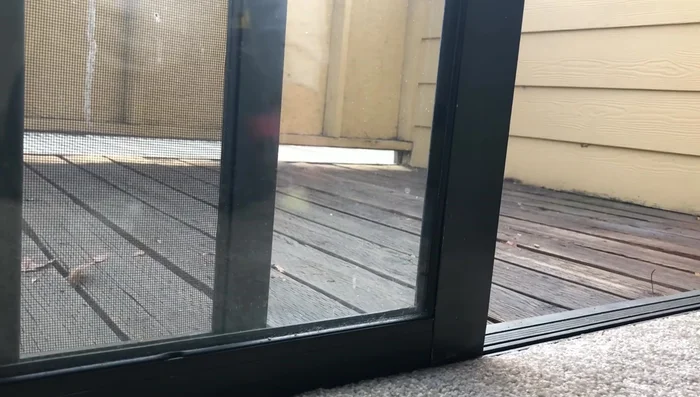
- Close the door, leaving a small gap to adjust the wheels for even spacing.
- Adjust the wheels using the adjustment screw, raising or lowering as needed to ensure even spacing.
Clean and Adjust Lubricate and Finish
- Apply silicone spray to the friction points on the door and track to improve sliding.
Lubricate and Finish
Read more: 3M Thinsulate Window Film Installation: A Step-by-Step Guide
Tips
- Use a drill or impact gun for faster screw removal.
- Don't hammer directly on the frame; always use a block of wood to protect it.
- Use silicone spray instead of WD-40 to lubricate, as WD-40 attracts dirt.