Pocket doors, with their space-saving design, offer a sleek and modern aesthetic to any home. However, years of use can lead to frustrating issues like sticking, squeaking, or even complete malfunction. A poorly functioning pocket door can be a significant inconvenience, disrupting the smooth flow of your home life. Whether your door is simply showing its age or has suffered more significant damage, replacing it can dramatically improve both functionality and the overall look of your room. A faulty pocket door doesn't have to be a permanent fixture.
This guide provides a comprehensive, step-by-step process to successfully replace your existing pocket door, ensuring smooth and silent operation for years to come. We'll walk you through each stage, from carefully removing the old door to installing the new one, offering tips and tricks to avoid common pitfalls. Let's get started on transforming your troublesome pocket door into a smoothly gliding masterpiece.
Preparation and Safety Guidelines
- Reciprocating saw with metal-cutting blade
- 5-in-1 tool
- Screwdriver
- Nails
- Measuring tape
- Always disconnect the power to the electrical system before starting any work near wiring or electrical components. Failure to do so could result in serious injury or death.
- Use appropriate safety equipment throughout the project, including safety glasses, work gloves, and a dust mask. Some materials, like older paint or wood, may contain hazardous substances.
- If you are uncomfortable with any aspect of the installation, such as working with tools or electrical systems, consult a qualified professional. Attempting a task beyond your skill level can lead to injury or damage to your property.
Step-by-Step Instructions
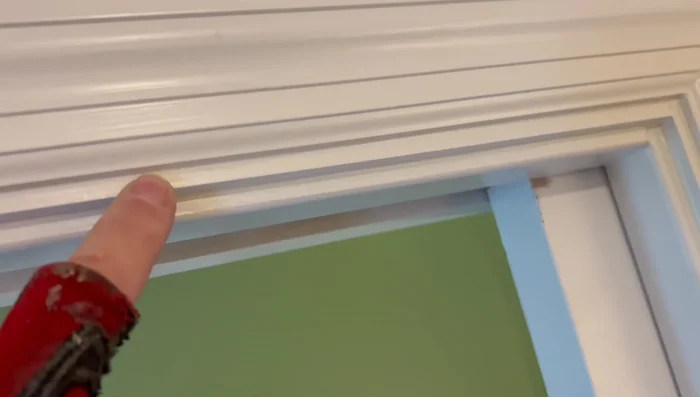
Prepare the Opening
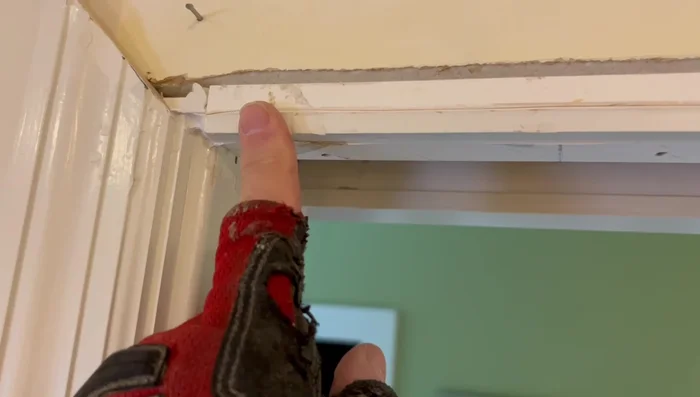
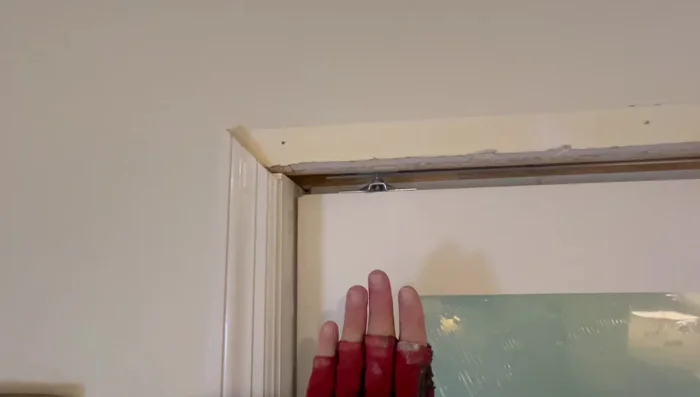
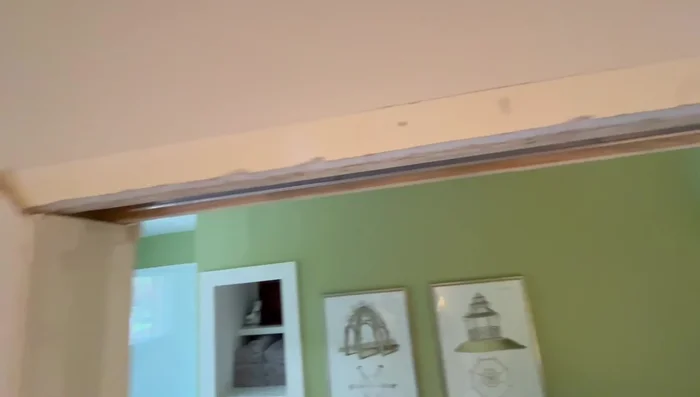
- Remove the casing and trim around the pocket door.
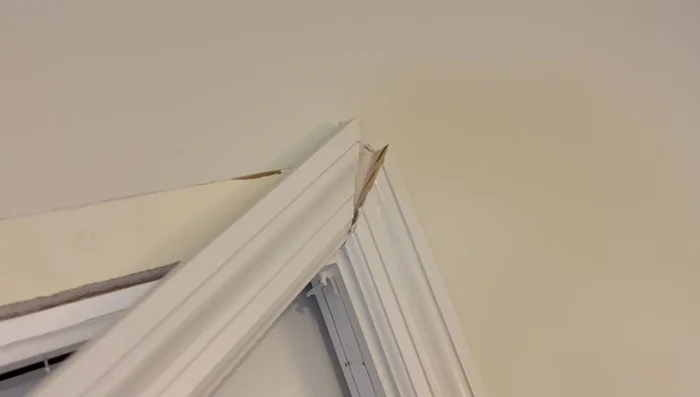
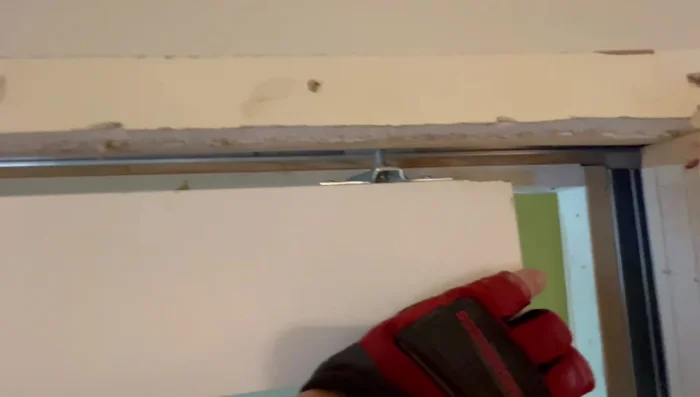
- Carefully cut the nails holding the frame piece in place using a reciprocating saw.
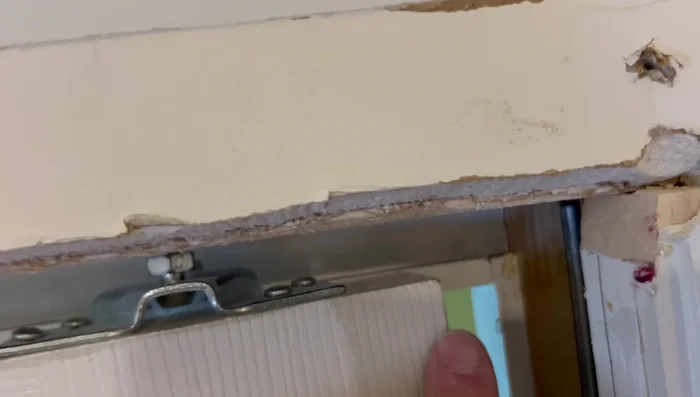
- Remove the frame piece to access the pocket door hardware.
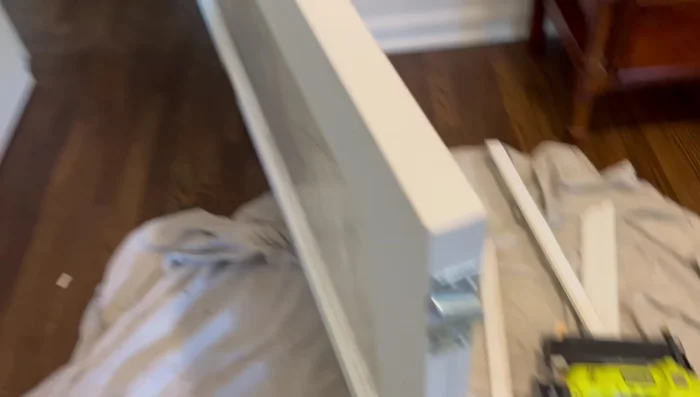
- Remove the old door.

Prepare the Opening Prepare the New Door
- Measure and cut the new door to ensure proper clearance (1/4 inch shorter than the highest point of the floor).
Prepare the New Door Install New Hardware and Door
- Install the new pocket door hardware onto the new door, ensuring the nylon clip is correctly positioned.
- Install the new door into the pocket, starting with the wheel closest to the pocket.
Install New Hardware and Door Fine-tune and Secure
- Adjust the hardware to ensure the door is level and doesn't rub against the floor or frame.
- Install the locking mechanism.
Fine-tune and Secure Complete the Installation
- Reinstall the frame pieces and casing, being mindful of nail placement.
- Check for any obstructions or binding and allow for homeowner to add trim.
Complete the Installation


Read more: 3M Thinsulate Window Film Installation: A Step-by-Step Guide
Tips
- Cut the hardware outside the pocket door frame to avoid mess.
- Install the door from the easiest side to work with.
- Remove as little as possible to minimize damage and simplify reassembly.
- Pre-drill holes when attaching hardware to avoid splitting the door.
- Be mindful of nail length and placement, especially around the pocket door.