In today's world, overflowing landfills are a stark reminder of our consumption habits. But what if we could transform discarded items into something beautiful and useful? This is precisely the ethos behind the upcycling movement, and this article will guide you through a simple yet rewarding project: creating a unique and personalized notebook from recycled materials. We’ll be breathing new life into those old, forgotten calendars and scraps of paper that often end up in the trash, transforming them into a practical and eco-friendly addition to your stationery collection. Think of the satisfying feeling of using a notebook you've crafted yourself, knowing its story began as something destined for the bin.
Forget expensive notebooks and embrace the charm of sustainability! This DIY project not only reduces waste but also encourages creativity and resourcefulness. By following the easy step-by-step instructions detailed below, you'll learn how to assemble your very own recycled notebook from readily available materials. Get ready to upcycle your way to a stunning, personalized, and eco-conscious notebook!
Preparation and Safety Guidelines
- Old calendar
- Recycled paper (blank side)
- Hole punch
- Twig/straw/pencil
- Rubber band
- Always use sharp scissors or a craft knife with caution, keeping fingers away from the blades. Adult supervision is recommended for children.
- If using glue, ensure proper ventilation and follow the manufacturer's instructions for safe handling and application. Avoid contact with skin and eyes.
- Dispose of any sharp scraps or excess materials responsibly to prevent accidental injuries or environmental harm.
Step-by-Step Instructions
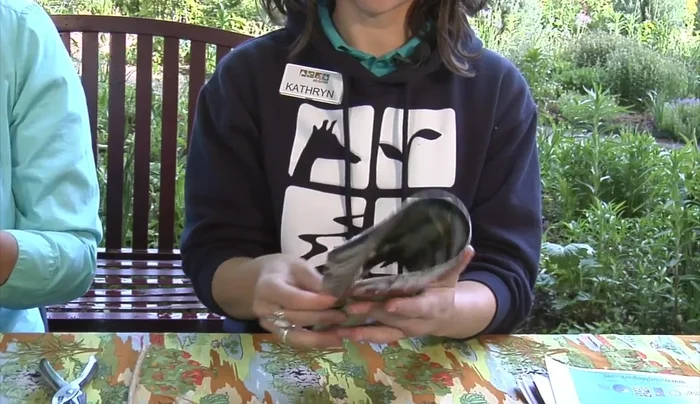
Prepare the Pages
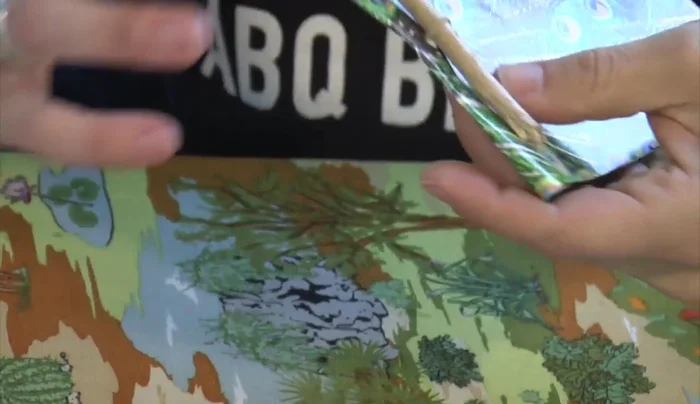
- Fold your calendar page in half.
- Fold your recycled paper sheets in half.

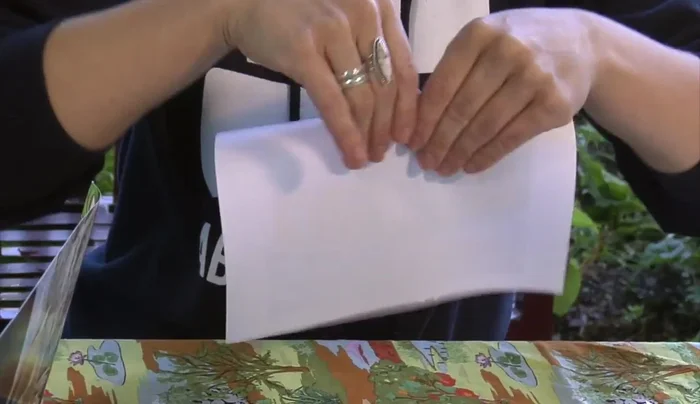
Prepare the Pages Assemble the Notebook
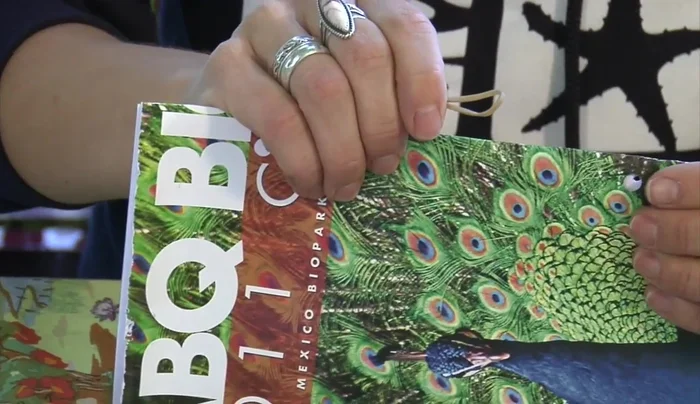
- Slip the folded recycled paper sheets into the folded calendar page, ensuring the folded sides are on the outside.
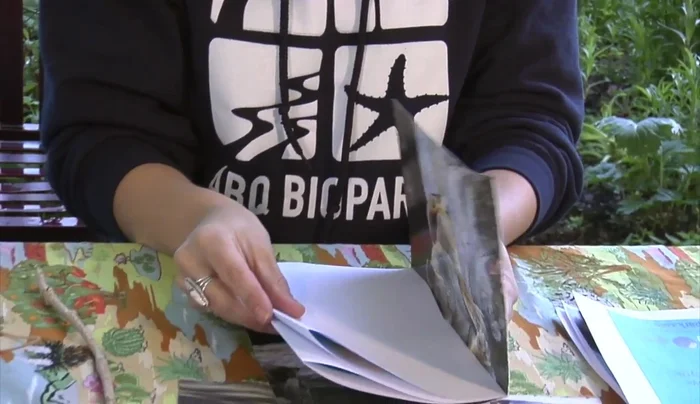
Assemble the Notebook Punch Holes
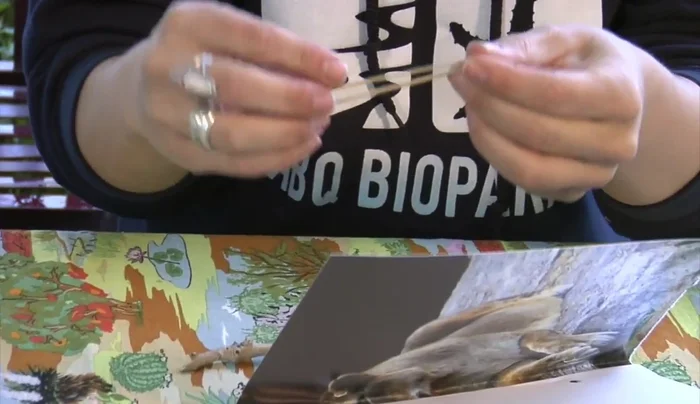
- Use a twig (or straw/pencil) to measure and punch two holes through the calendar page and the paper sheets.
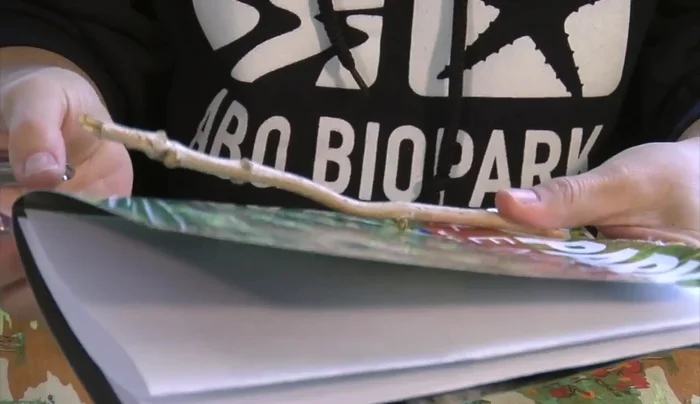
Punch Holes Secure with Rubber Band
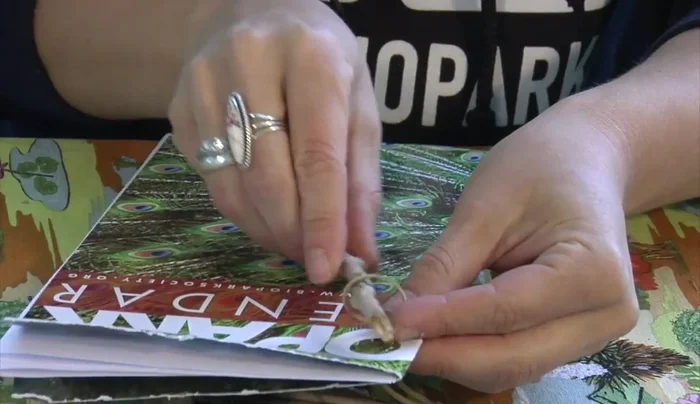
- Fold a rubber band in half and thread one end through one of the holes.
- Thread the twig through the loop of the rubber band.
- Stretch the rubber band through the second hole.
- Thread the other end of the rubber band through the second loop to secure the notebook.
Secure with Rubber Band
Read more: DIY King-Size Tufted Headboard: Budget-Friendly Guide
Tips
- Choose your favorite image from the calendar to display on the cover.
- Use paper with a blank side for writing.
- Easily add more pages as needed.