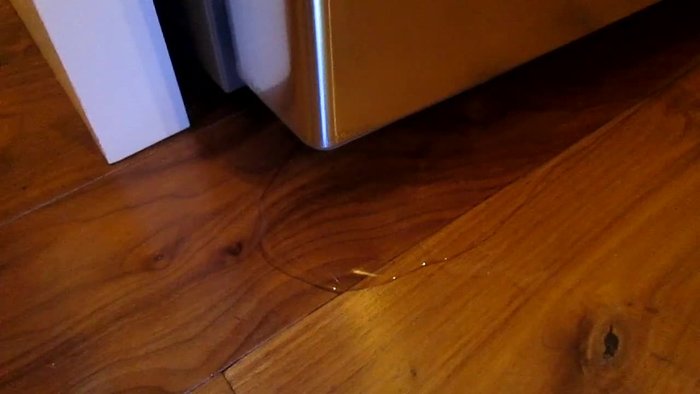
A leaky refrigerator can be a major inconvenience, leading to wasted food, water damage, and costly repairs. That persistent drip, drip, drip often stems from a clogged drain line, a relatively simple issue that can frequently be fixed at home, saving you a hefty repair bill. Ignoring a clogged drain can lead to more serious problems, including mold growth and even potential damage to the refrigerator's compressor. Understanding your refrigerator's drainage system is the first step to resolving this common problem.
This guide will equip you with the knowledge and step-by-step instructions to successfully unclog your refrigerator's drain line. We'll cover everything from identifying the drain location to using safe and effective cleaning methods, ensuring you get back to enjoying a worry-free, leak-free appliance. Let's dive into the detailed process now, and get that drain flowing freely again!
Preparation and Safety Guidelines
- cake pan or cookie sheet
- hair dryer
- turkey baster
- screwdriver
- small hook
- Always unplug the refrigerator from the power outlet before starting any repair work to prevent electric shock.
- Wear appropriate protective gear, such as gloves, to avoid contact with potentially dirty or contaminated water.
- If you are unsure about any step of the process, consult a qualified appliance repair technician. Improper repair can cause further damage or injury.
Step-by-Step Instructions
Identify the Leak
- Notice the puddle of water under the refrigerator.

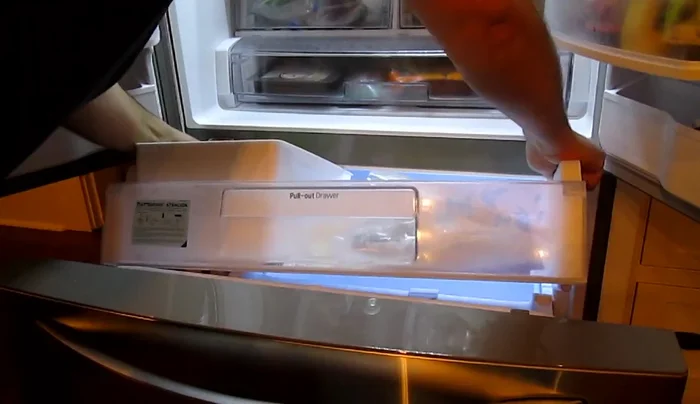
Identify the Leak Remove Accessible Ice
- Open the refrigerator and freezer drawers. Use a cake pan or cookie sheet to collect ice from the bottom, breaking it up by hand.
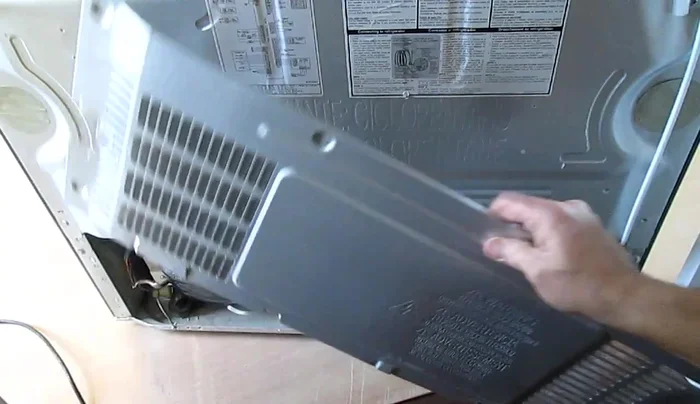
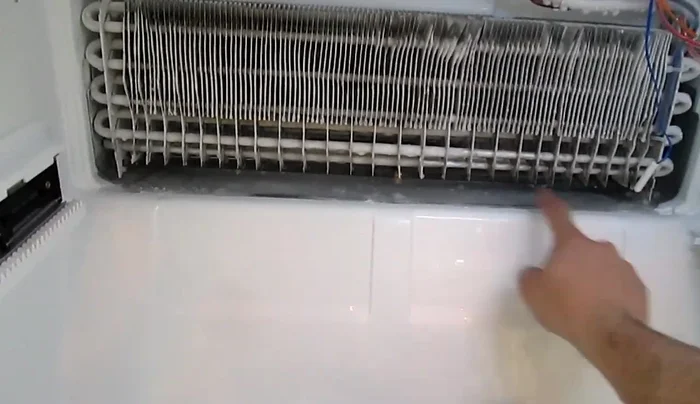
Remove Accessible Ice Expose the Drain Line
- Remove the back cover plate (six screws) to expose the drain line (the largest diameter plastic pipe).
Expose the Drain Line Confirm Clog
- Check if the drip tray is bone dry. A dry drip tray indicates a clogged drain line.
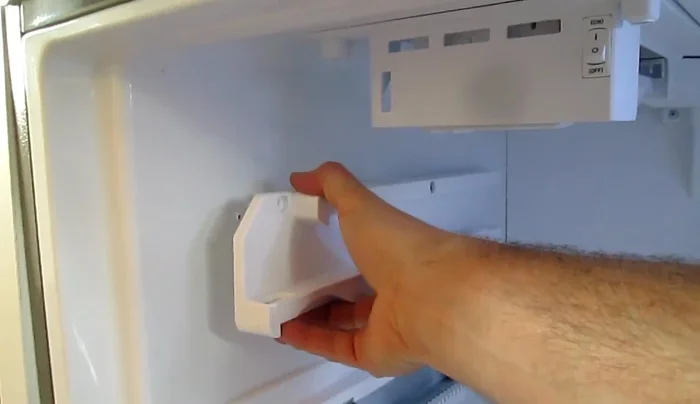
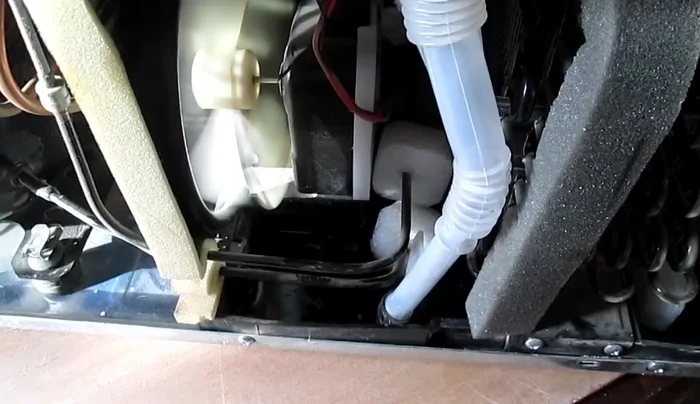
Confirm Clog Gain Full Access to Drain
- Remove ice maker and side rails to access the drain completely.
Gain Full Access to Drain Locate the Clog
- The drain hole is located in the center of the metal tray underneath the cooling unit.
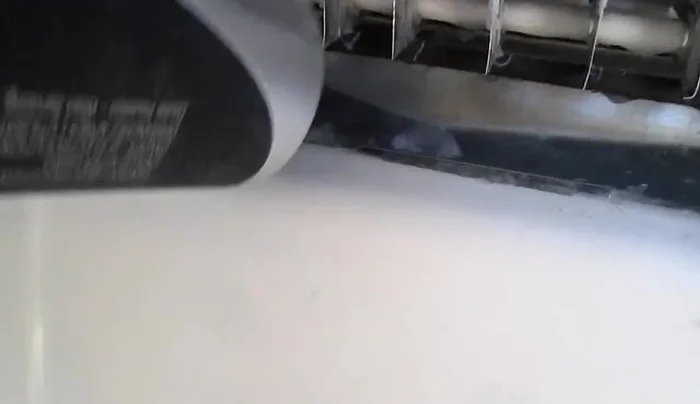
Locate the Clog Melt the Ice Clog
- Carefully use a hairdryer to melt the ice blocking the drain line.
Melt the Ice Clog Test the Repair
- Use a turkey baster to squirt water down the drain line to check if it drains properly.
Test the Repair

Read more: Fix Washing Machine Won't Spin: Quick & Easy Motor Coupler Replacement
Tips
- If concerned about electric shock, remove the back cover plate before working on the drain line.
- Be careful not to puncture refrigerant lines when removing ice from the drain area.
- Removing the little rubber flap door at the bottom of the drain tube may improve airflow and prevent future icing (though this is not officially recommended).