A malfunctioning evaporator fan motor in your refrigerator can lead to a frustrating array of problems: inconsistent cooling, excessive frost buildup, and ultimately, spoiled food. This seemingly small component plays a crucial role in maintaining the proper temperature within your appliance, and its failure can quickly escalate into a major inconvenience. Ignoring the issue will only lead to further complications and potentially more costly repairs down the line. Fortunately, replacing the evaporator fan motor is often a manageable DIY project, saving you the expense of a professional service call.
This simple guide will walk you through the process of diagnosing a faulty evaporator fan motor and replacing it with a new one. For a step-by-step walkthrough that'll have your refrigerator humming along again in no time, read on to learn how to tackle this common refrigerator repair.
Preparation and Safety Guidelines
- Quarter-inch nut driver
- Needlenose pliers
- Always disconnect the refrigerator from the power source before starting any repairs. Failure to do so could result in electric shock.
- Wear appropriate safety glasses to protect your eyes from debris or flying parts.
- If you are uncomfortable performing this repair, or unsure about any step, contact a qualified appliance repair technician.
Step-by-Step Instructions
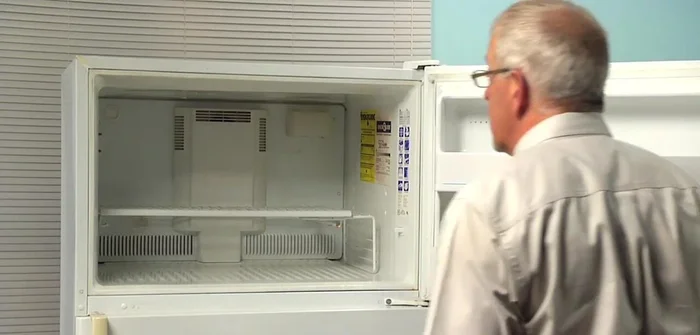
Power Disconnection and Freezer Preparation
- Disconnect power to the refrigerator by unplugging it.
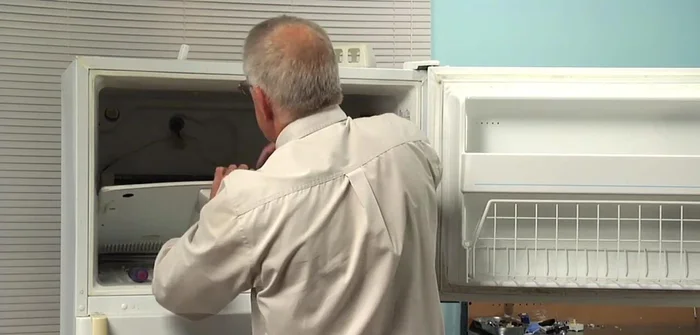
- Open the freezer door completely and remove all items and shelves.
- Remove the ice maker (if applicable).

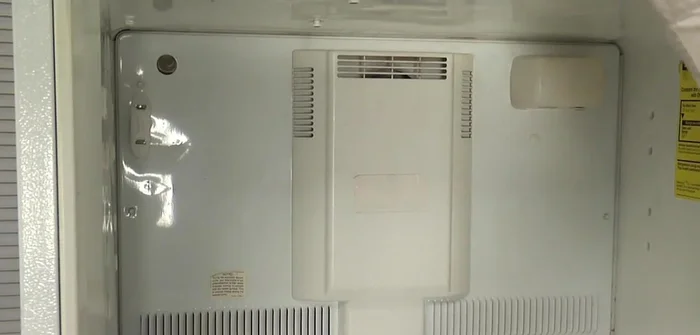
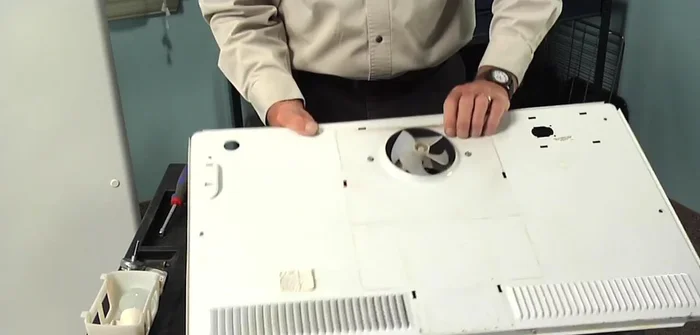
Power Disconnection and Freezer Preparation Evaporator Panel Removal
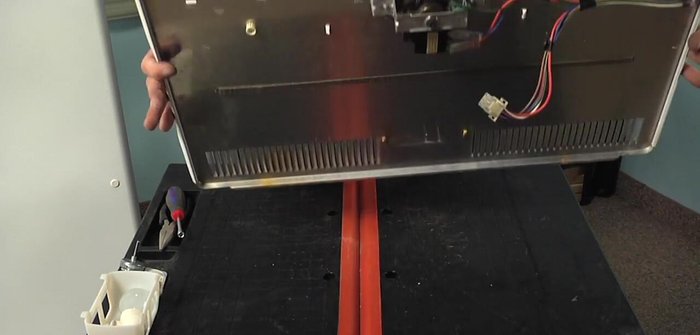
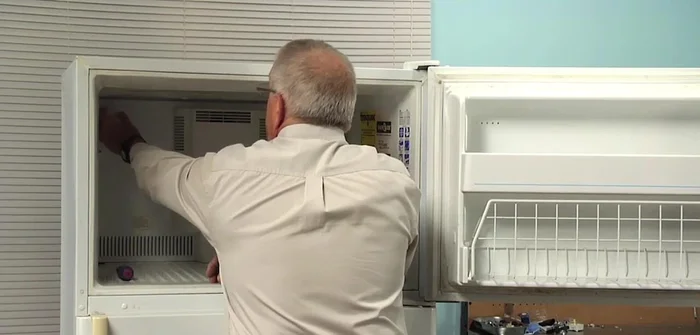
- Remove the cap from the ice maker fill tube and remove four quarter-inch hex head screws securing the evaporator panel.
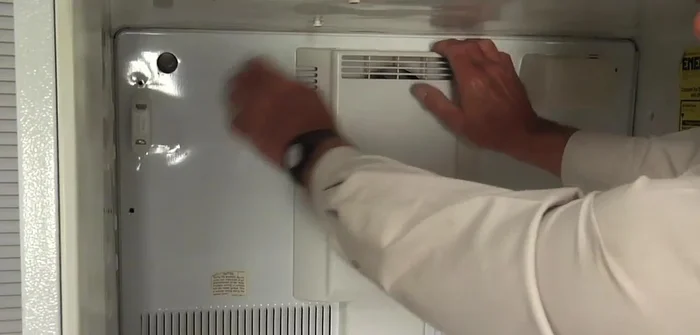
- Tilt the evaporator cover forward and lift it out.
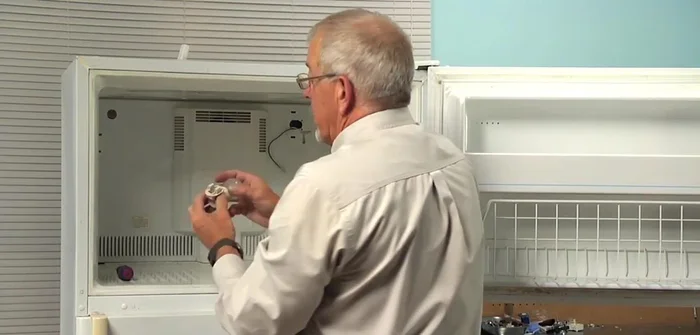
- Disconnect the wires to the light bulb and the evaporator fan motor harness.
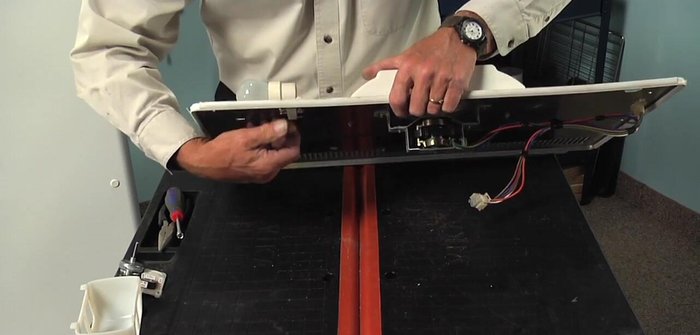
Evaporator Panel Removal Light Bulb and Socket Removal
- Remove the light bulb shield by depressing the top and releasing the locking tabs.
- Remove the light bulb and socket by depressing the top tab and tilting it out.
Light Bulb and Socket Removal Evaporator Fan Motor Removal
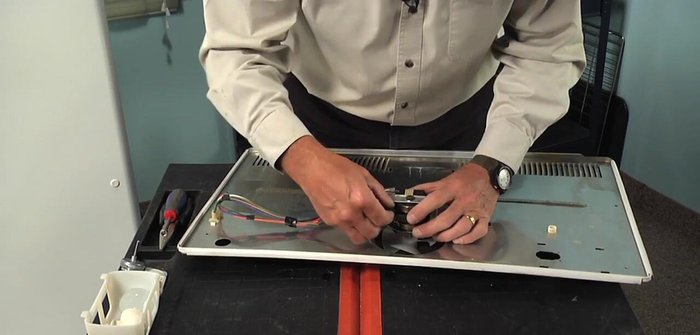
- Remove the evaporator fan cover by releasing the six plastic clips.
- Remove the ground wire from the motor (use needlenose pliers if needed).
- Remove the two motor wires by depressing the locking tabs.
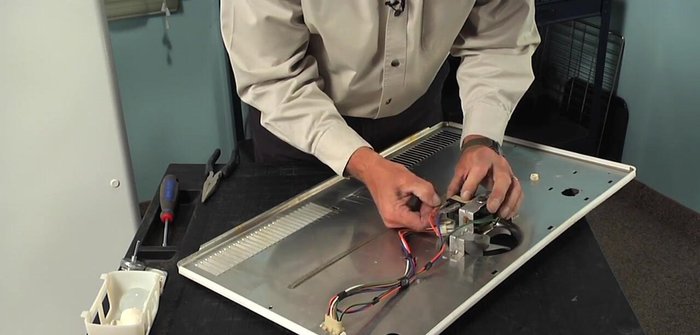
- Remove the ground screw from the motor bracket.
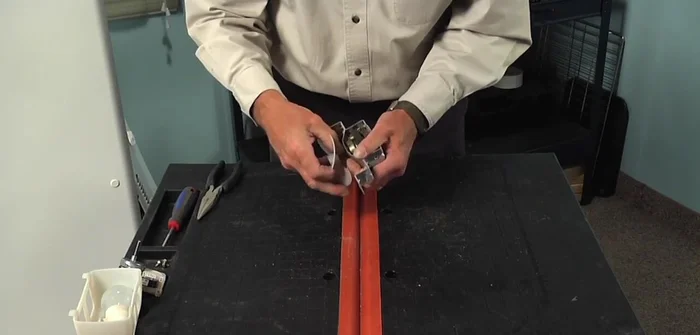
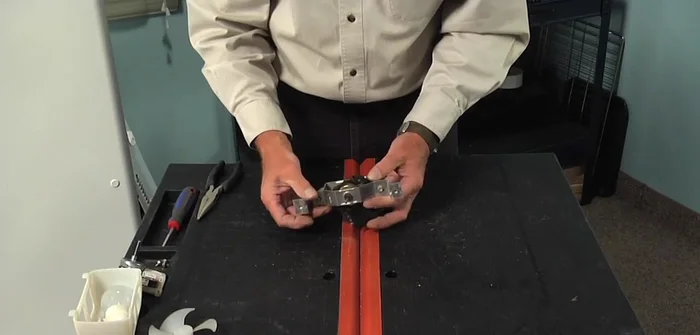
Evaporator Fan Motor Removal - Remove the two screws securing the motor bracket and lift off the bracket.
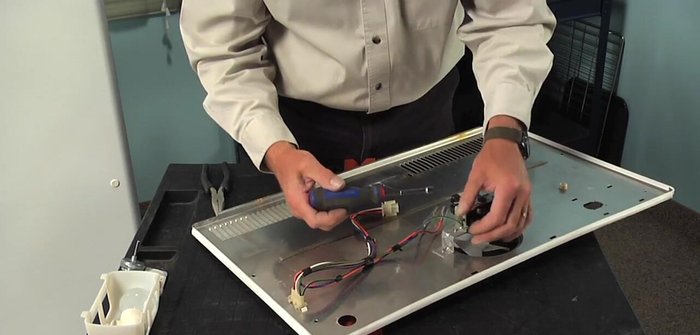
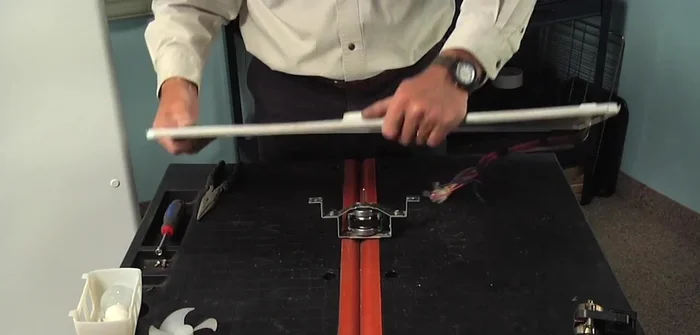
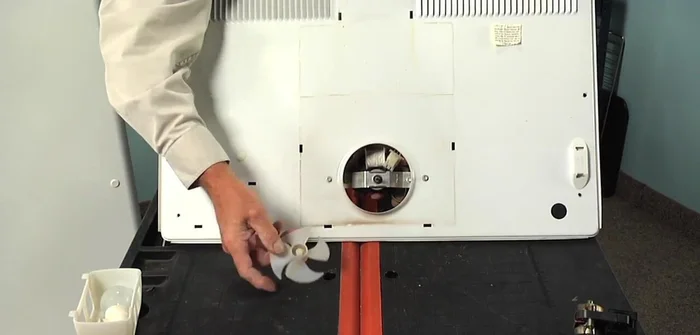
- Remove the fan blade from the old motor.
- Remove the old motor, noting the rubber bushings.
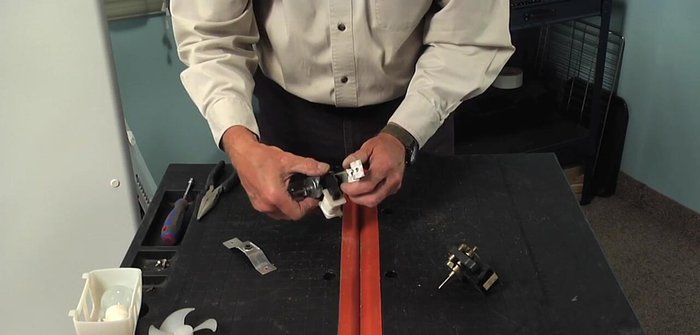
Evaporator Fan Motor Removal New Motor Installation
- Install the new motor, ensuring the bushings are correctly positioned.
- Reinstall the motor bracket and screws.
- Reattach the fan blade.
New Motor Installation Reassembly
- Reinstall the evaporator fan cover.
- Reconnect the motor harness and light bulb wires.
- Reinstall the evaporator cover and screws.
Reassembly Final Steps and Power Restoration
- Reinstall the ice maker (if applicable), shelves, and reconnect the power.
Final Steps and Power Restoration


Read more: Fix Washing Machine Won't Spin: Quick & Easy Motor Coupler Replacement
Tips
- It's easier to remove the light bulb and socket before reinstalling the evaporator cover to avoid struggling with wires.
- Ensure the rubber bushings are correctly positioned on the motor during installation.
- Tighten all screws securely.
- Check the perimeter gasket is firmly in place before reinstalling the cover.