Tired of lukewarm showers and running out of hot water during peak usage? A Renai tankless water heater offers a solution: endless hot water on demand, saving you space and potentially lowering your energy bills. This innovative system, however, requires careful installation to ensure optimal performance and safety. Unlike bulky storage tank heaters, the Renai unit demands precision in its setup, demanding expertise to avoid costly mistakes or even dangerous situations. This is where this ultimate guide comes in handy.
This comprehensive guide provides the fastest and most efficient method for installing your Renai tankless water heater, leading you through each step with clear instructions and helpful visuals. Whether you're a seasoned DIY enthusiast or a homeowner tackling your first plumbing project, we'll walk you through every detail, from initial planning and code compliance to the final connection and testing. Ready to experience the luxury of endless hot water? Let's dive into the step-by-step installation process!
Preparation and Safety Guidelines
- Renai Tankless Water Heater
- Verse Vent Kit
- Tapcons
- Electric Drill
- Gas Line Components (3/4"x2" Bell reducer, 1/2" nipple, 90°, union, T, valve)
- 2" PVC pipe
- 2 1/2" drill bit
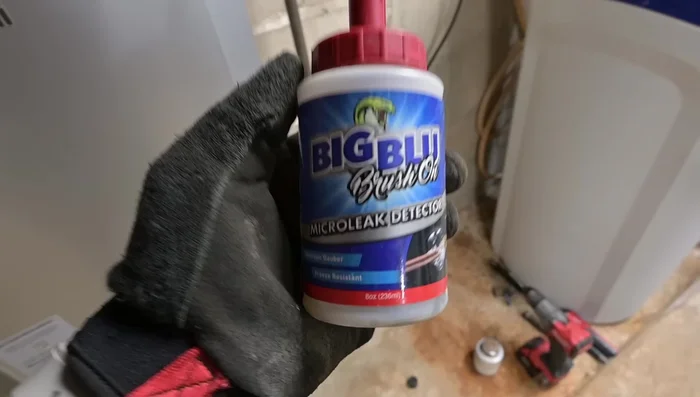
- Bubble leak detector
- PVC glue
- Stainless steel screws
- Screens
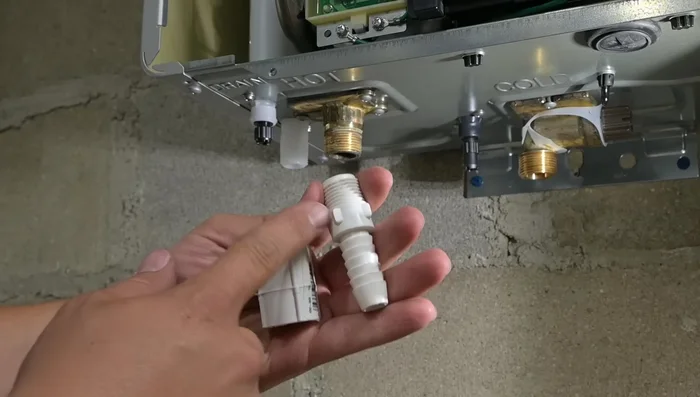
- 1/2" thread by 5 5/8" Barb fitting
- PVC coupler
- Vinyl drain tubing
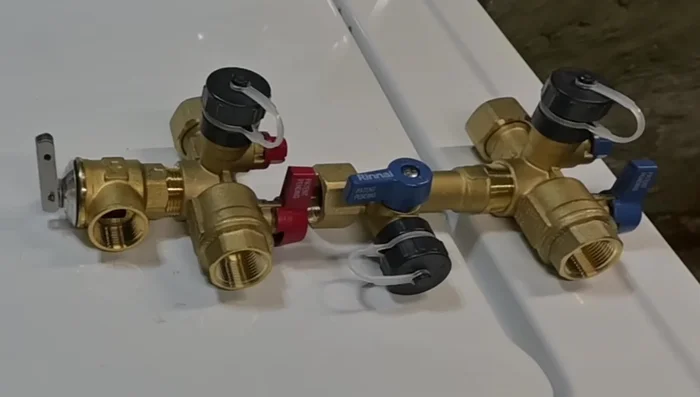
- Rai valve kits (with PEX adapters)
- Thread tape
- Pipe dope
- Pliers wrench
- Wi-Fi module
- Rai Central app
- Turn off the gas supply to the water heater before beginning any installation work. Failure to do so could result in a gas leak and serious injury or death.
- Always ensure adequate ventilation in the area where the tankless water heater is installed. Improper ventilation can lead to carbon monoxide poisoning.
- Consult a qualified plumber or gas fitter if you are not comfortable performing any of the installation steps. Incorrect installation can lead to dangerous situations and void any warranties.
Step-by-Step Instructions
Mounting and Ventilation
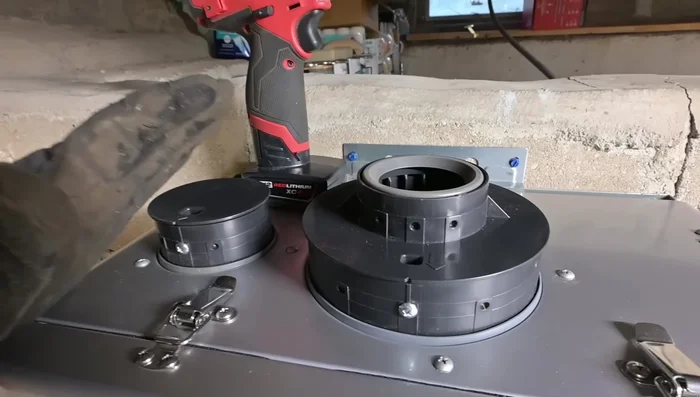
- Install the Verse Vent Kit for outdoor mounting.
- Mount the water heater to the wall using tapcons, ensuring correct clearances.
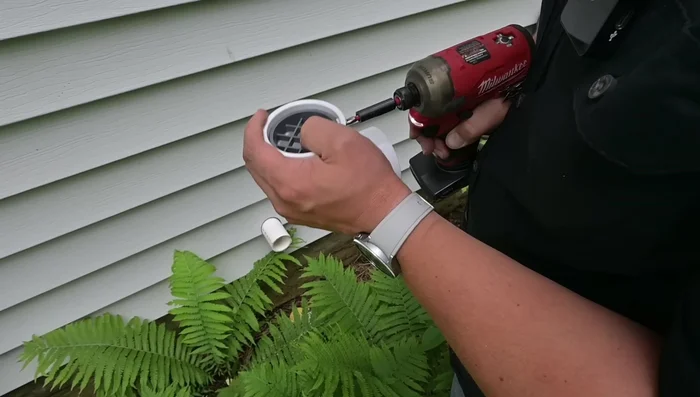
- Install the 2" PVC direct vent pipes (intake and exhaust), maintaining a 12" separation and proper slope.
- Install vent screens to prevent obstructions.

Mounting and Ventilation Gas Line Installation and Leak Check
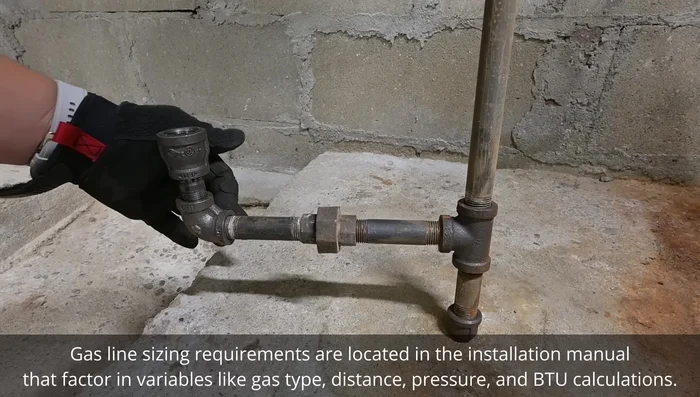
- Install gas line components, creating a drip leg and using a standoff bracket to support the gas line.
- Check for gas leaks using a bubble leak detector.
Gas Line Installation and Leak Check Condensate Line and Trap Setup
- Add water to the exhaust to fill the condensate trap.
- Connect the condensate line, ensuring proper slope.
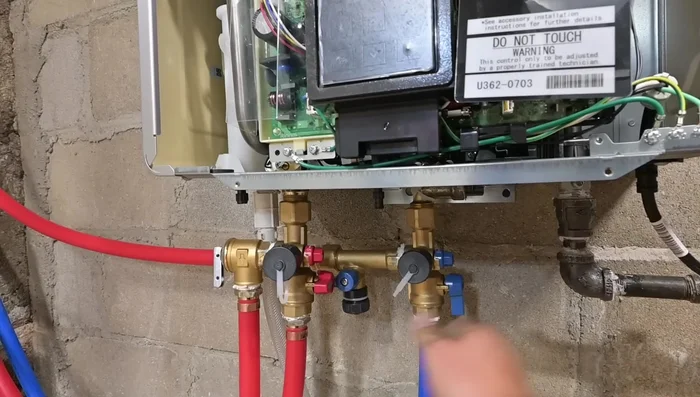
Condensate Line and Trap Setup Water Line Connections
- Install the Rai valve kits (hot and cold water lines), using thread tape and pipe dope.
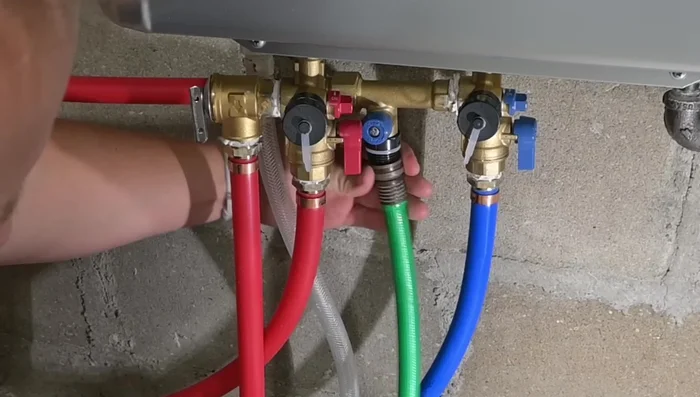
Water Line Connections Air Purging
- Purge air from the system by running water through the hot and cold lines.
- Purge air from the return line using a hose attached to the purge valve.
Air Purging Wi-Fi Configuration
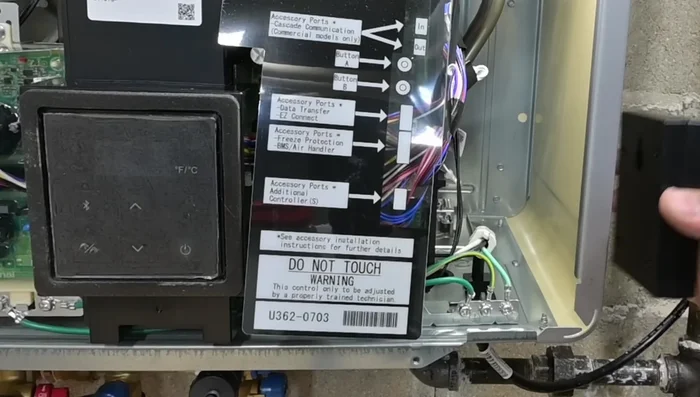
- Connect the Wi-Fi module and configure settings using the Rai Central app (fuel type, location, recirculation type, etc.).
Wi-Fi Configuration
Read more: Fixing a Leaky Toilet Tank: A Step-by-Step Guide
Tips
- Use the hammer mode on your drill only for Tapcons.
- Always double wrench where needed, especially on gas lines.
- Drill through vinyl siding in reverse to avoid damage.
- Don't overtighten plastic fittings to avoid cracking.
- Use thread tape and pipe dope on all connections, but not on gaskated fittings.