A warped interior door is more than just an eyesore; it can be a frustrating impediment, hindering smooth operation and compromising the overall aesthetic of your home. That annoying sticking, the frustrating gap at the bottom, the unsightly bowing – these are all common signs of a door that's lost its shape. Whether it's due to humidity, age, or improper installation, a warped door can significantly impact your home's comfort and functionality. Thankfully, fixing a warped door isn't necessarily a complex carpentry project requiring professional help.
This common problem often has a straightforward solution, and with the right tools and a little patience, you can restore your door to its former glory. This step-by-step guide will walk you through the process of diagnosing the problem, selecting the appropriate repair method, and successfully straightening your warped interior door, leaving you with a smoothly functioning and aesthetically pleasing entryway.
Preparation and Safety Guidelines
- Putty knife (stiff)
- Pry bar/Crowbar
- Nail clippers/Wire cutters
- Sheetrock knife
- Hammer (optional, for gentle tapping)
- 2x4 block
- Nail set
- Caulk
- Caulk gun
- Measuring tape
- New strike plate (optional)
- Always disconnect power to any nearby electrical outlets or wiring before starting any work involving the door or its frame to prevent electric shock.
- Wear safety glasses and gloves to protect your eyes and hands from splinters, debris, and potential chemical irritants from wood treatments or glues.
- If you are unsure about any step of the repair process, consult a professional carpenter or handyman. Attempting to force or improperly fix a warped door could cause further damage or injury.
Step-by-Step Instructions
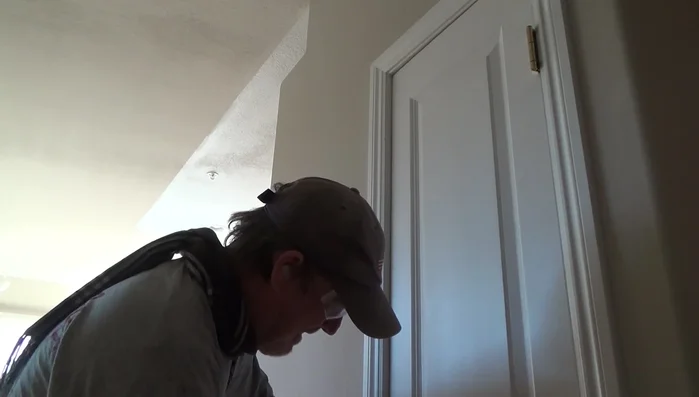
Prepare the Door
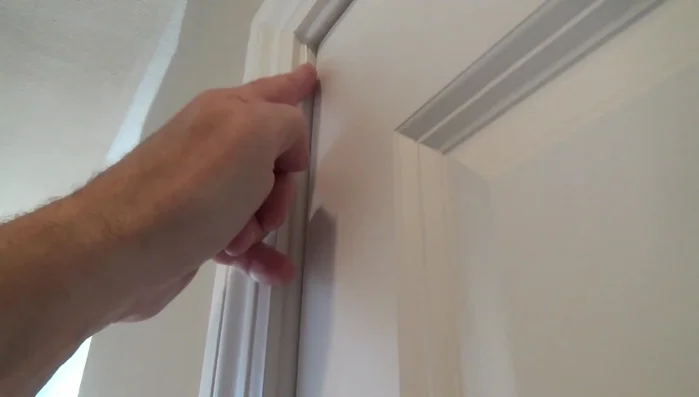
- Remove door stops (top and bottom).
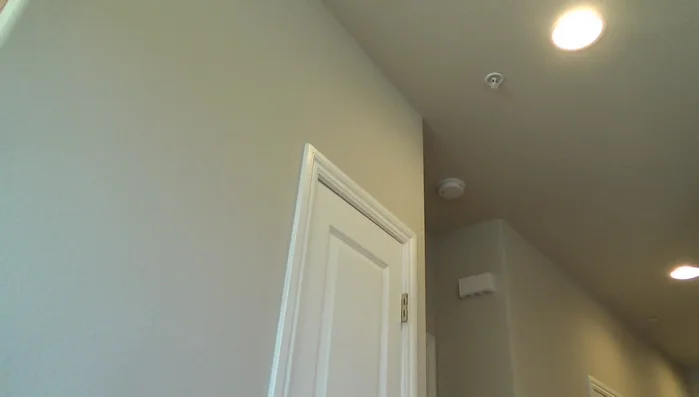
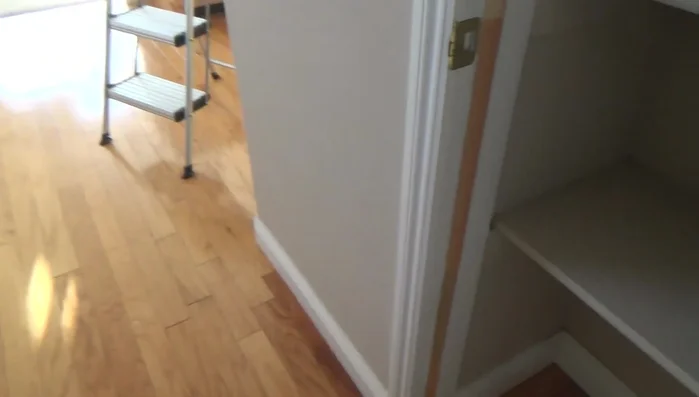
- Observe how the door is misaligned with the door jamb.
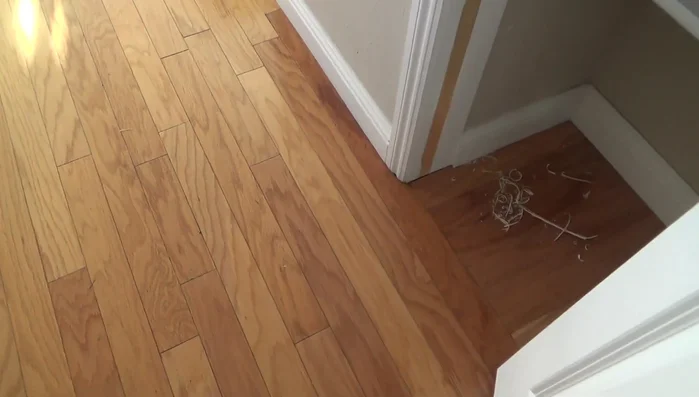
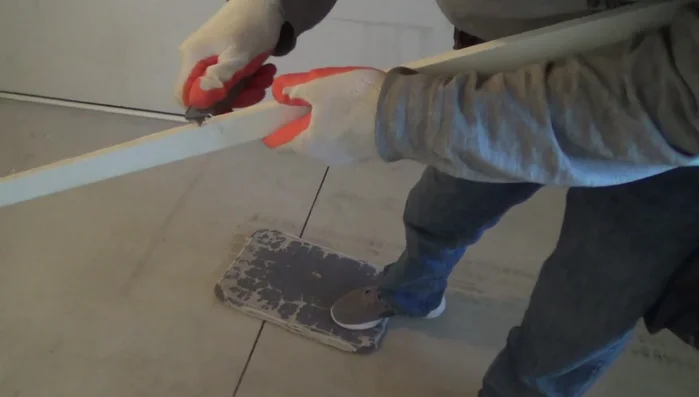
- Remove old door stop nails carefully using wire cutters to avoid damaging the door trim.
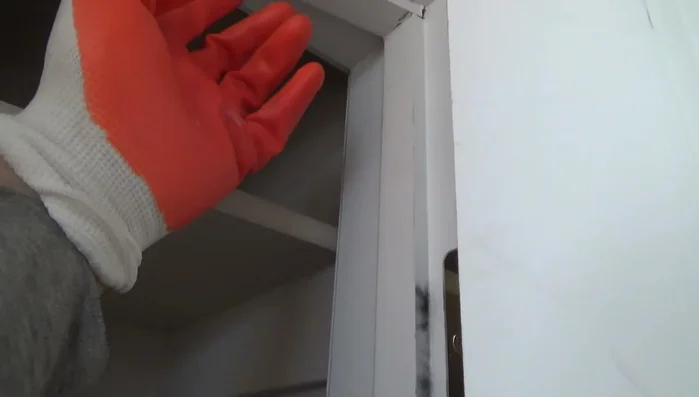
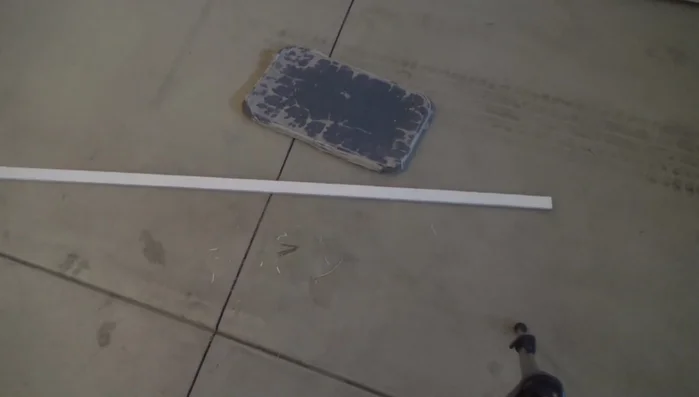
- Clean old caulking and excess wood from the door stop area.

Prepare the Door Temporarily Adjust Door Stop
- Temporarily adjust the door stop position to achieve a flush fit of the door.
- Using one nail at the top and bottom, tack the door stop into the desired position. Do not fully set the nails yet.
Temporarily Adjust Door Stop Test and Fine-Tune Alignment
- Test the door closure. Adjust door stop placement as needed using a 2x4 block and gentle hammer taps if necessary.
Test and Fine-Tune Alignment Secure and Finish
- Once the door closes correctly, fully set the door stop nails.
- Caulk the edges of the new door stop.
- If necessary, adjust the strike plate by moving it slightly and re-installing it to further refine the door alignment.
Secure and Finish
Read more: 3M Thinsulate Window Film Installation: A Step-by-Step Guide
Tips
- Use a stiff putty knife to remove door stops.
- Avoid using a hammer to remove old nails; use wire cutters instead.
- Clean up shavings to prevent tracking debris.
- Use a 2x4 block to gently tap and adjust the door stop instead of hitting it directly with a hammer.
- Consider replacing hinges if the door is sagging significantly.