A worn-out refrigerator or freezer door seal is more than just an annoyance; it significantly impacts energy efficiency and can lead to spoiled food. Westinghouse refrigerators, along with many other brands, often employ a glued-in seal design, which can seem daunting to replace. However, with the right tools and a methodical approach, replacing a glued-in door seal is a manageable DIY task that can save you money on costly repairs and energy bills. This process is surprisingly straightforward, even for those unfamiliar with appliance repair.
This guide will walk you through the step-by-step process of removing the old, damaged seal from your Westinghouse (or similar) fridge or freezer and installing a brand new one, ensuring a tight, airtight seal once more. Let's get started!
Preparation and Safety Guidelines
- Putty knife or flat blade screwdriver
- Drill (optional)
- Always unplug the refrigerator or freezer from the power outlet before starting any repair work. This prevents electric shock.
- Be gentle when removing the old seal to avoid damaging the door or the refrigerator's frame. A dull putty knife or plastic scraper is recommended.
- Ensure the new seal is the correct size and type for your Westinghouse model. Using an incorrect seal may compromise the seal's effectiveness and lead to energy loss.
Step-by-Step Instructions
Preparation
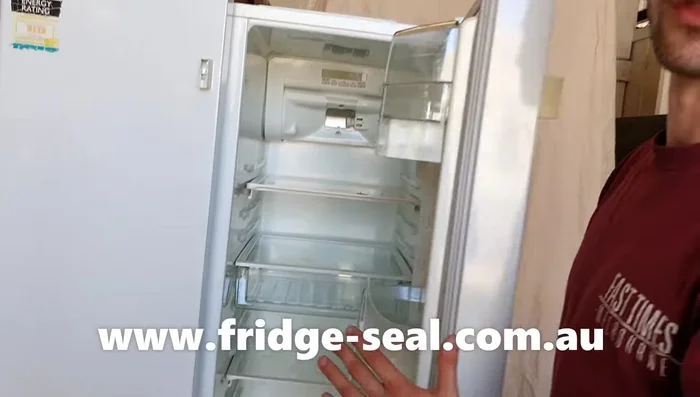
- Find your fridge's model number (located on a white sticker inside the fridge).
- Order the correct replacement seal from our website using the model number.
- Verify the new seal matches the old one in size.

Preparation Remove Old Seal
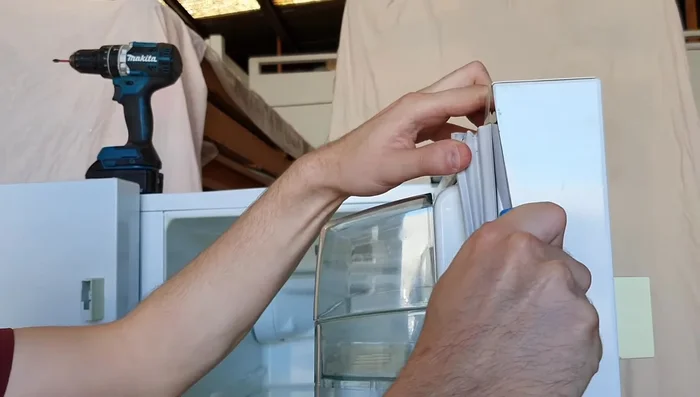
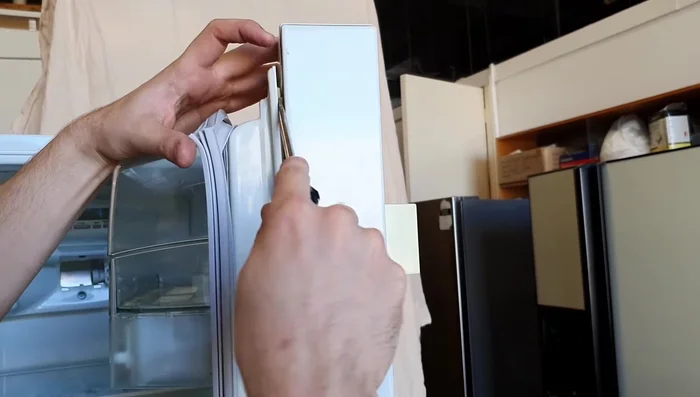
- Use a putty knife to carefully loosen the adhesive holding the old seal to the door liner, working your way around the entire door.
- Once the adhesive is loosened, carefully remove the old seal.
Remove Old Seal Install New Seal
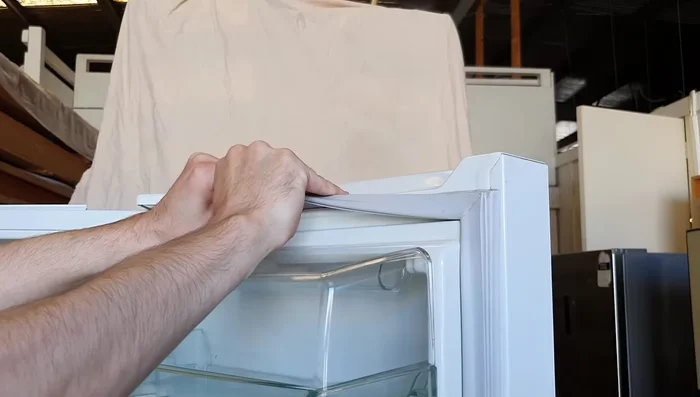
- Unravel the new seal and ensure it's straight.
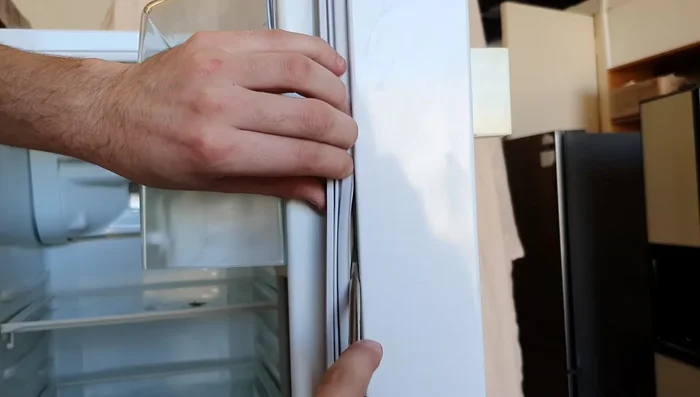
- Starting from the top corners, carefully hook the lip of the new seal behind the door liner. Work your way down to the bottom corners, then the middle.
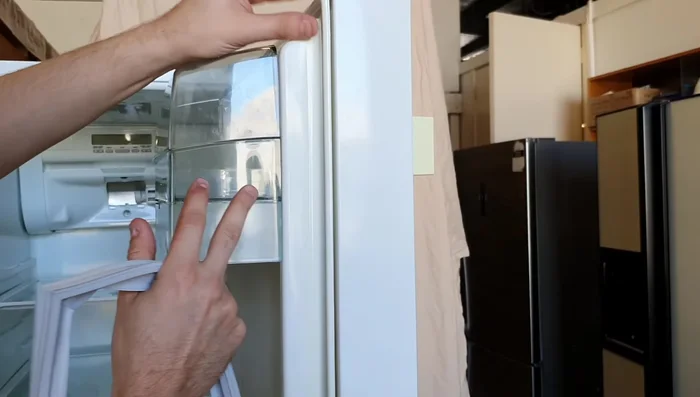
- If necessary, use a screwdriver to gently pry the door liner forward to create space for the new seal.
- Tuck the lip of the new seal securely behind the door liner all the way around.
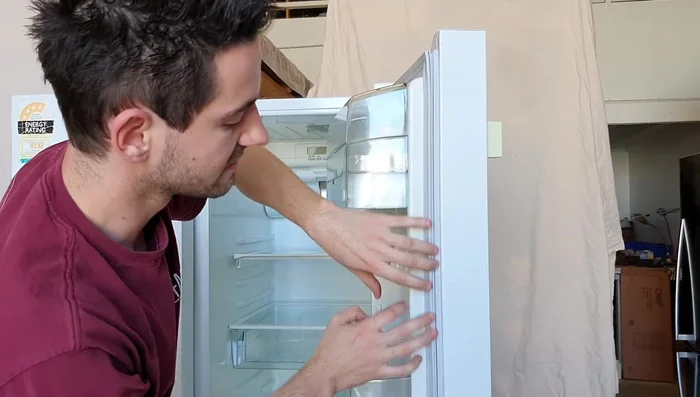
Install New Seal Final Check
- Test the seal's firmness to ensure it's securely attached. No additional screws or glue should be needed.
Final Check
Read more: Fix Washing Machine Won't Spin: Quick & Easy Motor Coupler Replacement
Tips
- Work slowly and carefully to avoid damaging the door liner.
- Start installing the new seal from the top corners to prevent stretching.
- For easier bottom seal installation, consider removing the door and laying it flat.
- Use a screwdriver to lever the door liner forward if it's tight to make seal installation easier.