Historical wood window sashes, with their intricate craftsmanship and timeless beauty, are a cherished feature of many older homes. However, years of exposure to the elements can leave these delicate components weathered, warped, and in need of significant repair. Replacing these irreplaceable windows is often a costly and aesthetically undesirable solution, while restoring them can preserve a home's character and significantly increase its value. Restoring these architectural gems requires patience, attention to detail, and the right techniques, ensuring that the historical integrity of the windows is maintained.
This guide provides a comprehensive step-by-step approach to the restoration of your historical wood window sashes, allowing you to breathe new life into these vital elements of your home's heritage. From assessing the damage and selecting appropriate materials to the crucial processes of repair and refinishing, we will walk you through each stage of the restoration process, equipping you with the knowledge and confidence to undertake this rewarding project.
Preparation and Safety Guidelines
- Heat gun
- Chisel
- Pull scraper
- Shop vac
- Flat scraper or hurricane strap
- Penetrating epoxy
- Two-part epoxy putty
- Pumps for epoxy
- Chip brush
- Injector
- Random orbital sander
- Dremel with carving bit
- Sanding sponge
- Primer (Zinsser Bullseye 1-2-3)
- Glazing compound
- Putty knife
- Scraper with flexible blade
- Pumice powder
- High-quality exterior paint
- Always wear appropriate safety gear, including eye protection, gloves, and a dust mask, to protect yourself from splinters, chemicals, and airborne particles.
- Work in a well-ventilated area when using solvents or paints. Fumes can be hazardous to your health.
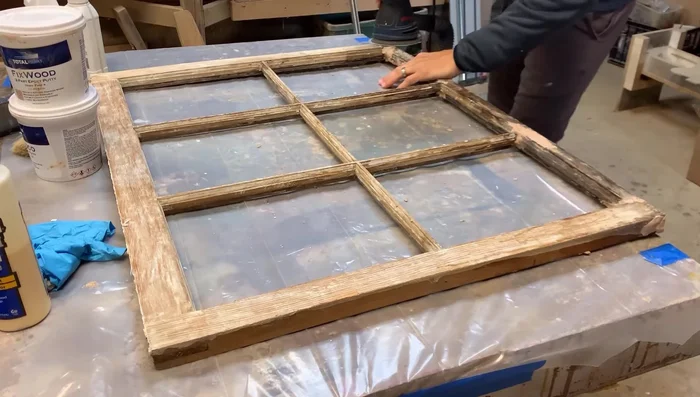
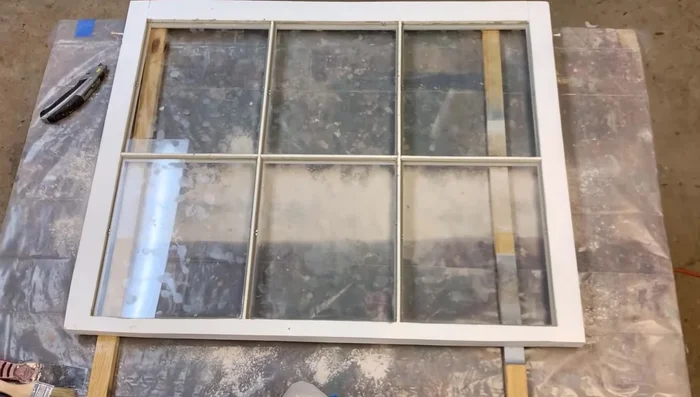
- Before starting any repairs, take detailed photos and measurements of the sash to aid in reassembly. Numbering parts can also be very helpful.
Step-by-Step Instructions
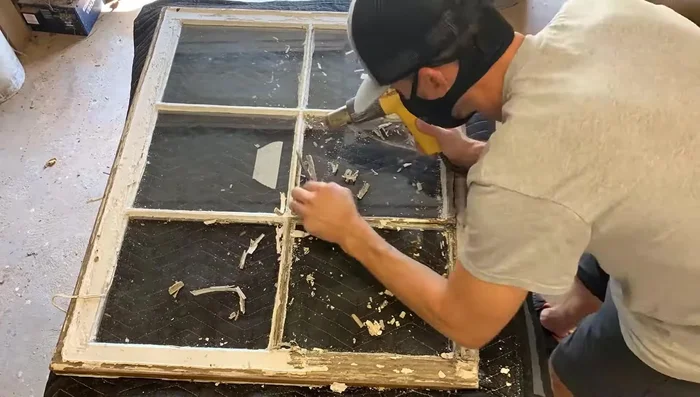
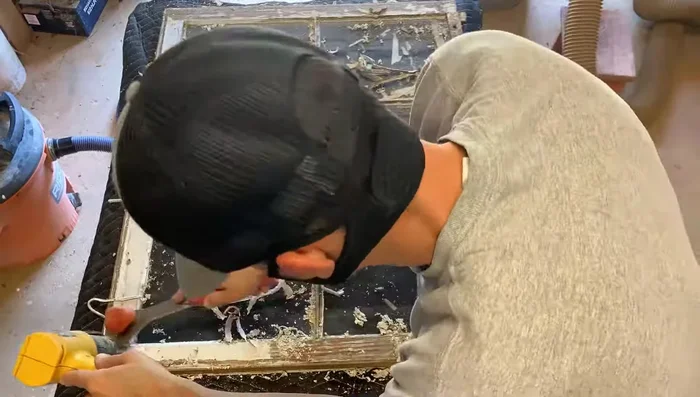
Paint Removal
- Remove old paint using a heat gun and scraping with a chisel. Use a pull scraper for stubborn paint.
- Take proper precautions when dealing with lead paint (mask, contain paint chips). Use a dedicated shop vac.

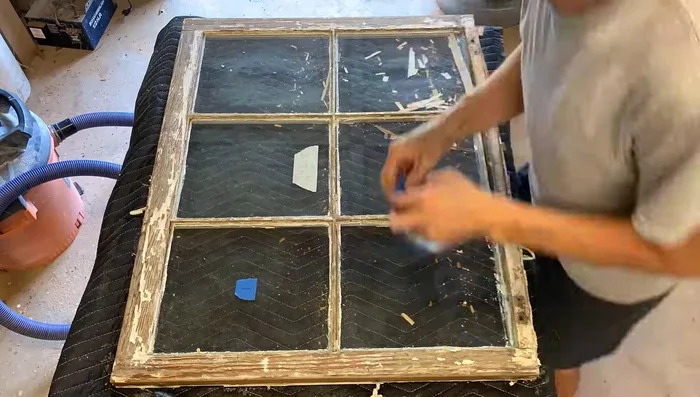
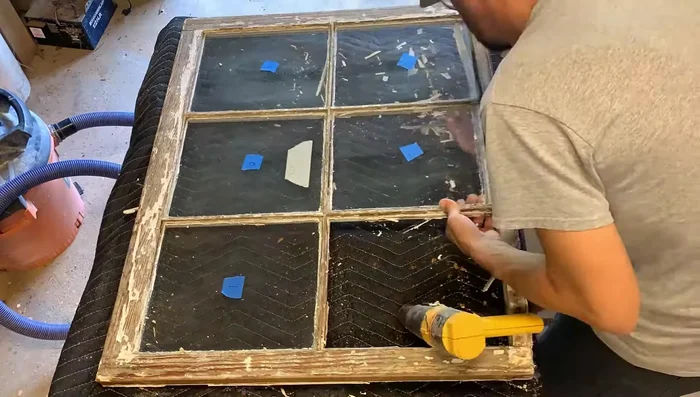
Paint Removal Glass Preparation
- Number the panes before removal to ensure correct reinstallation.
- Carefully remove glazing points before removing the glass.
- Remove the glass panes.
Glass Preparation Muntin Scraping
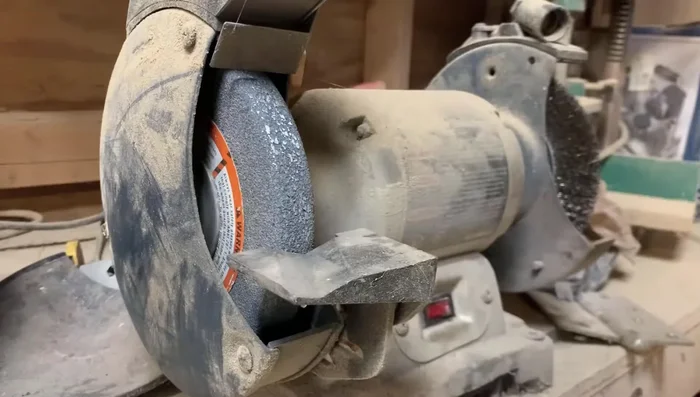
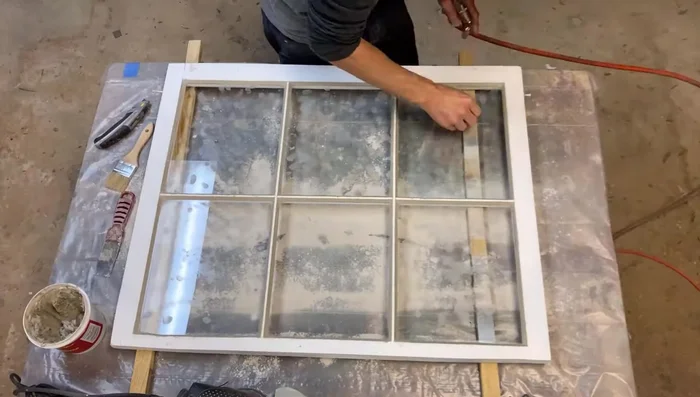
- Scrape muntins using a custom-made profiled scraper (cut the shape of the profile into a flat metal piece).
Muntin Scraping Wood Repair
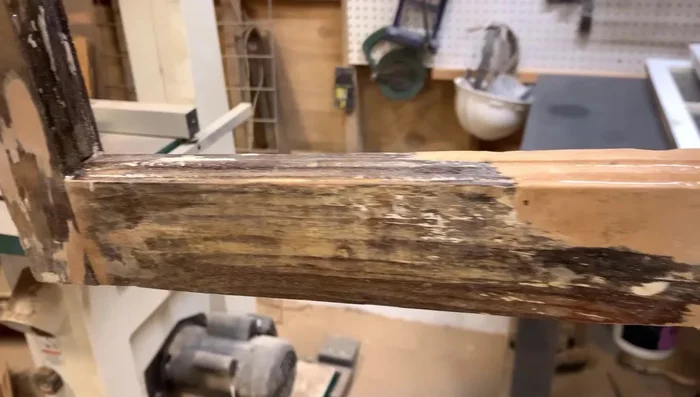
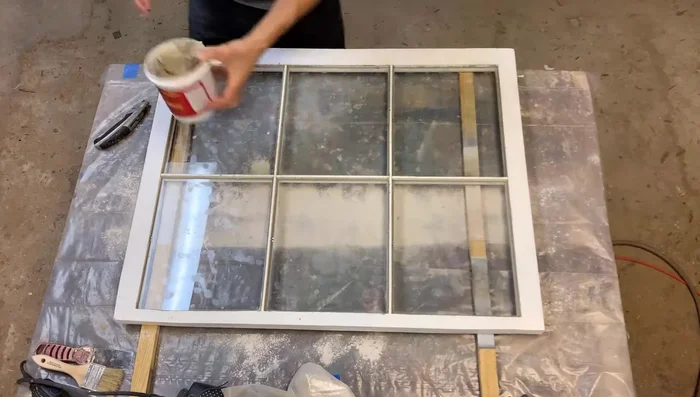
- Repair wood rot using TotalBoat penetrating epoxy and their fixed wood two-part epoxy putty. Inject epoxy into spaces and fill holes with putty.
Surface Preparation
- Sand down the surfaces after the epoxy cures, using a random orbital sander and a Dremel with a carving bit for detail work.
- Apply another coat of penetrating epoxy after sanding.
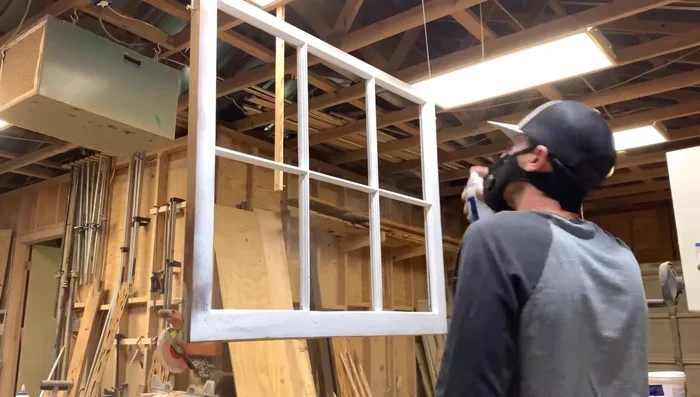
Surface Preparation Priming
- Hang the windows and apply a coat of primer (Zinsser Bullseye 1-2-3 recommended).
Priming Glass Reinstallation
- Reinstall the glass using glazing compound and new glazing points.
Glass Reinstallation Exterior Glazing
- Apply exterior glaze (Sarco type EM multi-glaze recommended). Use a scraper to create a clean bead.
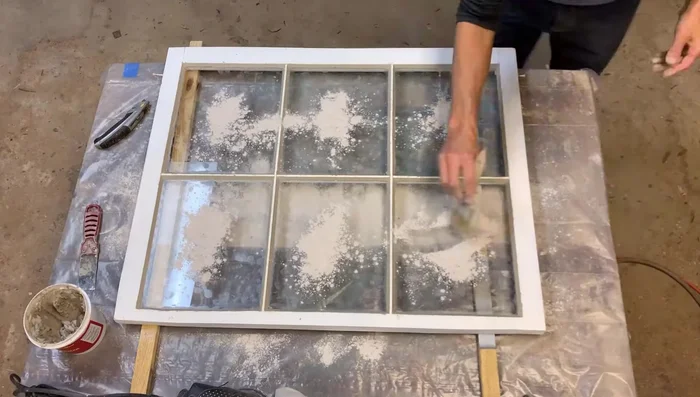
- Clean excess glaze with pumice powder.
Exterior Glazing Finishing
- Finish with high-quality exterior paint.
Finishing Final Reinstallation
- Reinstall the windows.
Final Reinstallation

Read more: 3M Thinsulate Window Film Installation: A Step-by-Step Guide
Tips
- Use inexpensive chisels for scraping to avoid damaging the wood.
- Use appropriate pumps for epoxy for easy dispensing.
- Creating a custom-shaped scraper makes scraping intricate profiles much easier.
- Zinsser Bullseye 1-2-3 primer is highly recommended for its superior coverage.
- Take your time and practice the glazing technique for a professional finish.