The Rockwood GeoPro's compact microwave is a convenient feature, but its flimsy factory-installed frame is a common source of frustration. Many owners report cracked or broken frames, often resulting from the rigors of travel and the inherent vibrations of a recreational vehicle. This weakness leads to wobbly microwaves, potential damage to the appliance itself, and a generally unsatisfactory user experience. Fortunately, a robust and relatively simple DIY repair is possible, offering a far more durable solution than the original.
This article details a step-by-step guide to creating a significantly stronger, more resilient microwave frame for your GeoPro. We’ll walk you through the process of upgrading the existing frame, using readily available materials and straightforward techniques that even novice DIYers can manage. Ready to ditch the flimsy original and enjoy a securely mounted microwave? Let's get started!
Preparation and Safety Guidelines
- JB Weld
- Sanding block (or sandpaper/emery cloth)
- 1x2 wood
- Screws
- Clamps
- Toothpicks
- Detergent
- Always disconnect the microwave from the power source before starting any repairs. Failure to do so could result in serious injury or death from electric shock.
- Use appropriate safety glasses and gloves to protect yourself from sharp edges, potential cuts, and microwave components.
- If you are uncomfortable with any aspect of this repair, consult a qualified professional. Improper repairs can compromise the structural integrity and safety of your microwave.
Step-by-Step Instructions
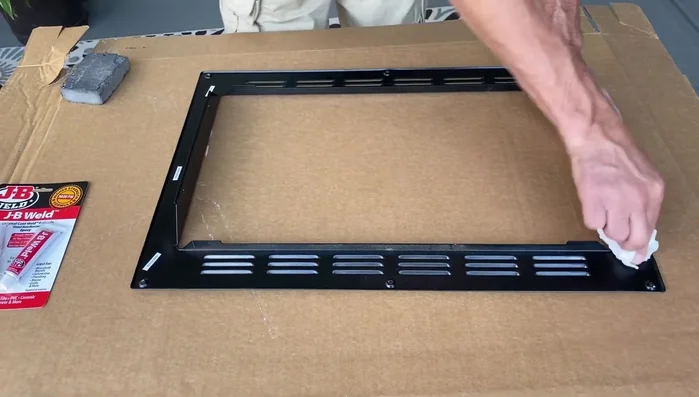
Prepare the Microwave Frame
- Remove the microwave face frame. This involves removing three screws across the top and three across the bottom, then four smaller screws securing the frame to the microwave itself.
- Clean the metal frame surface with detergent, then roughen it up using a sanding block or sandpaper to improve JB Weld adhesion.

Prepare the Microwave Frame Repair the Cracks with JB Weld
- Mix equal parts of JB Weld epoxy and apply it to the cracks using a toothpick. Work the JB Weld into the cracks and remove excess material.
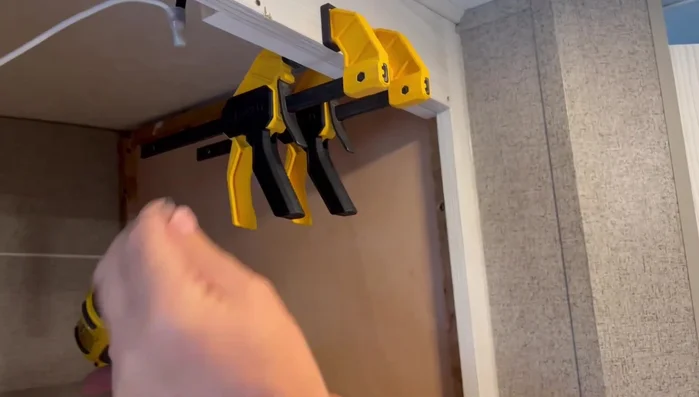
Repair the Cracks with JB Weld Add Structural Support
- Apply a piece of 1x2 wood to the back of the frame before reinstalling. This adds support to prevent future cracking.
- Secure the 1x2 wood with screws from the back, ensuring they only penetrate halfway into the face frame to avoid going through the front.
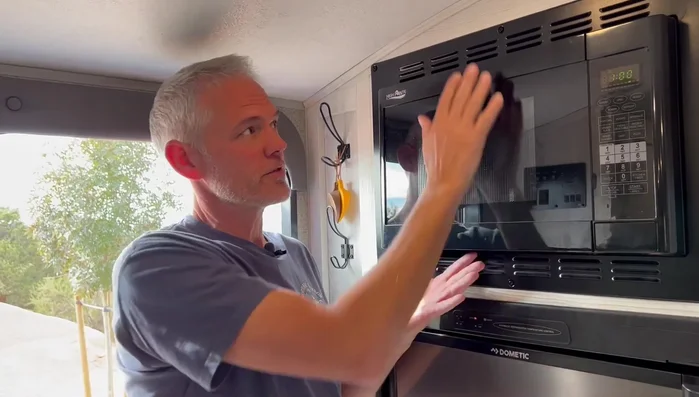
Add Structural Support Reinstall the Microwave Frame
- Reinstall the microwave frame by attaching the screws that secure it to the microwave, then the six screws attaching it to the camper.
Reinstall the Microwave Frame

Read more: Fix Washing Machine Won't Spin: Quick & Easy Motor Coupler Replacement
Tips
- Work the JB Weld thoroughly into the cracks to ensure a strong bond.
- Use toothpicks for precise JB Weld application.
- Pre-drill holes in the 1x2 wood to prevent splitting.
- Choose screws that will go through the wood but only halfway into the face frame to avoid penetrating the front.