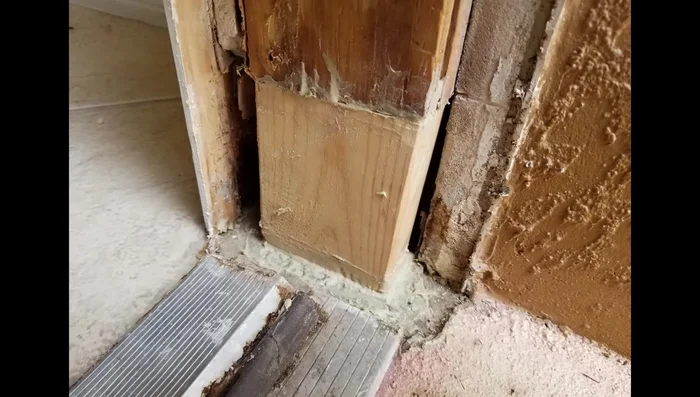
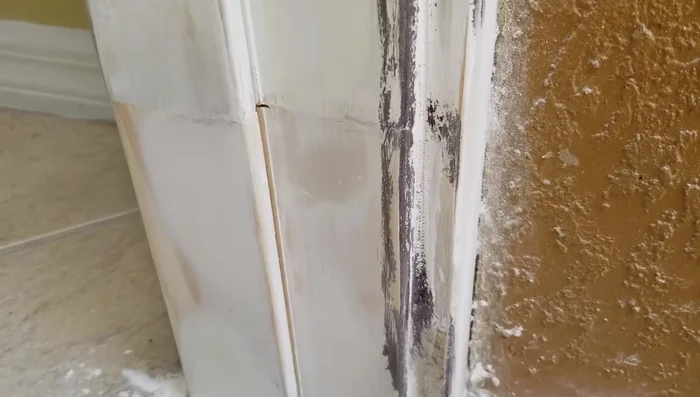
A rotted door jamb is more than just an eyesore; it compromises the structural integrity of your door and your home's security. Water damage, often unseen for a considerable time, is the usual culprit, leading to weakened wood susceptible to cracking, insect infestation, and even further decay. Ignoring this problem only invites bigger, more costly repairs down the line, potentially including the need for a completely new door frame. A seemingly small issue like a slightly loose door or a persistent draft can be a telltale sign of underlying rot, so it's crucial to address the problem promptly.
Fortunately, repairing a rotted door jamb is a manageable DIY project for many homeowners, even if you lack extensive carpentry skills. This guide provides a comprehensive, step-by-step approach to tackling this common home repair, equipping you with the knowledge and confidence to restore your door and its frame to their former glory. Let's get started on the process of fixing your rotted door jamb!
Preparation and Safety Guidelines
- Multi-tool
- Pry bar
- Chisel
- Sandpaper (220 grit)
- Pressure treated 2x4
- Liquid Nails
- Wood filler (Bondo or spackle)
- Caulk
- Primer
- Paint
- Weather stripping
- Always wear appropriate safety gear, including safety glasses and a dust mask, to protect yourself from flying debris and wood dust.
- Ensure the area is well-ventilated to avoid inhaling harmful fumes from wood preservatives or finishes.
- Use caution when working with power tools. Familiarize yourself with their operation and safety features before use. If unsure, consult a professional.
Step-by-Step Instructions
Preparation
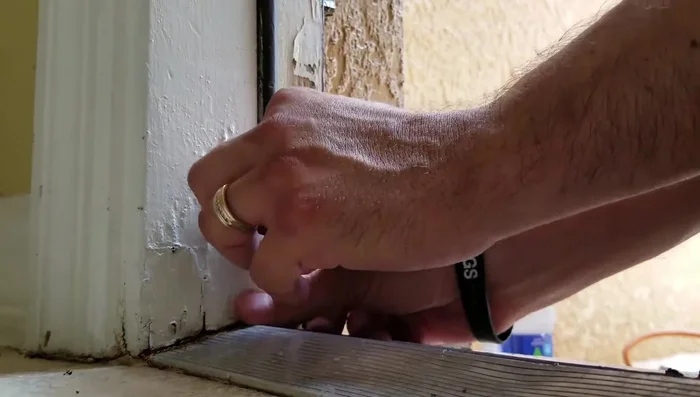
- Remove the weather stripping.
- Locate and mark the hard, un-rotted section of the door jamb.

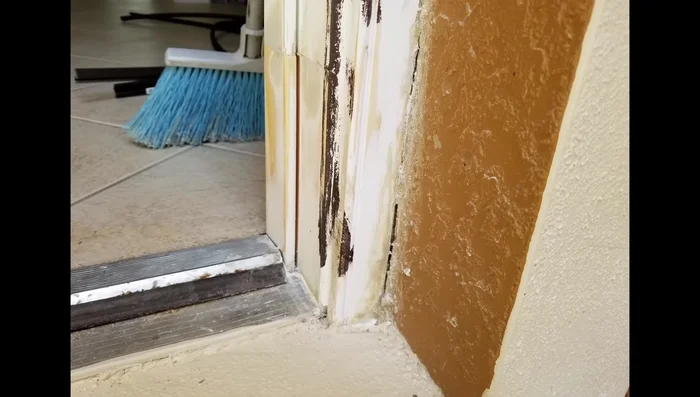
Preparation Removal of Rotted Wood
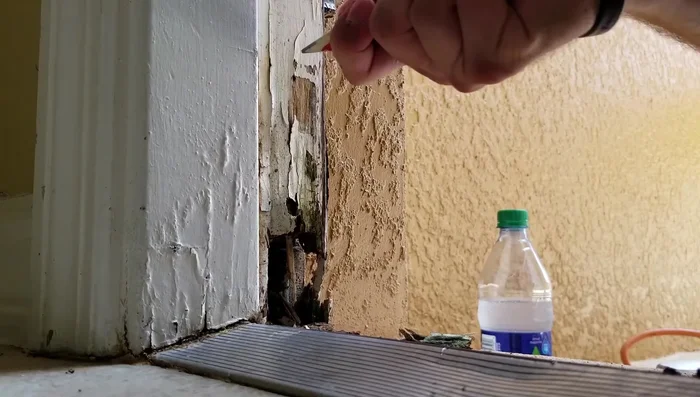
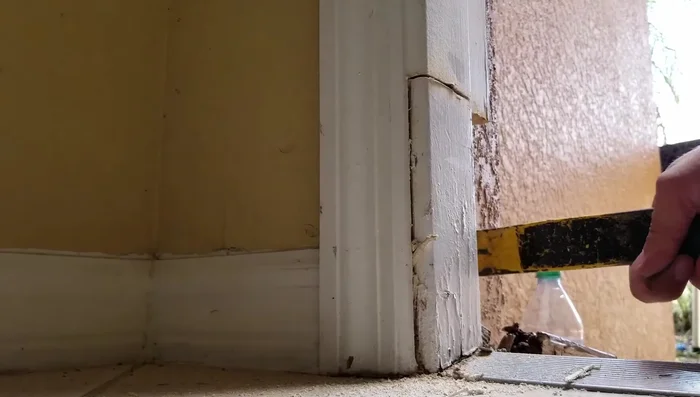
- Carefully cut along the marked line, slightly above the hard wood, using a multi-tool. If not replacing the trim, cut right behind it.
- Remove the cut section of the rotted wood using a pry bar.
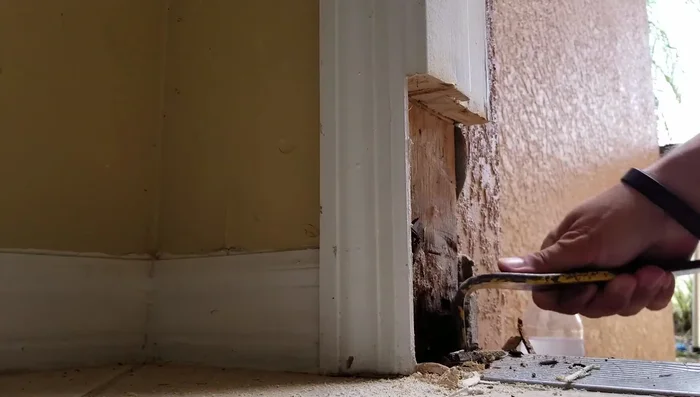
- Clean out the rotted wood, chipping away until you reach solid, hard wood.
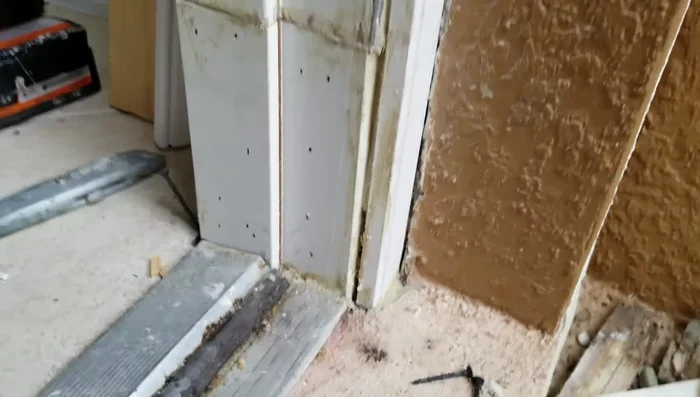
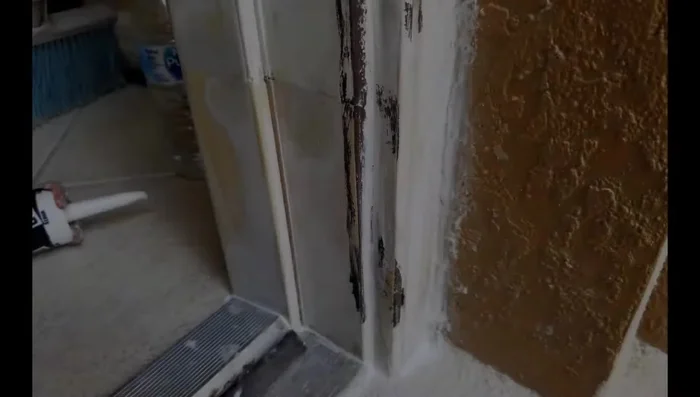
Removal of Rotted Wood Structural Support
- Install pressure-treated 2x4 to support the repair.
- Secure the 2x4 with Liquid Nails and allow to dry.
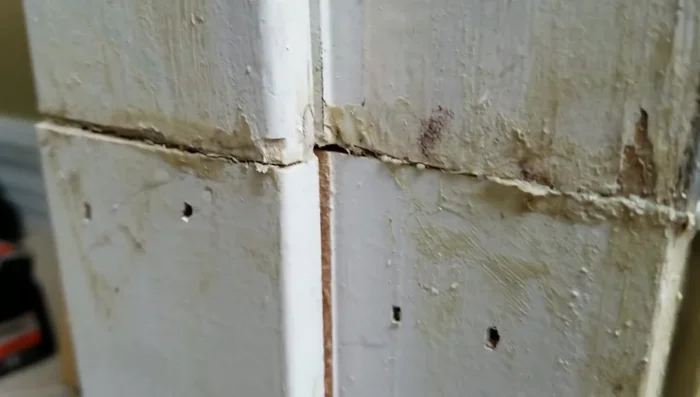
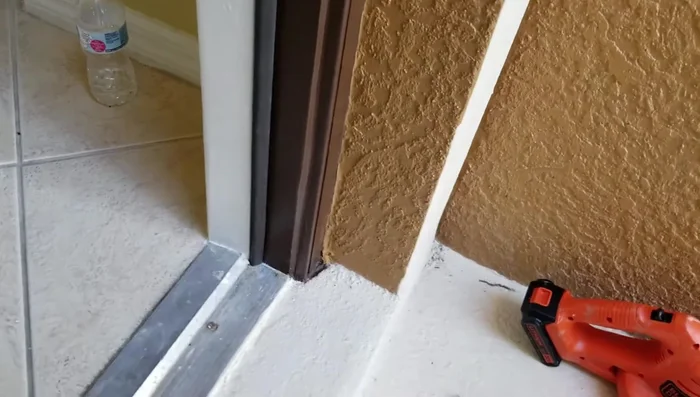
Structural Support Installation of New Wood
- Cut a new section of door jamb to fit the opening.
- Install the new door jamb section, ensuring alignment with the weather stripping.
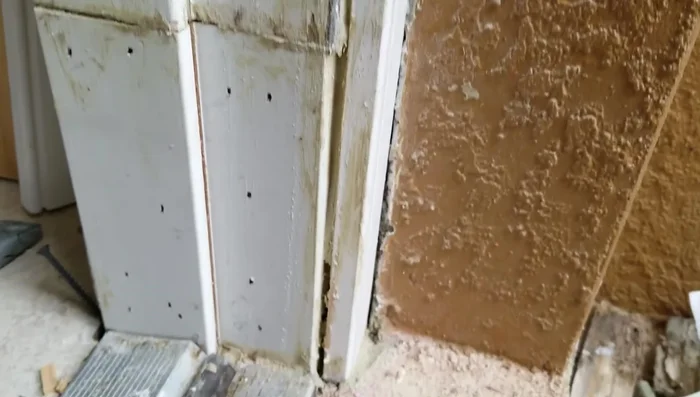
Installation of New Wood Surface Finishing
- Fill gaps and imperfections with wood filler (Bondo or spackle).
- Sand the repaired area thoroughly using 220 grit sandpaper.
- Caulk any remaining gaps, ensuring the surface is clean and dry before caulking.
Surface Finishing Painting and Final Touches
- Apply primer to the repaired section.
- Paint the repaired area.
- Install the weather stripping.
Painting and Final Touches


Read more: 3M Thinsulate Window Film Installation: A Step-by-Step Guide
Tips
- Use a multi-tool for precise cutting.
- Make sure you get pressure treated 2x4.
- Ensure the new door jamb section aligns with the weather stripping for proper sealing.
- Sand thoroughly before caulking to prevent contamination.
- Apply primer before painting for better adhesion and finish.