Tired of a cluttered bathroom and dreaming of stylish, functional storage? Transform a simple, rustic crate into a charming and practical bathroom cabinet with this easy DIY project! Forget expensive, mass-produced storage solutions; this project lets you create a unique piece that perfectly complements your bathroom's décor, all while embracing the current trend for rustic farmhouse aesthetics. Imagine the satisfying feeling of upcycling a humble crate into something truly special, adding both character and organization to your space. You'll be surprised by how easily you can achieve a high-end look on a budget.
This project requires minimal tools and readily available materials, making it perfect for beginners. Whether you're a seasoned DIY enthusiast or a complete novice, this guide will walk you through each step, from prepping the crate to adding the finishing touches. Ready to get started and add a touch of rustic charm to your bathroom? Let's dive into the step-by-step instructions to create your stunning DIY rustic crate bathroom cabinet!
Preparation and Safety Guidelines
- 5x7 frames
- side cutters
- hinges
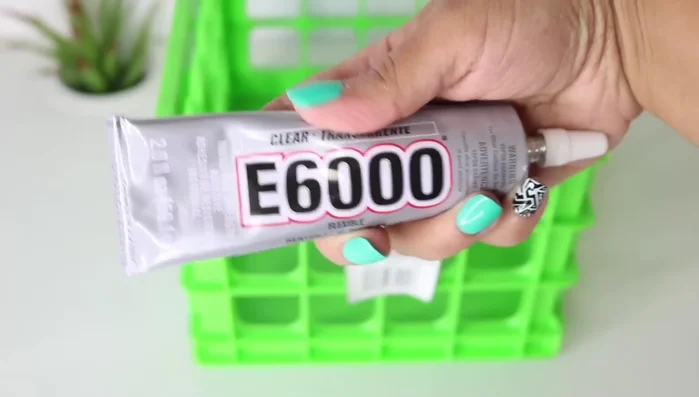
- E6000 glue
- masking tape
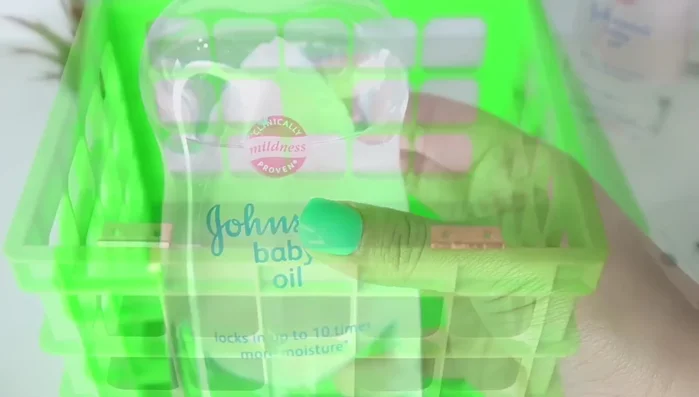
- baby oil
- wooden crate
- zip ties
- Dollar Tree paper holder
- hooks
- Rustoleum metallic spray paint
- Dollar Tree magnetic strip
- hot glue
- metal thumb tacks
- glass
- Always wear safety glasses and a dust mask when working with wood and power tools. Wood dust can be harmful if inhaled.
- Ensure proper ventilation when using paints, stains, or sealants. Read and follow all product safety instructions carefully.
- Securely attach the crate to the wall using appropriate hardware to prevent tipping or falling. Consider the weight of the items you'll be storing.
Step-by-Step Instructions
Prepare the Crate Structure
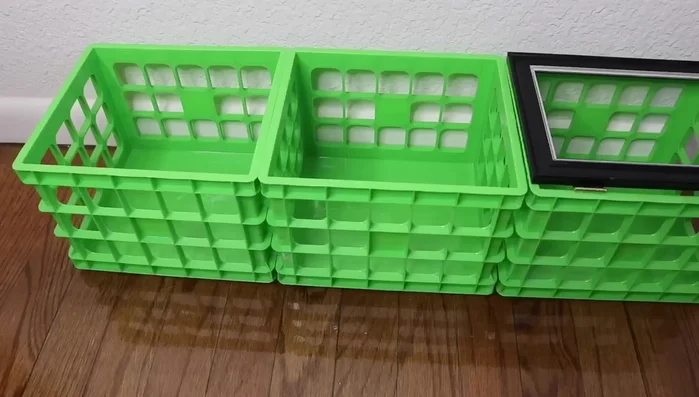
- Apply E6000 glue to one side of the crate and line it up with another side. Use Dollar Tree clips to hold the structure together, repeating this process to create three rows of three crates.
- Use zip ties to connect the rows and cut off excess. This should stabilize the structure.

Prepare the Crate Structure Prepare the Door
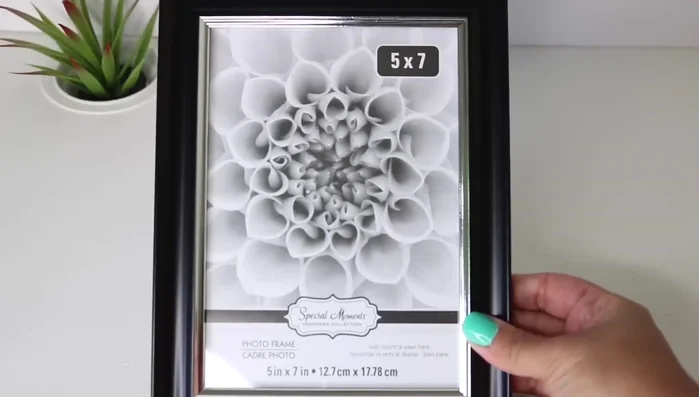
- Remove the insides and glass from 5x7 frames. Use side cutters to remove metal pieces. This specific frame fits the crate.
Prepare the Door Attach Door to Crate
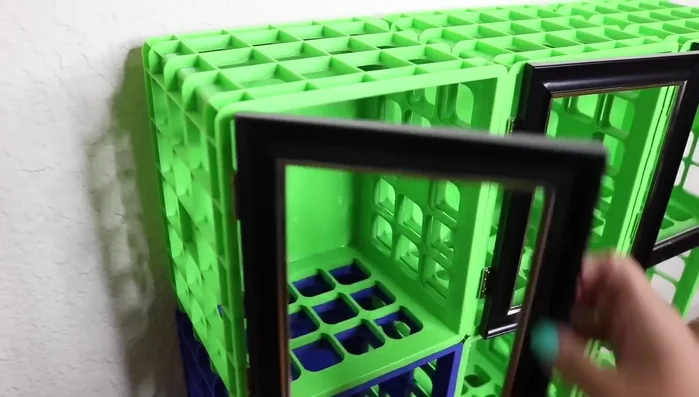
- Apply E6000 glue to one side of the hinge, press it onto the inside of the crate, and use masking tape to hold it in place. Ensure proper door opening positioning.
- Apply baby oil to prevent glue seepage. Add more E6000 to the frame's edge, position it on the crate, ensuring alignment of all sides.
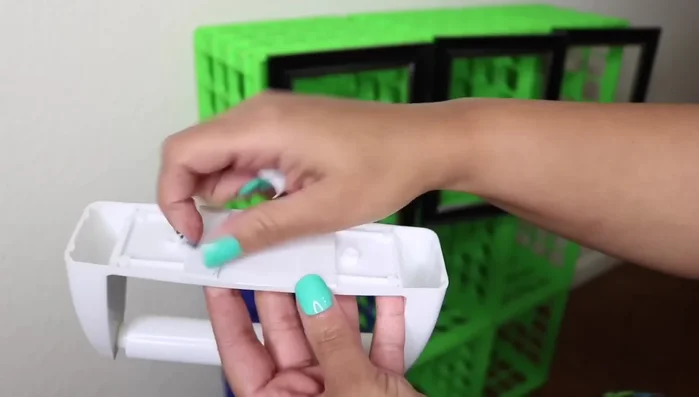
Attach Door to Crate Add Accessories
- Remove the lining from a Dollar Tree paper holder, add E6000, and press it against the crates. Use hooks for additional support to hang items like loofahs or brushes.
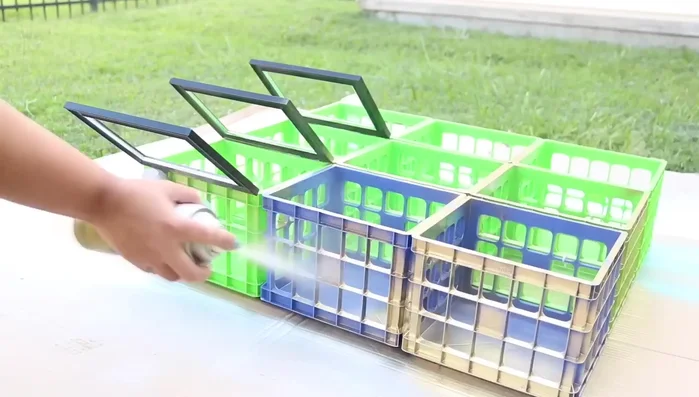
Add Accessories Paint the Cabinet
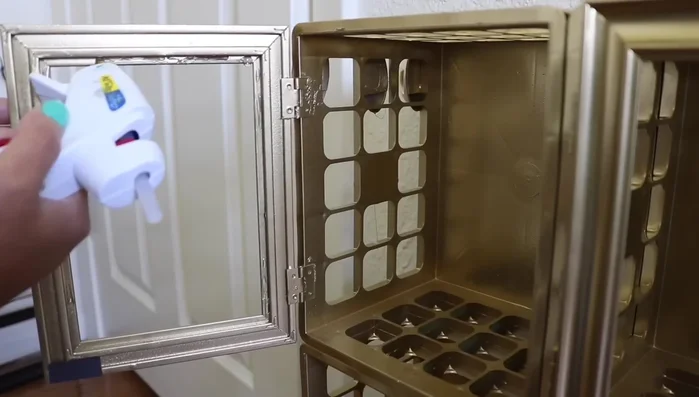
- Spray paint the assembled cabinet with Rustoleum metallic spray paint.
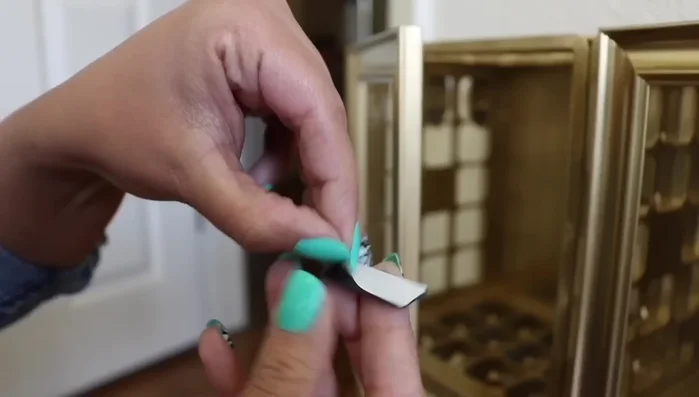
Paint the Cabinet Install Magnetic Closure
- Remove the lining from a Dollar Tree magnetic strip, apply hot glue, and attach it to the bottom of the door. Add three metal thumb tacks for a secure closure.
Install Magnetic Closure Install Glass in Door
- Apply E6000 to the sides and hot glue to the top of the frame. Add the glass.
Install Glass in Door
Read more: DIY Mason Jar Soap Dispensers: A Step-by-Step Guide with Two Stunning Designs
Tips
- Use a specific 5x7 frame that fits your chosen crate.
- Apply baby oil to prevent glue from seeping onto the middle of the frame.
- Use clear E6000 glue for invisible joints during crate assembly.