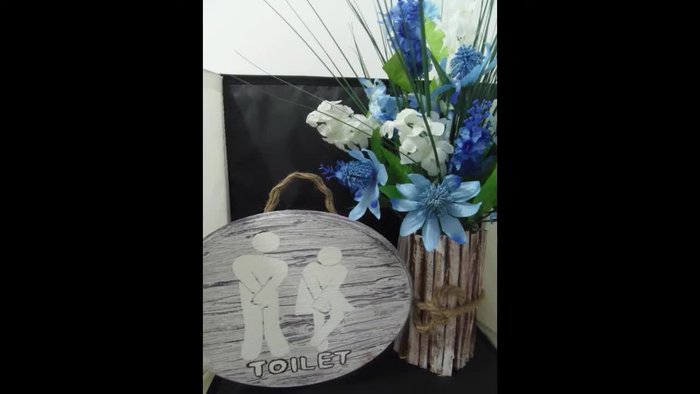
Transform your bathroom into a charming rustic farmhouse haven with this easy DIY project! Forget expensive store-bought signs; we'll show you how to create a personalized, rustic-chic bathroom sign using readily available materials and simple techniques. This project perfectly blends the warmth of chalk paint with the precision of a Cricut machine, offering a beautiful and cost-effective way to add character to your space. The combination of these materials creates a wonderfully textured and aesthetically pleasing sign that will complement any farmhouse décor, whether you prefer a minimalist or maximalist style.
This tutorial will guide you through each step of the process, from preparing your wooden board to the final application of the protective sealant. Get ready to unleash your creativity and personalize your bathroom with a unique, handmade touch. Let's dive into the detailed step-by-step instructions to craft your own rustic farmhouse bathroom sign.
Preparation and Safety Guidelines
- Old plaque
- Acrylic paint (chocolate brown)
- Return Decor Chalky Finish paint (white)
- Metal brush or sandpaper
- Cricut machine
- Printable sticker paper
- Hot glue gun
- Rope
- 3M Command Strips (or nails)
- Always work in a well-ventilated area when using chalk paint and other crafting supplies. Inhaling paint fumes can be harmful.
- Protect your work surface with a drop cloth or newspaper to prevent paint spills and drips. Chalk paint can be difficult to remove from certain surfaces.
- If using a Cricut or similar cutting machine, always supervise children and ensure proper safety measures are in place according to the manufacturer's instructions.
Step-by-Step Instructions
Prepare the Plaque
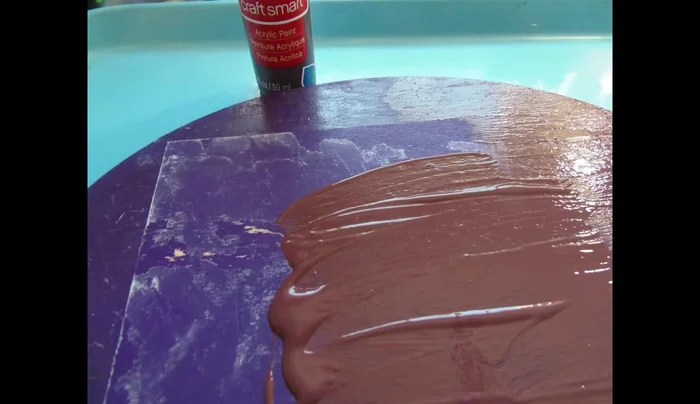
- Remove old design and paint. Scrape off the old design and purple paint, wetting the plaque to help remove the paper. This takes approximately 15 minutes.

Prepare the Plaque Prime the Plaque
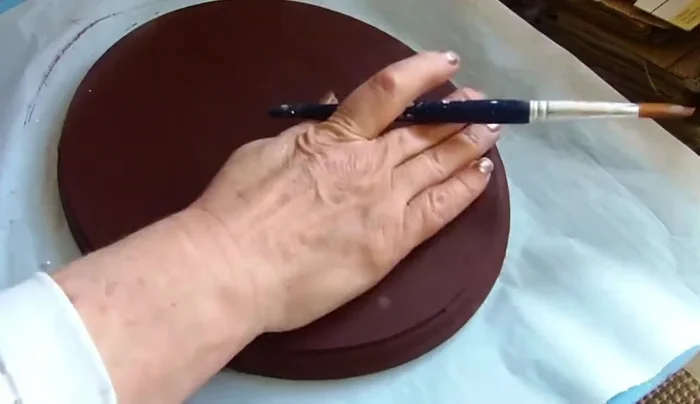
- Paint the entire plaque with brown acrylic paint.
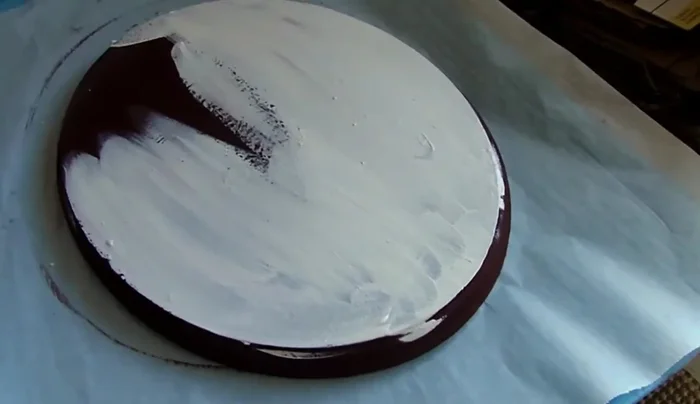
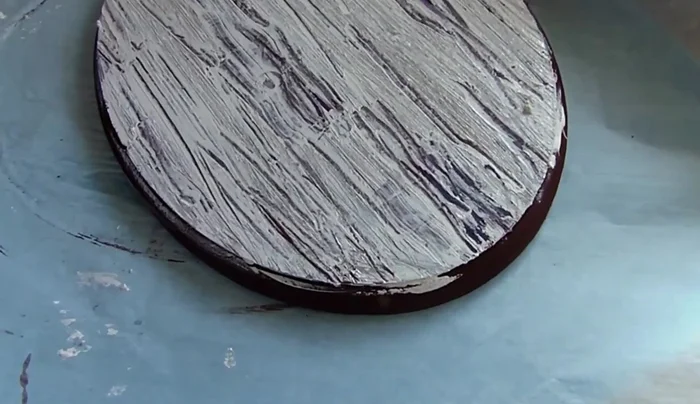
Prime the Plaque Apply and Distress Chalk Paint
- Quickly paint a layer of white chalk paint over the dry brown base.
- While the chalk paint is still wet, use a metal brush (or sandpaper) to scratch the surface, creating a rustic effect. Do not let the chalk paint dry completely before distressing.
- Repeat the distressing process on the sides of the plaque.
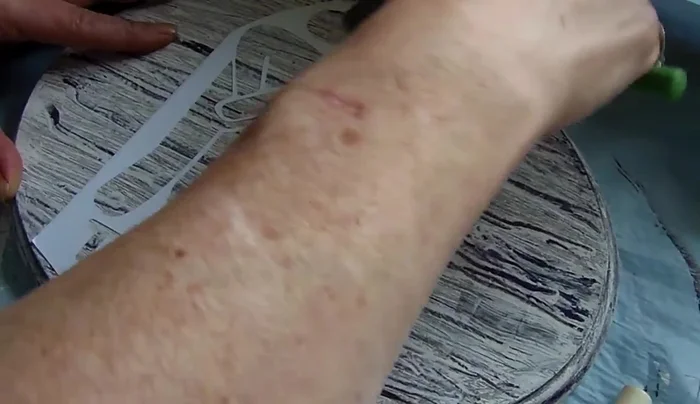
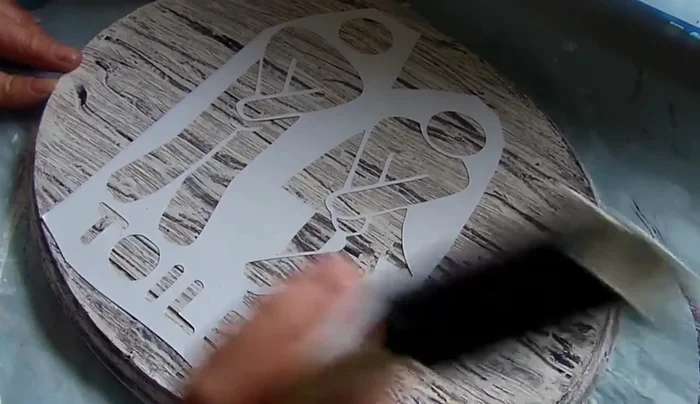
Apply and Distress Chalk Paint Prepare and Apply Design Stencil
- Print your desired bathroom sign design onto printable sticker paper using a Cricut machine (or similar cutting machine).
- Carefully adhere the sticker paper stencil to the plaque, smoothing out any bubbles or wrinkles to prevent paint bleeding.
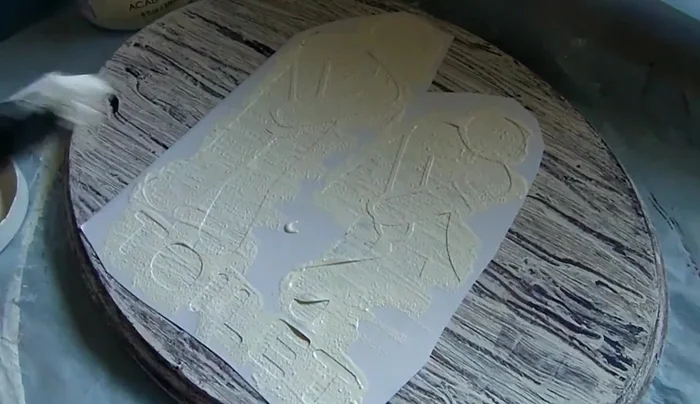
Prepare and Apply Design Stencil Paint and Remove Stencil
- Dab the paint onto the stencil, creating a textured look. Let it dry completely.
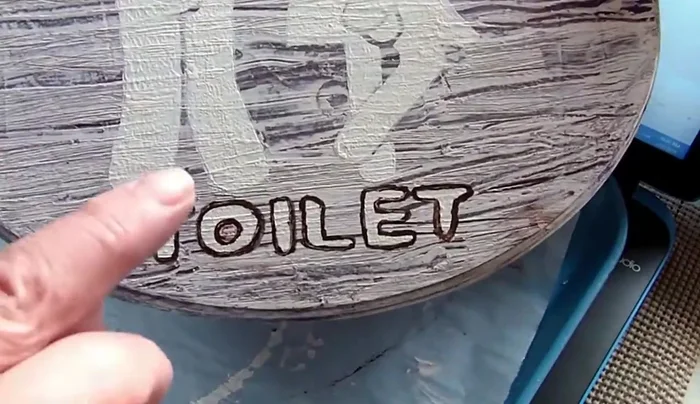
- Once dry, carefully peel off the sticker paper stencil. Touch up any imperfections with a paintbrush.
Paint and Remove Stencil Finishing Touches and Hanging
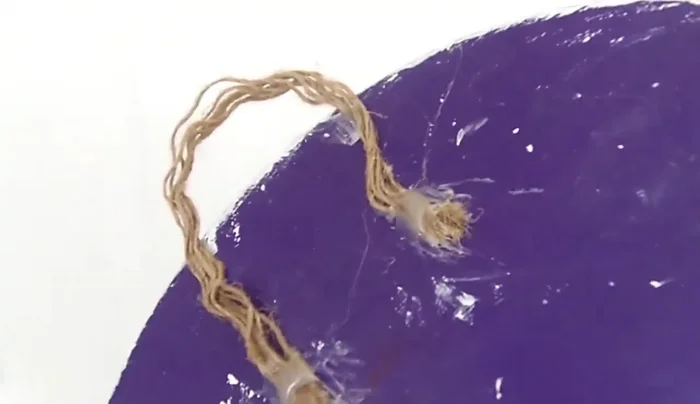
- Outline letters with a thin brush and brown paint to make them stand out. Attach rope to the back for hanging using hot glue.
- Use 3M Command Strips or nails to hang the plaque on your door.
Finishing Touches and Hanging

Read more: DIY Mason Jar Soap Dispensers: A Step-by-Step Guide with Two Stunning Designs
Tips
- Wetting the old plaque helps remove the old paper and design more easily.
- Distressing the chalk paint while it's wet is key for achieving the desired rustic look. If it dries, you'll need sandpaper.
- Use a Cricut machine or similar cutting machine for precise stencil cutting.
- Dabbing the paint onto the stencil creates a textured look, avoiding a solid, uniform appearance.
- Use a heat gun to speed up the drying process.