Tired of boring, mass-produced toilet paper holders that lack personality? Yearning for a touch of rustic charm in your bathroom without breaking the bank or spending hours at the hardware store? Then you've come to the right place! This tutorial will guide you through creating a stunning, rustic toilet paper holder using readily available materials and simple techniques. Forget about overpriced store-bought options; you'll be surprised at how easy and rewarding it is to craft your own unique piece. This project is perfect for beginners, requiring minimal tools and expertise, ensuring a satisfying DIY experience even for the least experienced crafter.
Forget generic and embrace the beauty of handcrafted! This step-by-step guide will walk you through each stage of creating a stylish, rustic toilet paper holder that will add a touch of warmth and character to your bathroom. Get ready to transform a simple roll of toilet paper into a rustic masterpiece – let's get started!
Preparation and Safety Guidelines
- 1x1 by 6 inch wood boards
- Dowel (or sturdy wooden rod)
- Wood glue
- Screws
- Drill with spade bit
- Sandpaper
- Stain
- White paint
- Pencil
- Measuring tape
- Carving tools (optional)
- Always ensure the wood is properly sanded to prevent splinters and ensure a smooth finish before applying any stain or sealant.
- Use appropriate safety gear like safety glasses when using tools like saws, drills, or sandpaper.
- Make sure the finished holder is securely mounted to the wall to prevent it from falling and causing injury or damage.
Step-by-Step Instructions
Prepare the Wood
- Measure and cut wood boards. Cut two 15-inch long boards for the sides and three 9 1/2 inch boards for the back and front.

Prepare the Wood Plan the Roll Spacing
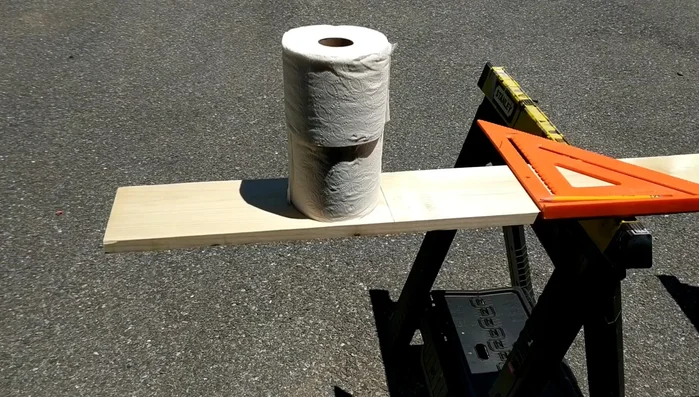
- Determine spacing for toilet paper rolls. Place rolls side-by-side to determine the necessary spacing and measure the distance between the outer edges of the rolls for the back support.
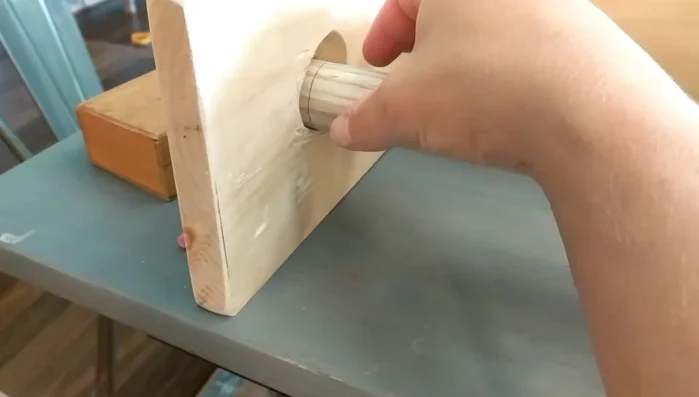
Plan the Roll Spacing Prepare the Dowel
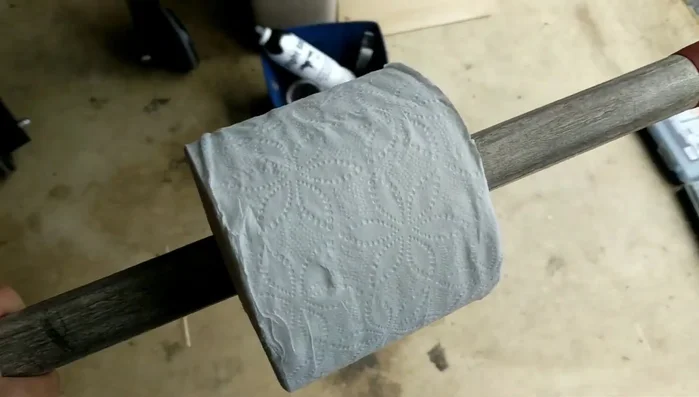
- Prepare the dowel. Cut a dowel or use a suitable replacement (like a broken rake handle) to the desired length. Sand it smooth.
Prepare the Dowel Drill Dowel Holes
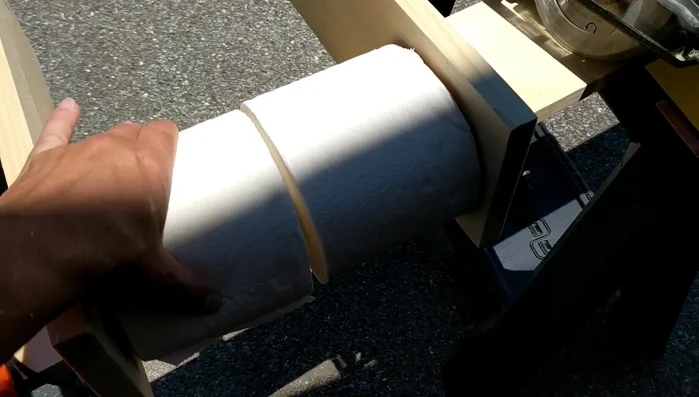
- Drill holes in side boards. Mark and drill holes in the side boards to accommodate the dowel, ensuring proper alignment with the toilet paper rolls.
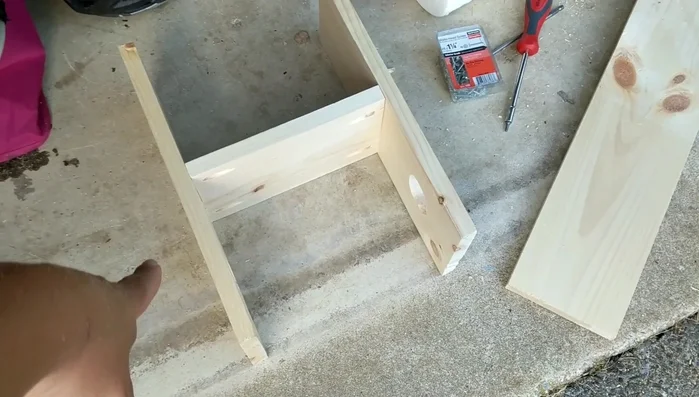
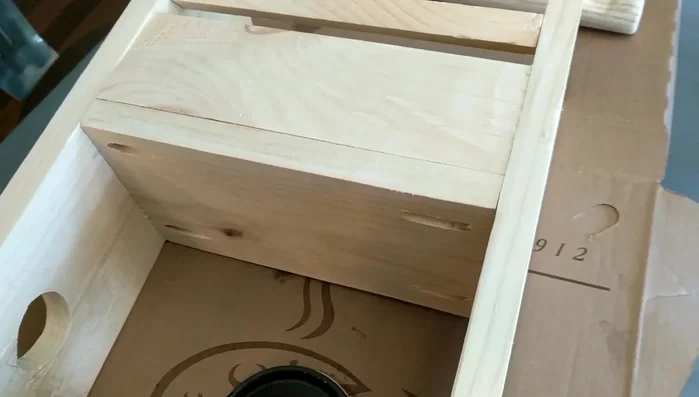
Drill Dowel Holes Assemble the Back and Sides
- Assemble the main structure. Attach the back support to the side boards. The presenter initially attempted pocket holes but recommends screwing from the outside for better results.
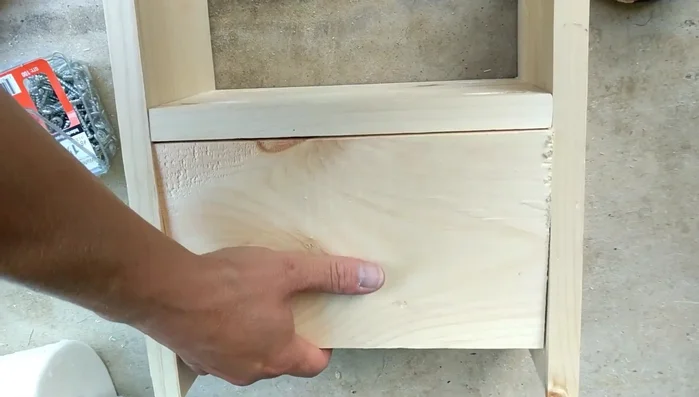
Assemble the Back and Sides Attach the Front Support
- Attach the front support. Cut and attach the front support, adjusting its height as needed. The presenter chooses to leave one end slightly protruding for aesthetic reasons.
Attach the Front Support Carve Indentation (Optional)
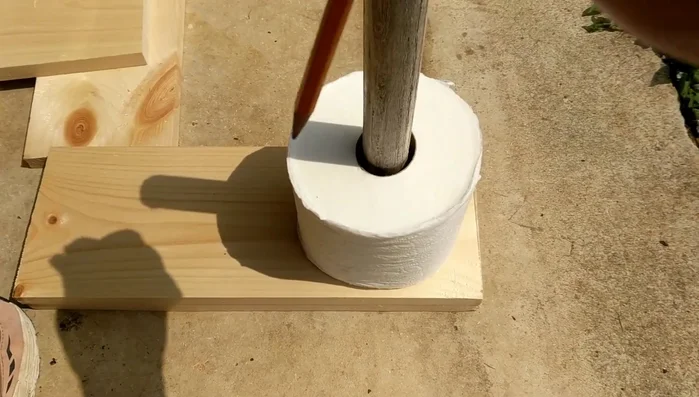
- Carve (optional) a small indentation on the front support to allow the toilet paper to rest more comfortably. This step is optional and the presenter uses basic carving tools.
Carve Indentation (Optional) Finish and Decorate
- Sand, stain, and dry brush. Sand all pieces smooth. Apply stain and then dry brush with white paint for a rustic finish.
Finish and Decorate
Read more: DIY Mason Jar Soap Dispensers: A Step-by-Step Guide with Two Stunning Designs
Tips
- Use a sufficiently large spade bit when drilling holes for the dowel to ensure a snug fit.
- Avoid pocket holes when attaching the shelf; screws from the outside are easier and more reliable.
- Spacing the toilet paper rolls appropriately is crucial for easy rolling; don't make them too tight.