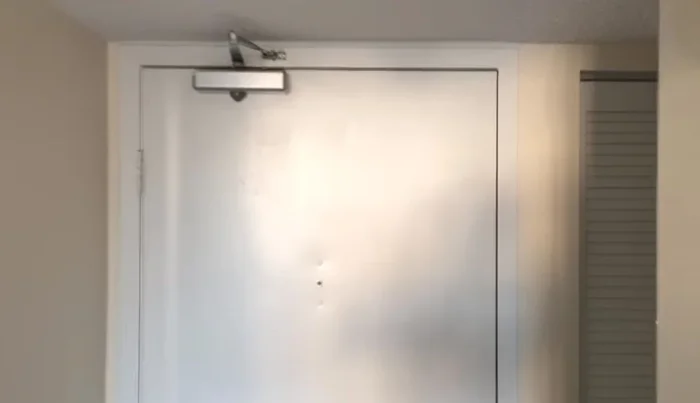
A door that doesn't close properly is more than just an annoyance; it's a security risk and a potential source of drafts, letting precious heat escape in winter and cool air in summer. Sagging doors, often caused by loose hinges or settling of the door frame, are a common culprit behind this frustrating problem. This often manifests as a gap appearing at the top of the door frame, or the door rubbing against the frame on its bottom edge. Thankfully, fixing a sagging door is usually a straightforward DIY project, often requiring nothing more than a screwdriver and a few simple adjustments to the hinges.
This article will guide you through the process of identifying the cause of your sagging door and then provide a step-by-step approach to adjusting the hinges to achieve a perfect, secure close. By following these simple instructions, you'll quickly restore your door to its proper functionality, eliminating drafts and enhancing the security and overall aesthetic of your home. Let's get started!
Preparation and Safety Guidelines
- Adjustable crescent wrench
- Nail
- Hammer (optional)
- Always support the door's weight while adjusting hinges to prevent injury and damage. Use a door stop or have someone hold the door.
- Use the appropriate tools for the job. Improper tools can strip screws or damage the hinges and door frame.
- If you're uncomfortable working with tools or unsure about any step, consult a professional handyman. Attempting repairs beyond your skill level can worsen the problem.
Step-by-Step Instructions
Assess the Problem
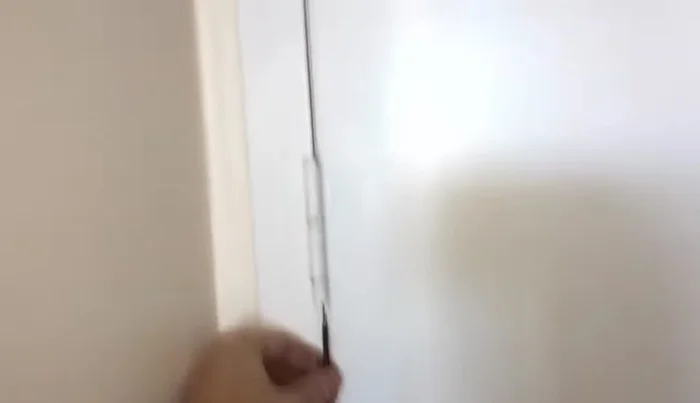
- Observe the gap between the door and the door jamb.

Assess the Problem Prepare the Hinge
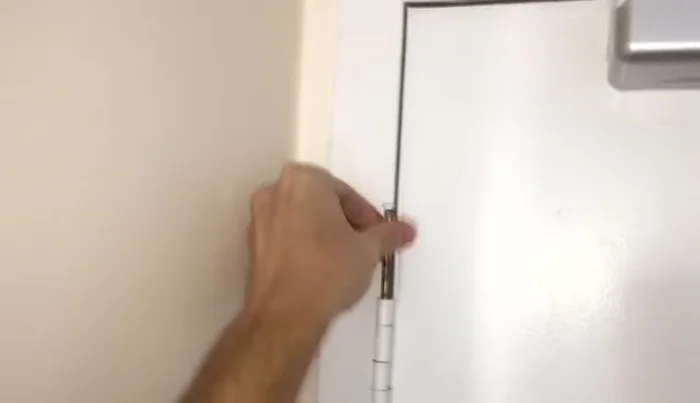
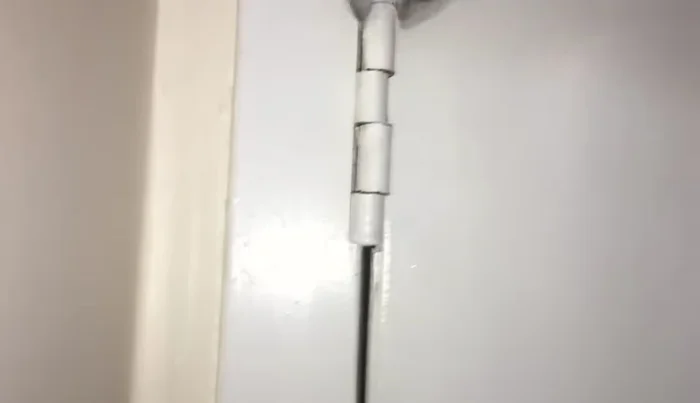
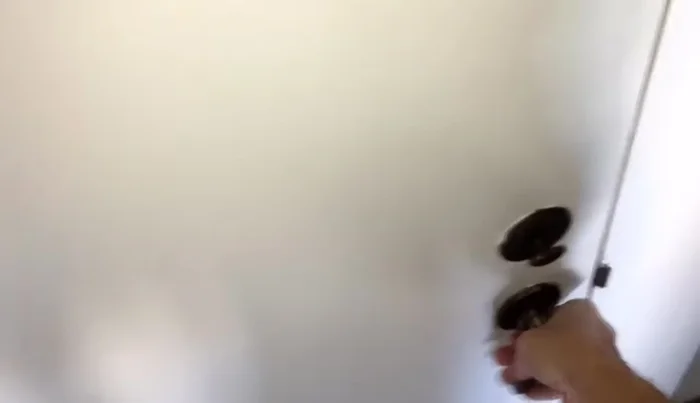
- Locate the hinge loops on the door side (distinguish them by the solid piece of metal).
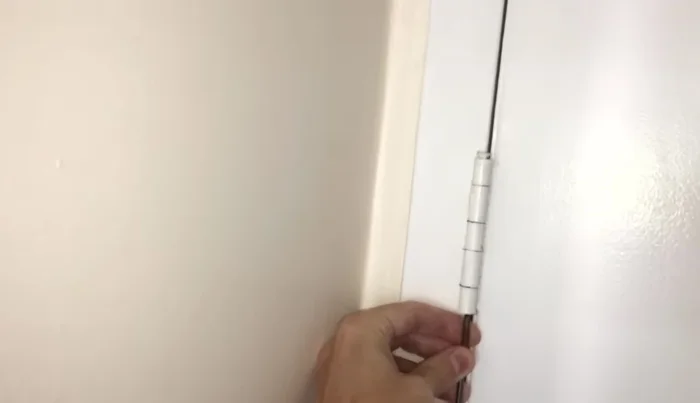
- Use a nail and hammer (if needed) to knock out the pin holding the hinge together.
Prepare the Hinge Adjust the Hinge
- Use the adjustable crescent wrench to carefully bend the door-side loops slightly to the right (or left, depending on door jamb location). Apply firm pressure; you may need both hands.
Adjust the Hinge Reassemble the Hinge
- Wiggle the door slightly to align the holes, then reinsert the pin.
Reassemble the Hinge Adjust Additional Hinges (If Necessary)
- If the door is heavy, adjust the middle hinge in the same way. Check if it's load-bearing; if not, adjustment is necessary.
Adjust Additional Hinges (If Necessary) Test and Fine-Tune
- Check the door's closure. If necessary, make further minor adjustments to the hinge loops until the door closes smoothly and without gaps.
Test and Fine-Tune
Read more: 3M Thinsulate Window Film Installation: A Step-by-Step Guide
Tips
- Ensure the smaller lip of the crescent wrench faces the door when adjusting.
- Heavy doors require significant pressure to bend the hinge loops. Use both hands if needed.
- There's no exact formula for how much to bend the loops; adjust incrementally and check the door's closure after each adjustment.