Sarees, those exquisite lengths of fabric woven with tradition and often imbued with cherished memories, often meet a quiet end tucked away in closets. But what if their story didn't have to end there? What if, instead of fading into oblivion, these beautiful textiles could be reborn into something new and equally stunning? This guide explores the exciting world of upcycling old sarees, transforming forgotten treasures into contemporary pieces that breathe new life into both your wardrobe and the environment. We'll delve into the sustainable practice of giving these fabrics a second chance, showcasing their inherent beauty in a completely fresh context.
From vibrant, bold patterns to delicate, intricate embroideries, the possibilities are as limitless as your imagination. This isn't simply about recycling; it's about celebrating the artistry and craftsmanship of these heirloom textiles. Ready to embark on this creative journey and learn how to transform your old sarees into breathtaking new creations? Then let's dive into our step-by-step guide to unlock their hidden potential.
Preparation and Safety Guidelines
- Old saree (70 years old)
- Five types of fabric (20x20 cm each)
- Gota
- Sequins
- Needle
- Thread
- Scissors
- Iron
- Always pre-wash your sarees before starting any upcycling project. This removes excess dye and prevents bleeding onto other fabrics.
- Use sharp scissors or rotary cutters for clean cuts to avoid fraying and ensure a professional finish.
- When working with old sarees, be mindful of potential loose threads or weakened fabric. Reinforce seams or areas of concern before starting your project to prevent tearing.
Step-by-Step Instructions
Fabric Preparation
- Cut five 20x20 cm fabric pieces into strips. The video demonstrates cutting one strip as an example; the remaining four should be cut similarly.
- Double fold each strip and mark 7.5 inches. Cut to create six pieces from each strip. Arrange the strips according to color preference, ensuring embroidery (if any) faces the same direction.

Fabric Preparation Border Creation
- Stitch the fabric strips together to form a continuous border. Make sure the strips are straight and that embroidery is consistent.
Border Creation Border Embellishment
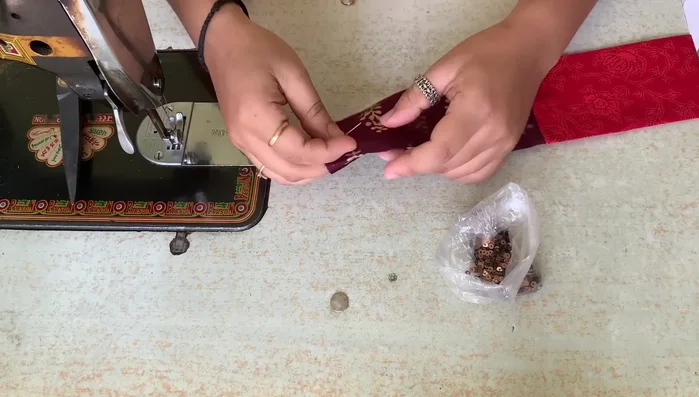
- Mark 3.5 inches from each end of the border (leaving margin). The video demonstrates hand-sewing sequins and other embellishments onto the border.
- Sew the gota onto the border using a single stitch. The presenter suggests this method to save time and effort; you can stitch the border and gota separately.
Border Embellishment Attaching the Border
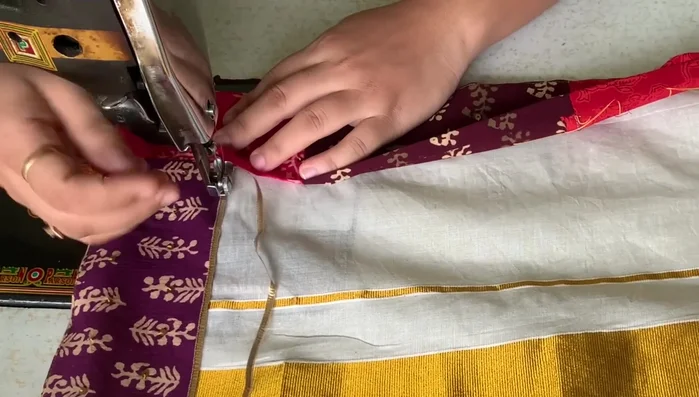
- Press the border and attach it to the saree, evenly distributing the length. The presenter explains managing the corners and ensuring clean stitching.
- The video shows a technique for neatly finishing the saree corners with the gota, avoiding pleats and maintaining clean stitching.
Attaching the Border Pallu Decoration
- Cut and sew decorative flowers onto the pallu (the end of the saree).
Pallu Decoration


Read more: DIY Vibrant Car Organizer: A Step-by-Step Quilting Tutorial
Tips
- Use short threads for hand-sewing to avoid tangling.
- When using lace or other embellishments, consider their placement carefully to enhance the saree's aesthetic.
- Pressing the fabric is crucial for a neat finish.