Tired of scorched hands and flimsy pot holders? This tutorial shows you how to create durable, charming, and surprisingly easy-to-make scrappy pot holders using fabric scraps you likely already have! Forget expensive, store-bought options – this project is perfect for beginners and experienced crafters alike, offering a fantastic way to utilize leftover fabric and add a touch of personalized style to your kitchen. These scrappy pot holders are not only functional but also a delightful way to practice your sewing skills and unleash your creativity.
This tutorial provides a straightforward, efficient method for crafting these invaluable kitchen companions. You’ll be amazed at how quickly you can whip up several of these handy helpers, and the possibilities for color combinations and fabric choices are endless. Ready to get started on your own set of unique and practical pot holders? Let's dive into the step-by-step instructions below.
Preparation and Safety Guidelines
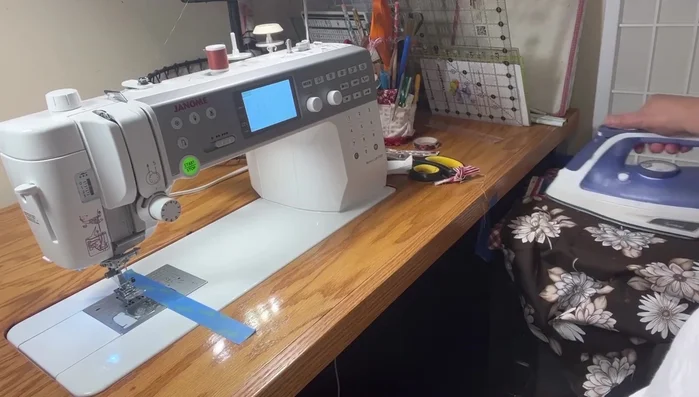
- Sewing machine
- Iron
- Ironing mat
- Ruler
- Scissors
- Pins or Clips
- Chopstick (optional)
- Always use oven mitts or pot holders when handling hot cookware. Never rely solely on a homemade pot holder to protect against extreme heat.
- Avoid using highly flammable materials like thin fabrics or synthetic fibers that melt easily. Opt for thicker, tightly woven cotton or other heat-resistant materials.
- Test your finished pot holder for heat resistance before using it. Place it on a warm surface (not hot!) for a few seconds to check for any burning or melting.
Step-by-Step Instructions
Prepare Materials
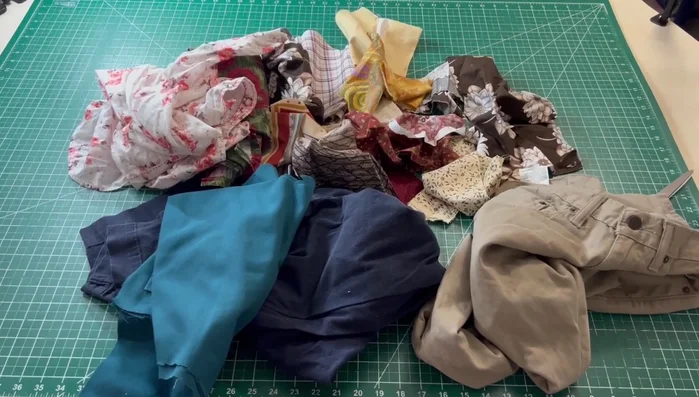
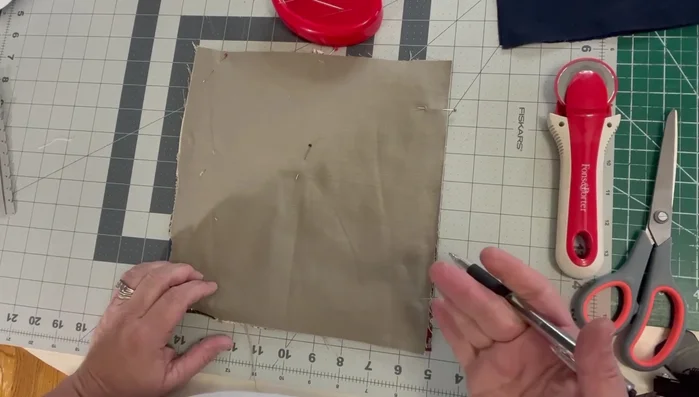
- Prepare fabric scraps and batting.
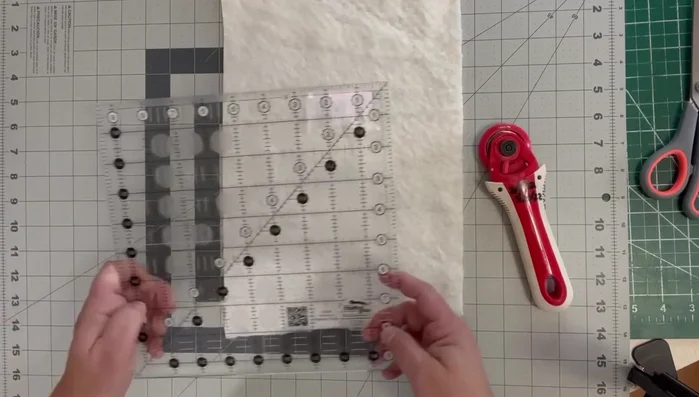
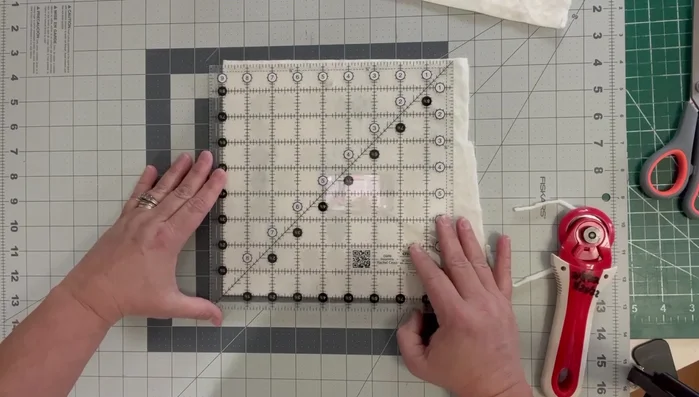
- Cut batting 1 inch smaller than your backing.

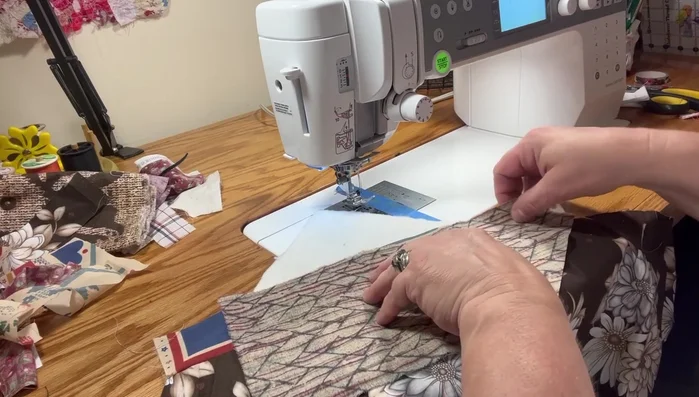
Prepare Materials Assemble Layers
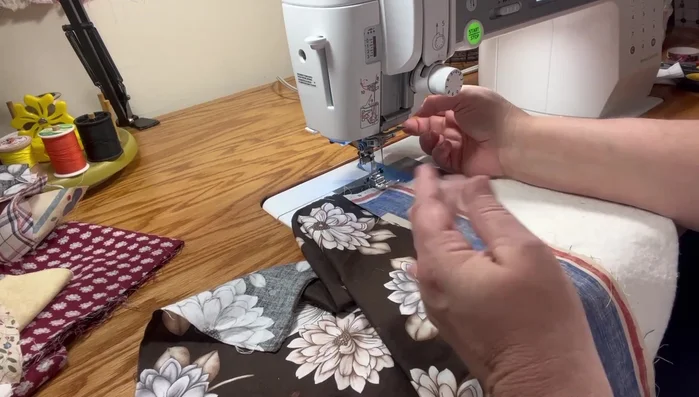
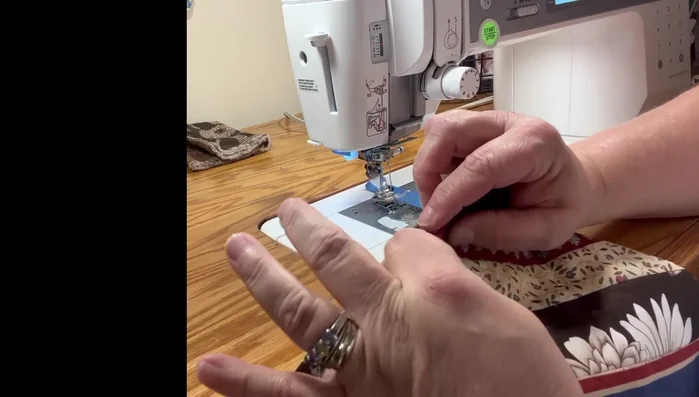
- Layer batting and first fabric piece, leaving a 1/2 inch border.
- Sew a 1/4 inch seam around the fabric piece.
- Press the seam allowance open.
- Repeat steps 3-5 for additional fabric pieces, maintaining the 1/2 inch border.
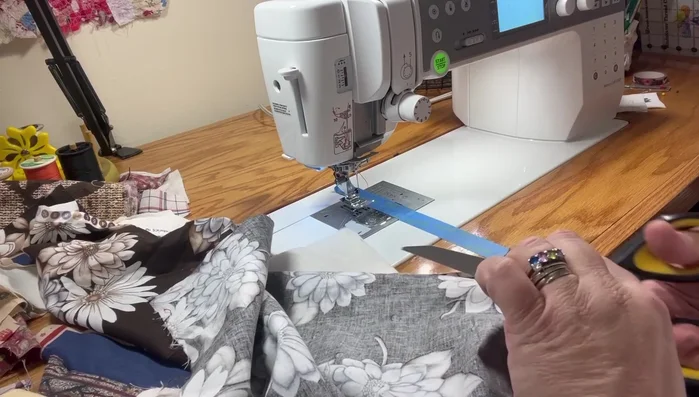
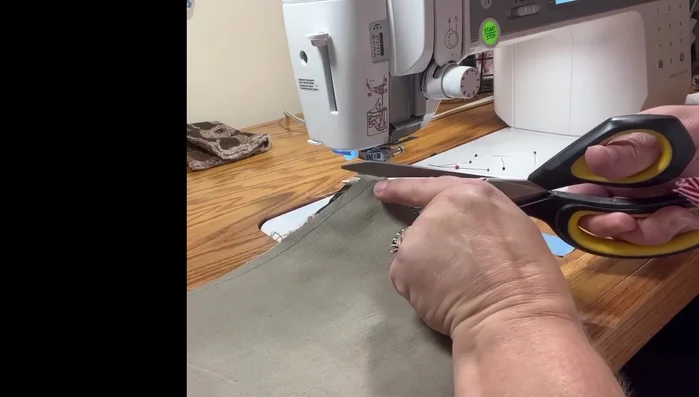
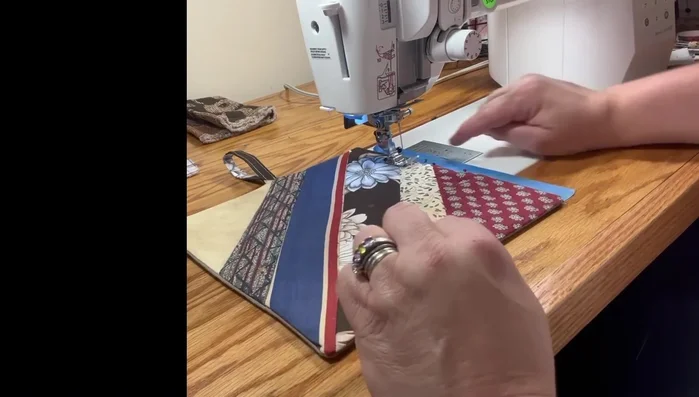
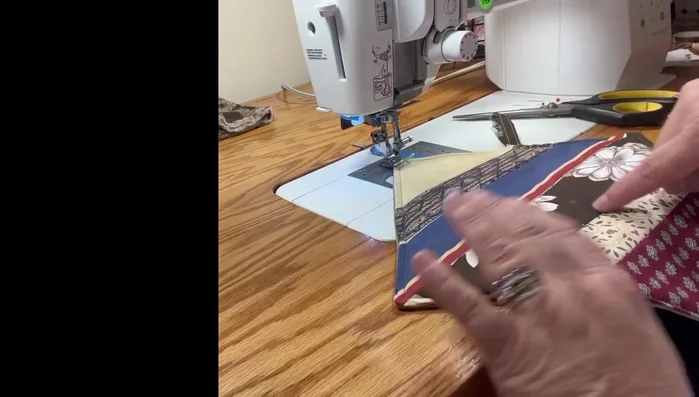
Assemble Layers - Trim excess fabric from the edges.
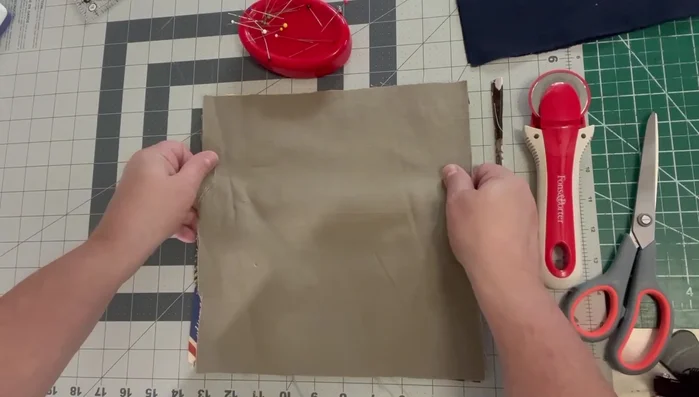
Assemble Layers Create Pot Holder Shape
- Fold the pot holder in half, aligning the raw edges.
- Create a 3 inch opening along one edge.
- Sew around the perimeter of the pot holder, 1/2 inch from the edge, leaving the opening unsewn.
- Clip the corners to reduce bulk.
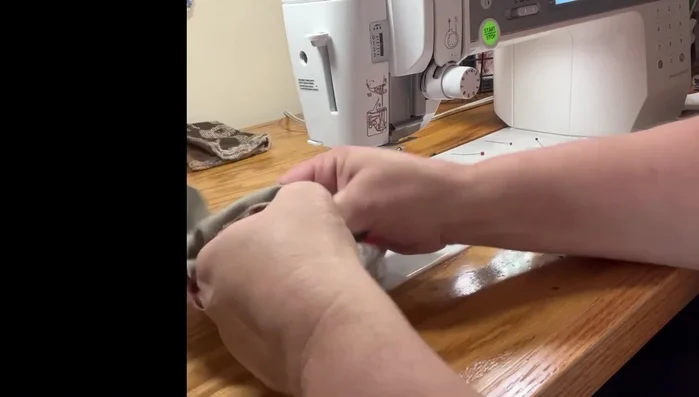
Create Pot Holder Shape Finish Pot Holder
- Turn the pot holder right side out using a chopstick or similar tool to push out the corners.
- Press the pot holder flat.
- Fold and press the opening to create a neat finish.
- Sew the opening closed using a 1/8 inch seam allowance.
Finish Pot Holder - Reinforce the corners by stitching an X across each corner.
Finish Pot Holder
Read more: DIY Vibrant Car Organizer: A Step-by-Step Quilting Tutorial
Tips
- Pressing your fabric scraps beforehand makes sewing easier.
- Don't worry about precise measurements for scrap placement; a generous 1/2 inch border is sufficient.
- Make the opening for turning large enough to easily turn the pot holder right side out.
- Use a chopstick or similar tool to push out the corners for a sharp, professional finish.
- Go slowly when sewing around the handle to avoid your machine jamming.