Is your shower more of a drizzle than a deluge? A weak shower can be incredibly frustrating, leaving you feeling less than refreshed. Many modern shower heads, in an effort to conserve water, incorporate flow restrictors. These small devices limit the water's output, resulting in a disappointing showering experience. While water conservation is important, there's no reason to sacrifice a satisfying shower for it. Fortunately, removing a shower head restrictor is often a simple DIY fix that can dramatically improve your shower's pressure. Low water pressure might stem from other sources, but a restrictor is a common and easily addressed culprit.
This seemingly minor adjustment can make a significant difference in your daily routine. A powerful shower can invigorate you in the morning and provide a relaxing experience at the end of a long day. Ready to experience the satisfying rush of a truly powerful shower? Let's dive into the step-by-step guide on how to remove your shower head restrictor and unlock the full potential of your shower system.
Preparation and Safety Guidelines
- Adjustable wrench
- Allen key
- Flattened screwdriver
- Turn off the water supply to the shower before starting any work. Failure to do so could result in a sudden burst of water.
- Use appropriate tools to avoid damaging the shower head or plumbing. If unsure, consult a professional.
- Be careful when handling the restrictor. It's often small and easy to lose or damage.
Step-by-Step Instructions
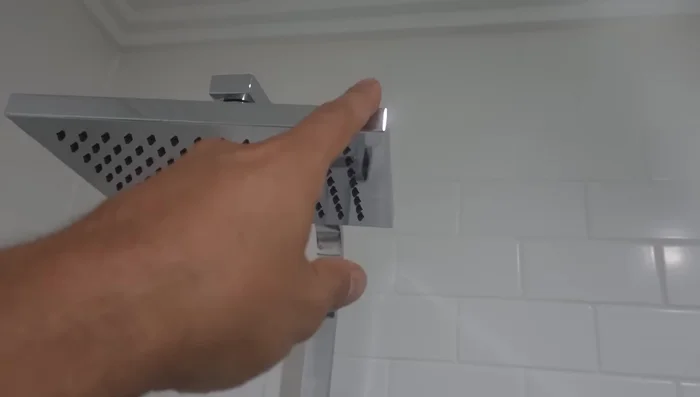
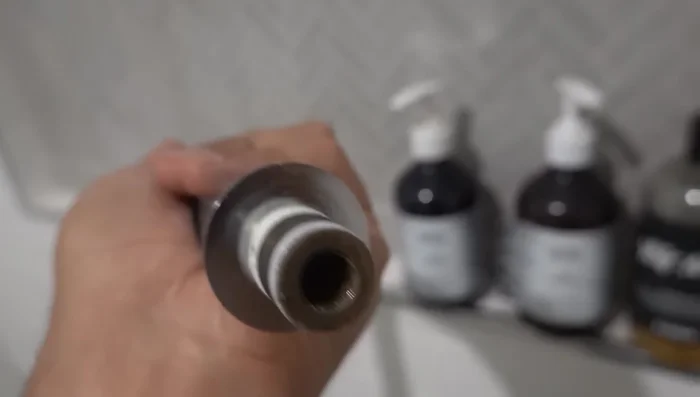
Identify Restrictor Location
- Identify the shower head type and restrictor location. The restrictor might be in the shower head itself, on the arm, or behind the shower head body.

Identify Restrictor Location Remove Shower Head (If Restrictor Inside)
- If the restrictor is in the shower head, use an adjustable wrench to carefully unscrew the shower head.
- Inspect the shower head for the restrictor (a small piece of plastic). If not found, proceed to the next step.
Remove Shower Head (If Restrictor Inside) Remove Shower Arm (If Restrictor on Arm)
- If the restrictor is on the arm, use an Allen key to unscrew the arm. Be careful not to lose the small screw.
- Inspect the arm for the restrictor. If not found, proceed to the next step.
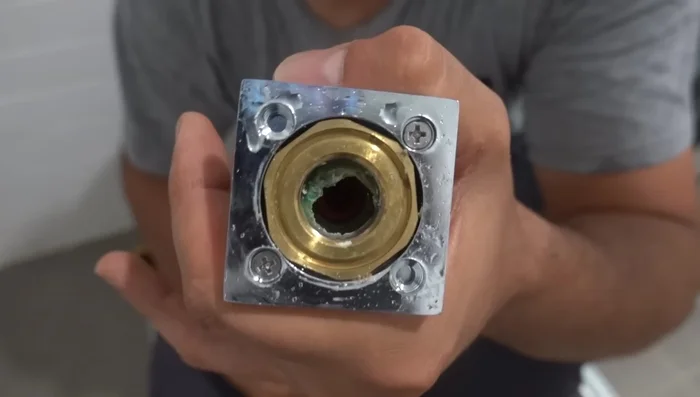
Remove Shower Arm (If Restrictor on Arm) Remove Restrictor from Shower Head Body
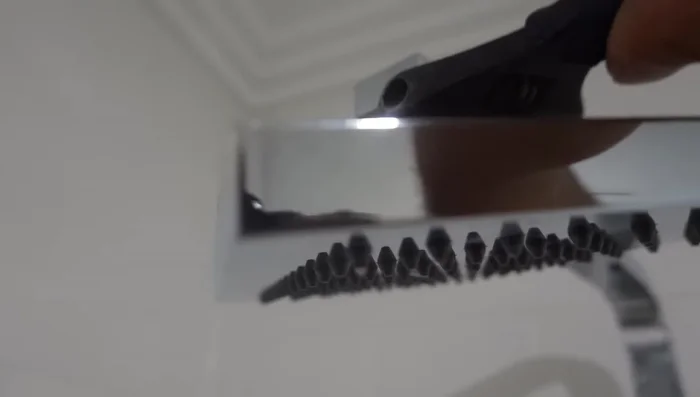
- If the restrictor is in the shower head body, use a flat-head screwdriver to carefully loosen the shower head body. Avoid using an adjustable wrench to prevent scratching the chrome finish.
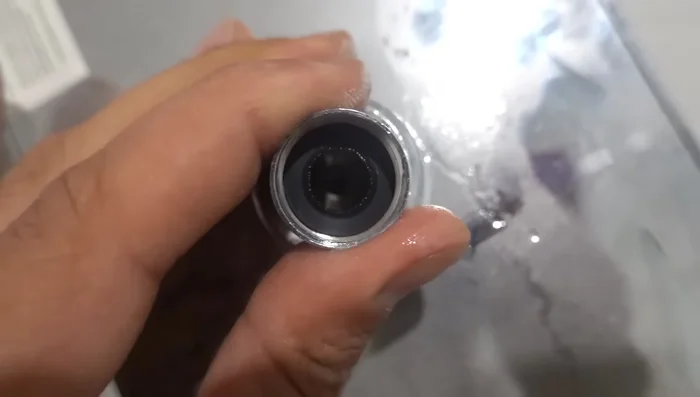
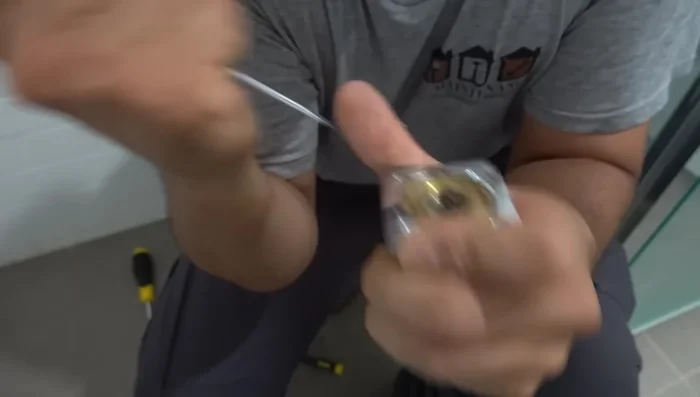
- Locate and remove the restrictor (a small red plastic piece). You may need to pierce the plastic with a screwdriver to remove it.
Remove Restrictor from Shower Head Body Clean Components
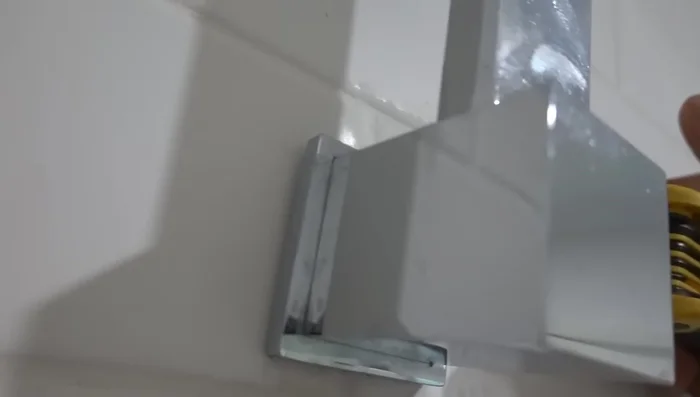
- Clean any remaining residue or gunk from the shower head components.
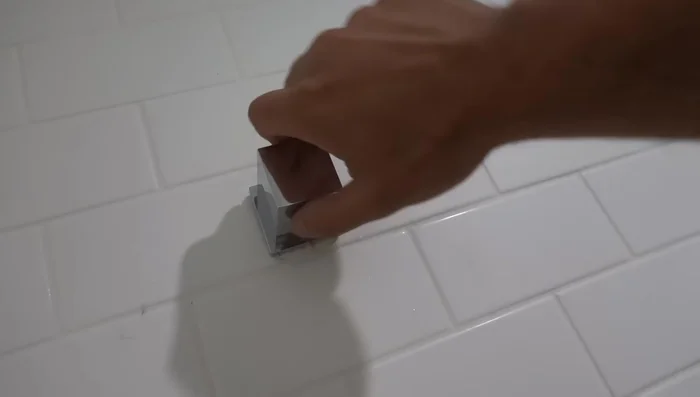
Clean Components Reassemble and Test
- Reassemble all the components in reverse order, ensuring the gasket is correctly placed.
- Turn on the water and check the increased water pressure.
Reassemble and Test

Read more: Fixing a Leaky Toilet Tank: A Step-by-Step Guide
Tips
- Be careful not to lose any small screws or the gasket during disassembly.
- If you want to conserve water, reduce your shower time.