A leaky shower valve is more than just an irritating drip; it's a significant source of water waste and potential for costly water damage. That persistent trickle can add up to hundreds of gallons wasted annually, not to mention the stress of constantly hearing the dripping sound. Ignoring the problem only allows the damage to worsen, potentially leading to more extensive and expensive repairs down the line. Fortunately, fixing a leaky shower valve is often a manageable DIY project, saving you a considerable amount of money on professional plumbing fees.
This guide provides a comprehensive, step-by-step approach to repairing your leaky shower valve, equipping you with the knowledge and confidence to tackle this common plumbing issue. Whether you're dealing with a dripping faucet or a more serious leak, we'll walk you through each stage of the repair process, ensuring you can restore your shower to its former glory and significantly reduce your water consumption. Let's get started!
Preparation and Safety Guidelines
- Kohler repair kit GP 876851
- pair of pliers
- digital thermometer
- 5/64 hex wrench
- Always turn off the water supply to the shower before starting any repairs. This prevents flooding and potential injury.
- Use appropriate safety glasses and gloves to protect yourself from sharp edges, debris, and potential water damage.
- If you are not comfortable performing plumbing repairs, consult a licensed plumber. Improper repairs can lead to further damage and water leaks.
Step-by-Step Instructions
Preparation
- Turn off the water supply.
- Bleed the water pressure.
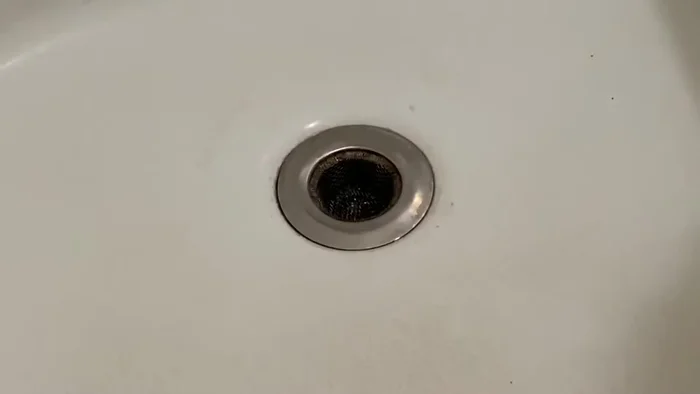
- Close the drain or cover with a towel.

Preparation Disassembly
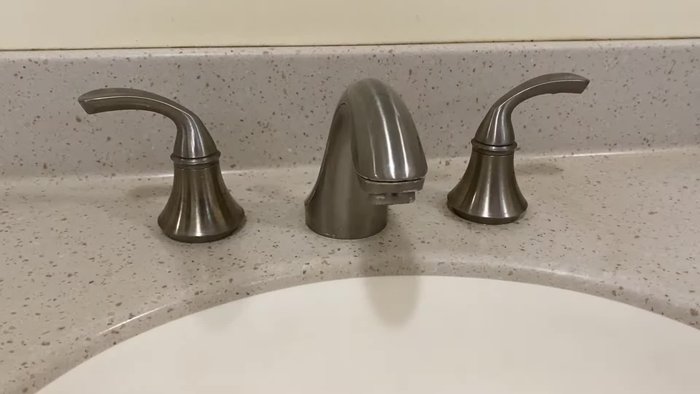
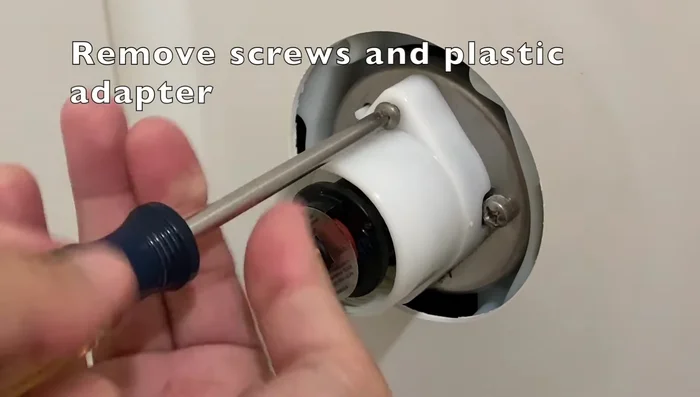
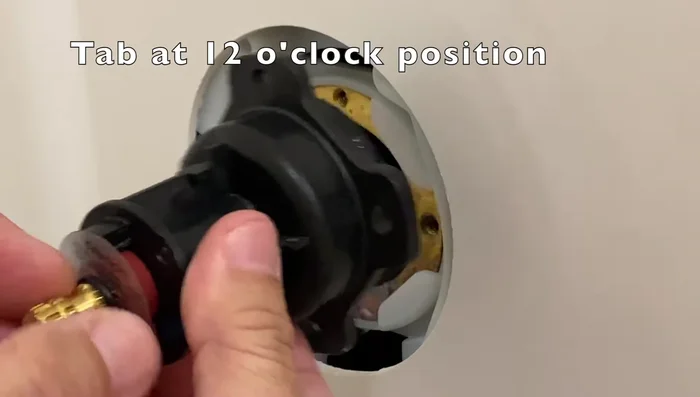
- Remove the valve trim.
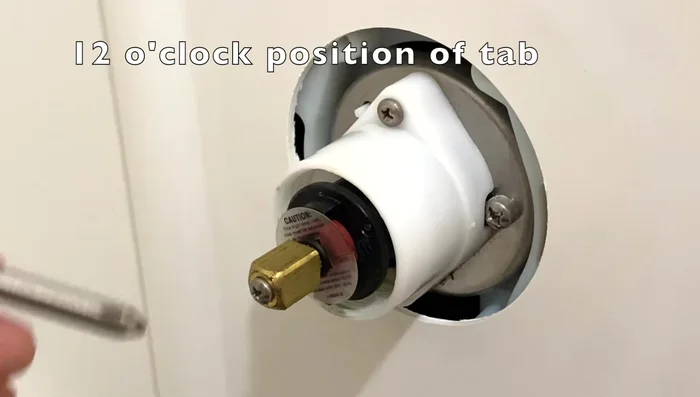
- Note the 12 o'clock position of the tab on the cap.
- Remove the screws to remove the plastic adapter.
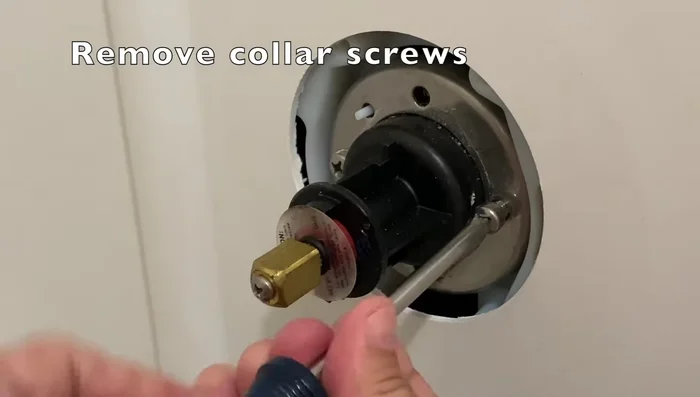
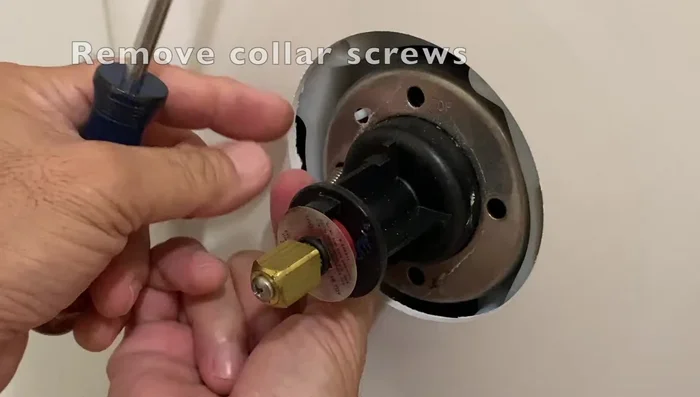
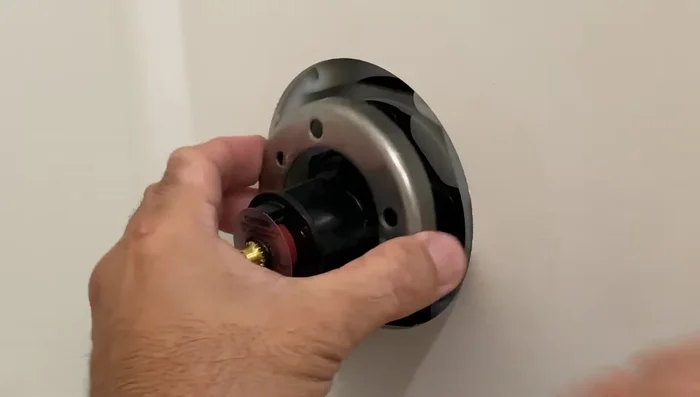
- Remove the collar screws.
Disassembly - Note the plastic Pig. Remove the metal collar and see the top marking on the collar.
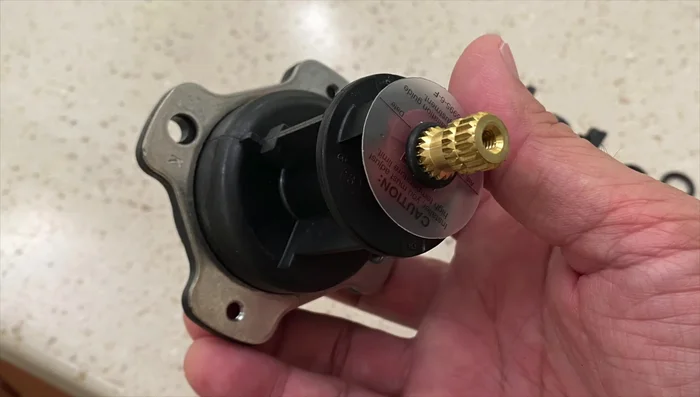
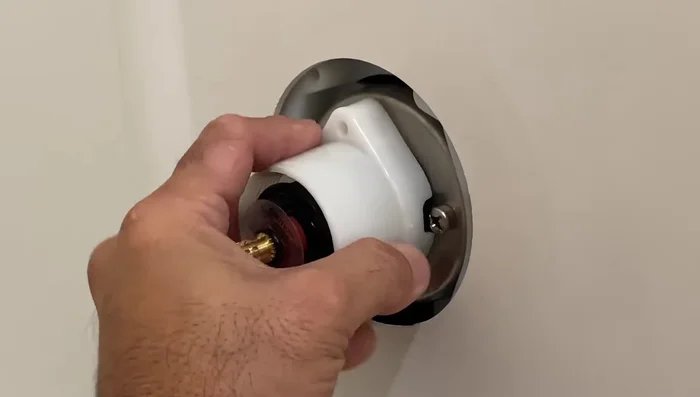
- Remove the mixing cap assembly.
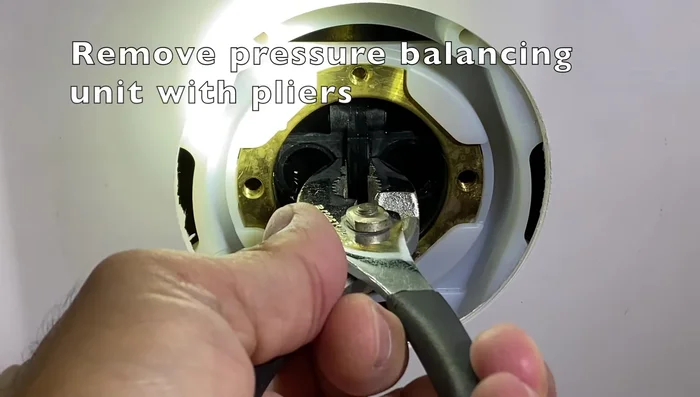
- Pull out the pressure balancing unit with a pair of pliers.
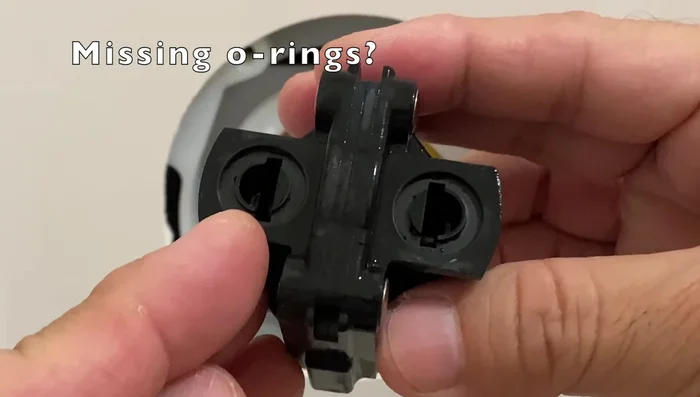
Disassembly Inspection and Repair
- Check the O-rings and the inside of the valve body for debris or burrs.
- Use the Kohler repair kit (GP 876851) to replace the O-rings and pressure balancing unit.
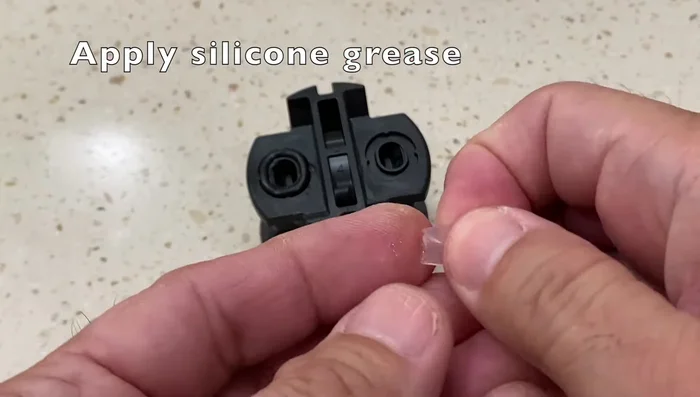
Inspection and Repair Reassembly - Pressure Balancing Unit
- Apply silicone grease to the O-rings before installing the pressure balancing unit.
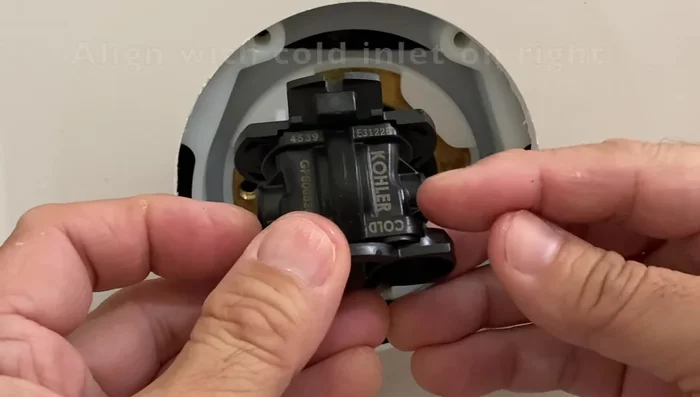
- Align the code marking on the unit with the cold inlet and fully insert it into the valve body. Push straight in, do not twist.
Reassembly - Pressure Balancing Unit Reassembly - Mixing Cap
- Lubricate the O-rings on the back of the mixing cap and the large O-ring around the cap body.
- Orient the cap with the tab in the 12 o'clock position and place it on the valve body.
- Place the collar back onto the valve and re-secure with the screws.
- Place the plastic adapter and re-secure with the screws.
Reassembly - Mixing Cap - Recheck all screws for snugness.
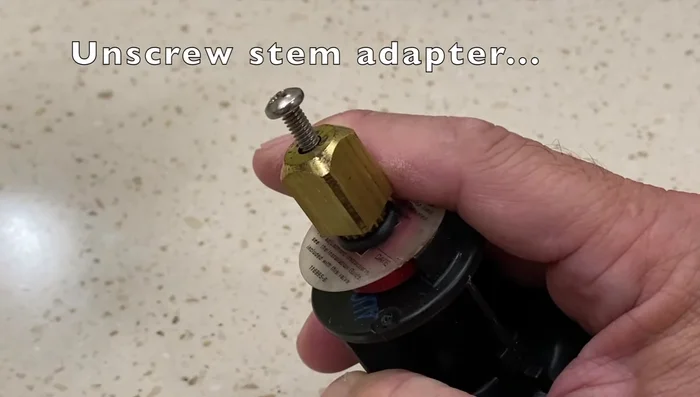
- Install the stem adapter onto the new cap.
Reassembly - Mixing Cap Testing and Leak Check
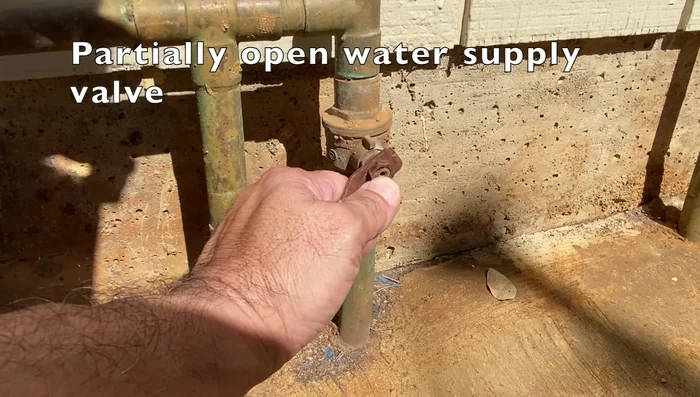
- Partially open the water supply valve and open the shower valve to verify water flow. Check for leaks.
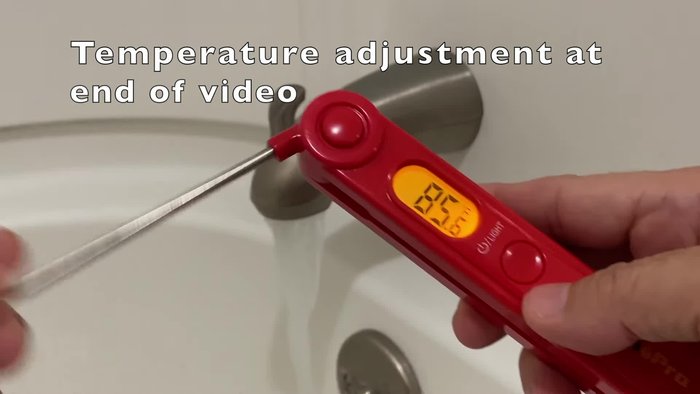
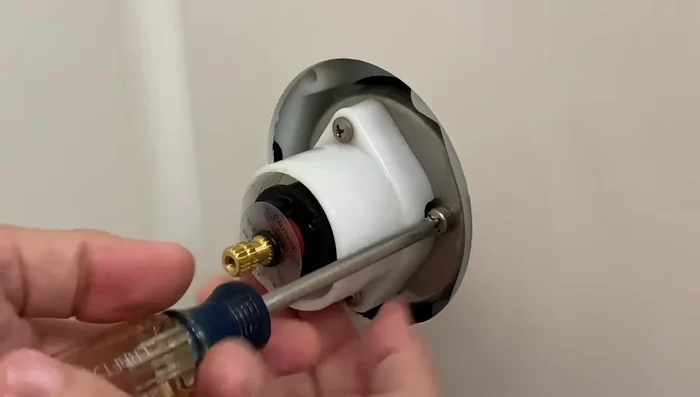
Testing and Leak Check Temperature Adjustment
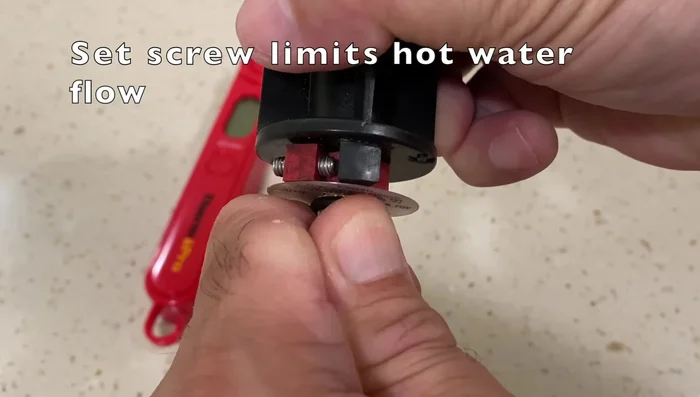
- Adjust the maximum temperature setting using a digital thermometer and 5/64 hex wrench.
- Note the position of the old set screw and adjust the new set screw to the same position on the new mixing cap.
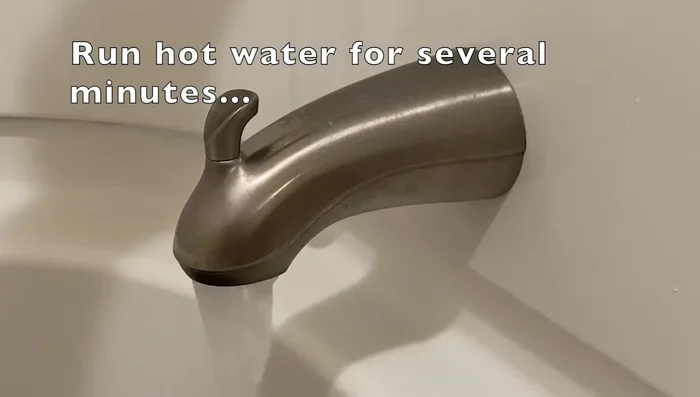
- Run hot water and test temperature with thermometer. Adjust to your preference (115 degrees Fahrenheit is suggested).
Temperature Adjustment Final Steps
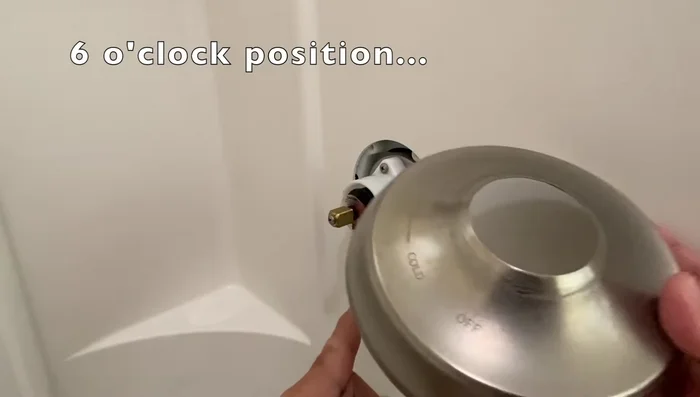
- Note the notch on the valve trim and place it in the six o'clock position. Reinstall the handle and valve trim.
Final Steps


Read more: Fixing a Leaky Toilet Tank: A Step-by-Step Guide
Tips
- Watch until the end for the temperature adjustment.