A weak trickle instead of a powerful stream? Low water pressure in your kitchen or bathroom sink is a frustratingly common problem, capable of disrupting even the simplest of tasks. From the seemingly insignificant to the truly inconvenient, low water pressure impacts everything from washing dishes effectively to achieving a satisfying rinse. It can signal a minor clog, a more significant plumbing issue, or even a problem with your main water supply. Fortunately, diagnosing and resolving many causes of reduced sink pressure is achievable with some basic tools and a little patience.
This guide will walk you through a series of troubleshooting steps, offering practical solutions to help you restore the full force of your sink's water flow. Before calling a costly plumber, let's explore the most common culprits behind low sink pressure and discover how you can often fix the problem yourself, saving time and money in the process. Follow the step-by-step instructions below to pinpoint the source of your low water pressure and get that powerful stream flowing again.
Preparation and Safety Guidelines
- Bowl
- Wash rag
- 17 millimeter wrench
- Flashlight
- Always turn off the water supply to the sink before beginning any repairs. This prevents flooding and potential injury.
- If you are unsure about any step of the repair process, consult a qualified plumber. Improper repairs can cause further damage or leaks.
- Wear appropriate safety gear, such as gloves, to protect your hands from sharp edges or potential contaminants in the plumbing system.
Step-by-Step Instructions
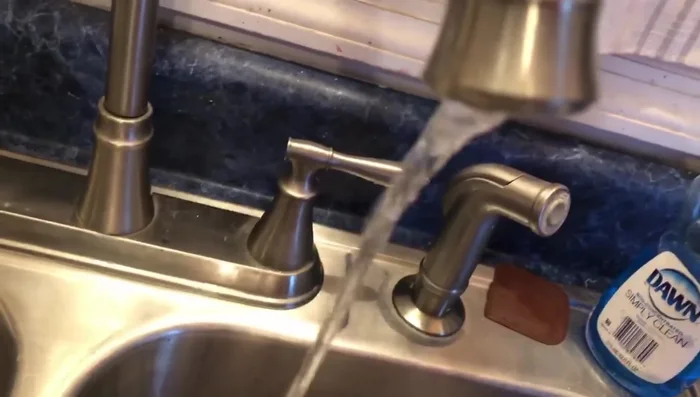
Initial Pressure Check
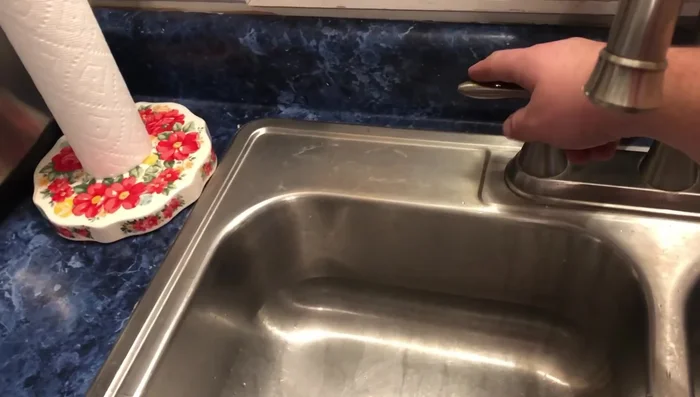
- Check both hot and cold water pressure. If only one side has low pressure, it helps pinpoint the problem.

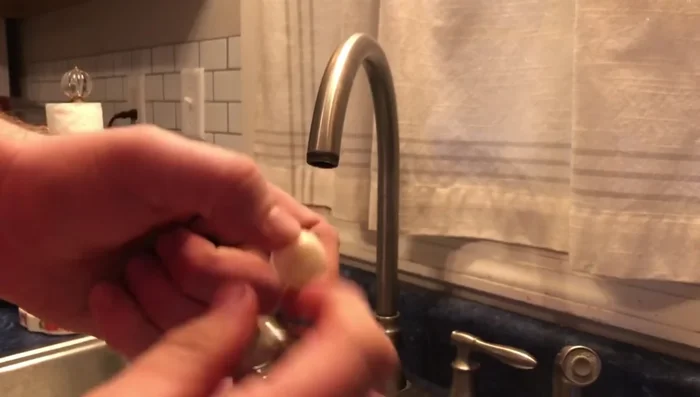
Initial Pressure Check Aerator Inspection
- Inspect the aerator for debris. Remove it, clean it, and check for any obstructions.
- If both hot and cold water have low pressure, check the aerator for debris as described in Step 2.
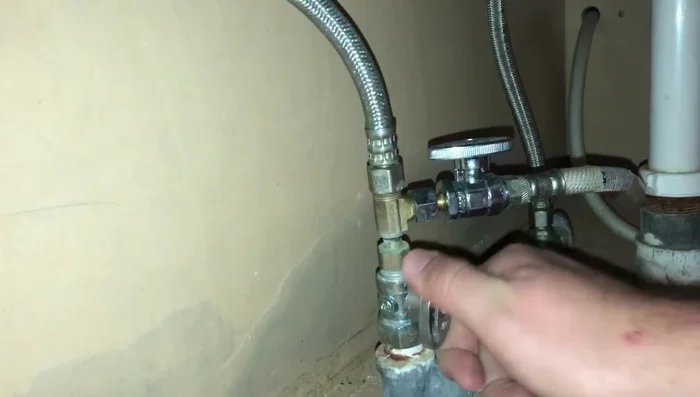
Aerator Inspection Isolate Affected Hose
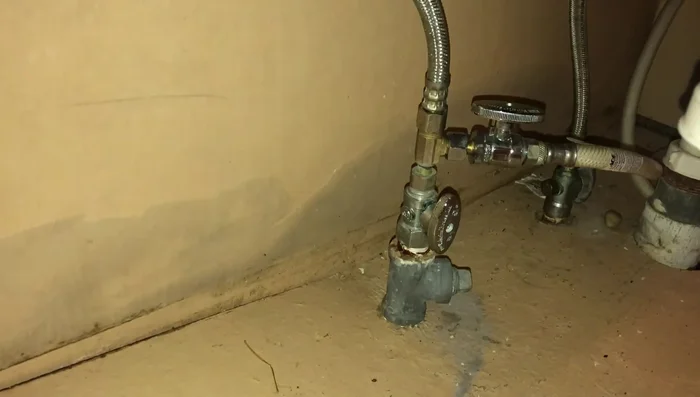
- Turn off the water supply valve under the sink for the affected hose (hot water in this example).
Isolate Affected Hose Prepare for Hose Removal
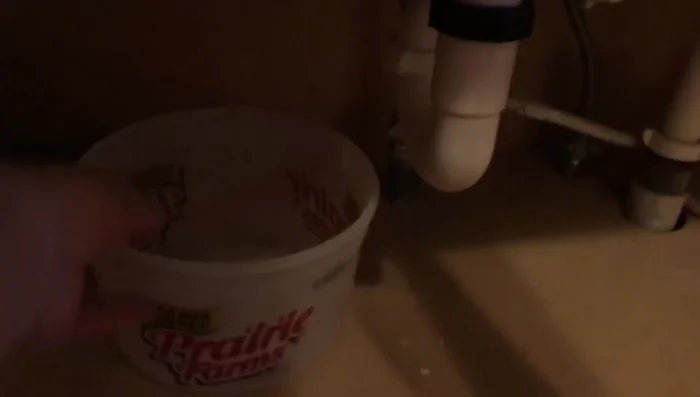
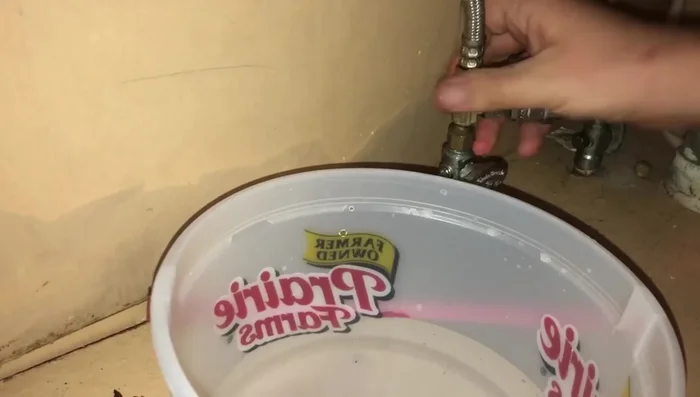
- Place a bucket under the hose to catch water.
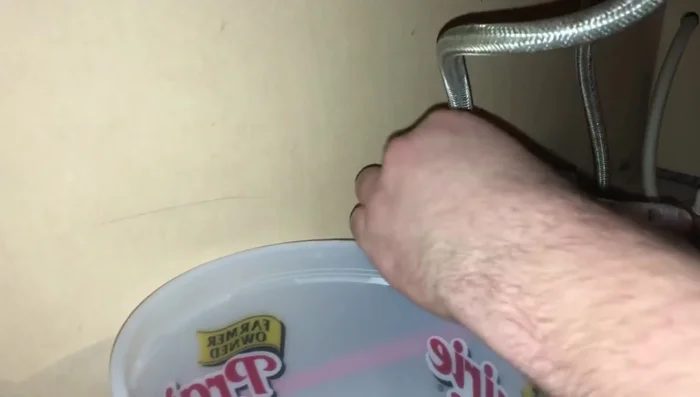
Prepare for Hose Removal Remove and Flush Hose
- Use a wrench to loosen and remove the affected hose. Be careful not to twist the hose while loosening.
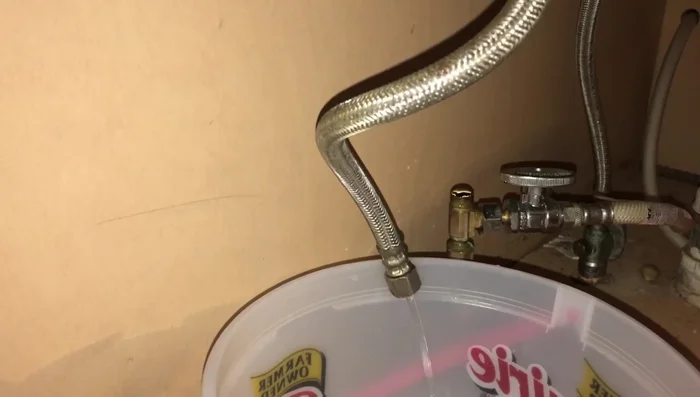
- Turn on the cold water supply. The pressure will flush debris out of the hot water hose.
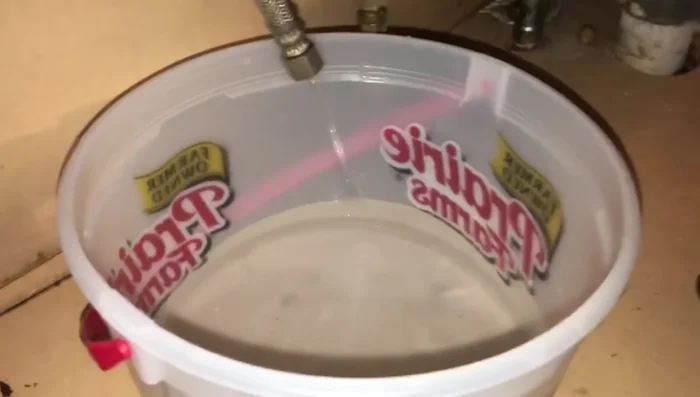
Remove and Flush Hose Inspect Debris
- Inspect the bucket for any debris that came out of the hose.
Inspect Debris Reattach Hose
- Reattach the hose, hand-tightening it first to ensure it screws on smoothly, then using the wrench to tighten it snugly. Avoid over-tightening.
Reattach Hose Check for Leaks and Test
- Turn the water supply valve back on and check for leaks. Dry the area to easily identify any leaks.
- Test the water pressure.
Check for Leaks and Test
Read more: Fixing a Leaky Toilet Tank: A Step-by-Step Guide
Tips
- If only one side (hot or cold) has low pressure, the problem is likely isolated to that hose.
- Hand-tighten the hose connection before using a wrench to avoid stripping the threads.
- Don't over-tighten the hose connection when using the wrench.