Sliding glass doors offer a seamless connection between indoor and outdoor living, but their latches and handles are prone to wear and tear. A broken latch or wobbly handle can compromise security and the overall functionality of your door, leaving you with a frustrating and potentially unsafe situation. Whether it's a simple tightening or a complete replacement, fixing a malfunctioning sliding glass door mechanism is often a manageable DIY project, saving you the expense of a professional. Replacing these components not only restores functionality but can also enhance the aesthetic appeal of your door.
This guide will walk you through the process of replacing your sliding glass door latch and handles, providing a clear and comprehensive step-by-step approach. From identifying the right replacement parts to the final installation, we'll ensure you have the knowledge and confidence to tackle this home improvement task successfully. Let's get started!
Preparation and Safety Guidelines
- Sliding door
- Sliding door kit (handles, latch, lock mechanism, screws)
- Magnet
- Screwdrivers (Phillips and flathead)
- Pliers
- Always disconnect the power to the door's electrical components (if any) before starting any work to prevent electric shock.
- Wear safety glasses to protect your eyes from debris or accidental injury during the removal and installation process.
- If unsure about any step, consult a professional. Improper installation can compromise security and lead to injury.
Step-by-Step Instructions
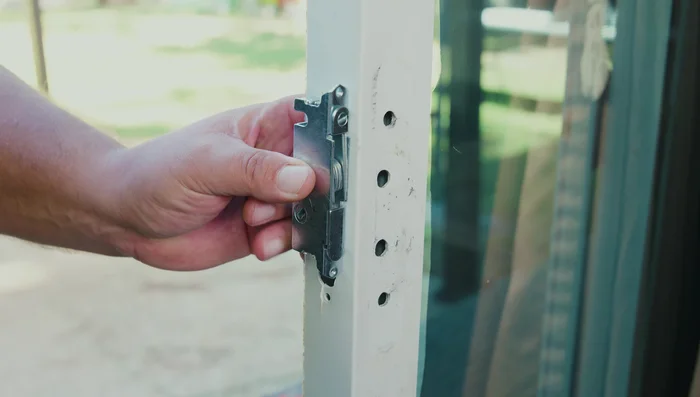
Remove Existing Hardware
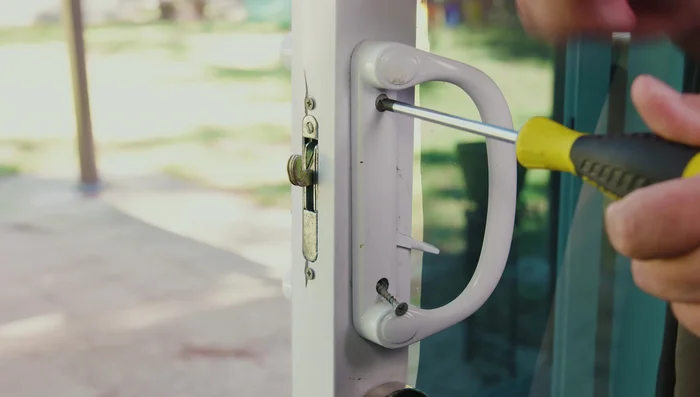
- Remove the interior and exterior handles. Hold both handles simultaneously while removing the screws to prevent them from falling.
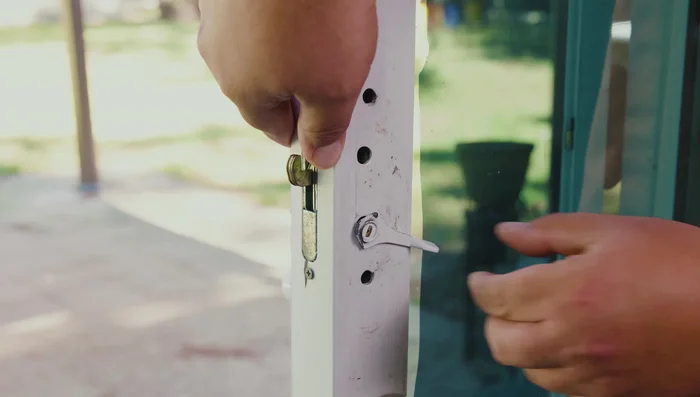
- Remove the locking tab.
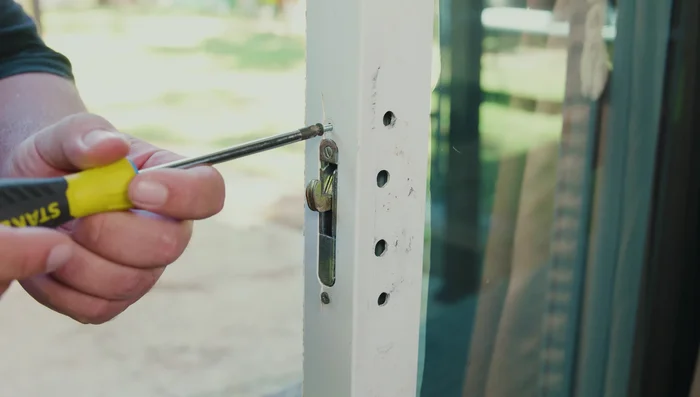
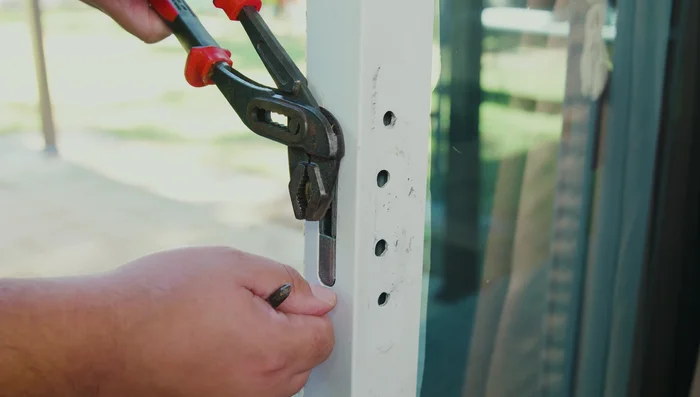
- Remove the latch. Use a magnet to hold the latch in place while removing the screws to prevent it from falling into the door.
- If the latch hook is inside the door, use the locking tab or a flathead screwdriver to get it out.

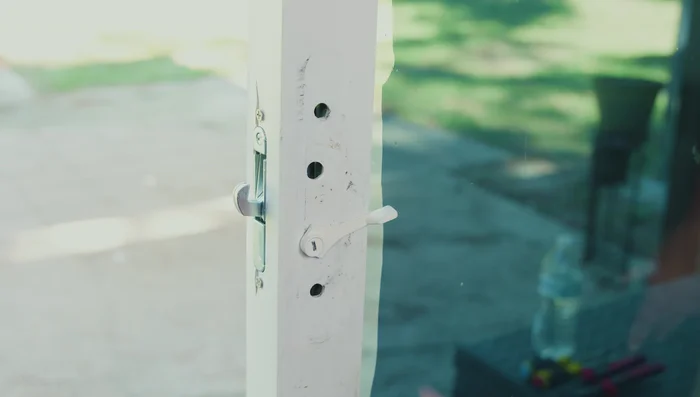
Remove Existing Hardware Install New Latch
- Insert the new latch into the hole, holding it in place with pliers while securing it with screws.
- Align the locking tab and insert it into the hole.
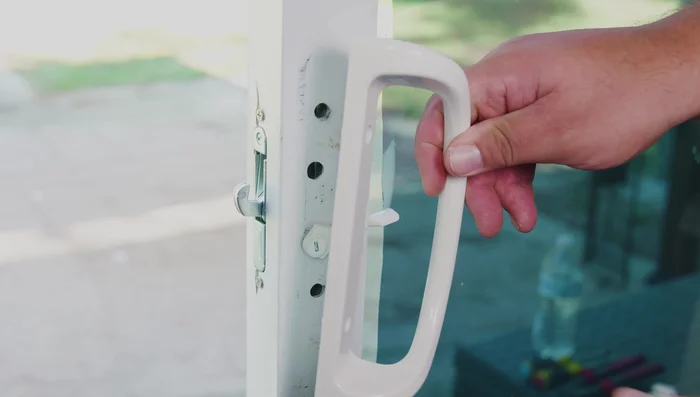
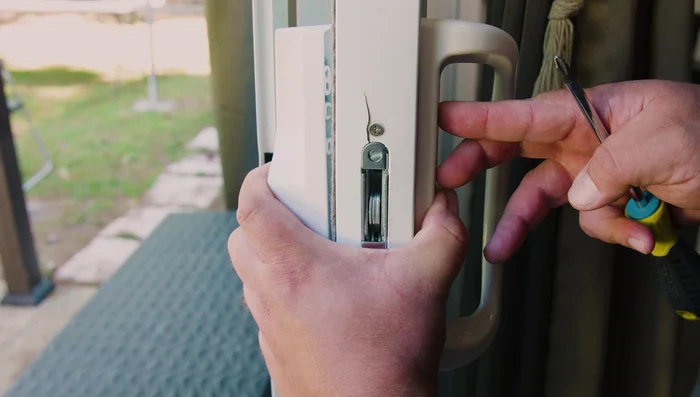
Install New Latch Install New Handles
- Install the interior handle, ensuring the screws are the correct length for your door thickness.
- Install the exterior handle using the ping-pong method (tighten one screw slightly, then the other, alternating until secure).
Install New Handles
Read more: 3M Thinsulate Window Film Installation: A Step-by-Step Guide
Tips
- Use a magnet to prevent the latch from falling into the door cavity during removal and installation.
- Hold both interior and exterior handles while removing screws to prevent dropping parts and damage.
- Use pliers to grip the latch securely during removal and installation to prevent dropping.
- Avoid over-tightening screws to prevent stripping or cracking the door.