Is your sliding screen door sticking, rattling, or even falling apart? Don't despair! A frustrating, malfunctioning screen door doesn't necessitate a costly professional repair. Many common issues are easily resolved with a few simple tools and a little bit of elbow grease. Whether it's a stubborn roller, a damaged track, or a loose handle, fixing your sliding screen door yourself can save you time and money, and give you a satisfying sense of accomplishment. You'll be surprised how quickly you can restore smooth, quiet operation to your screen door.
This quick guide provides a straightforward, step-by-step process to tackle most common sliding screen door repairs. From identifying the problem to the final adjustments, we'll walk you through the entire process, empowering you to confidently handle the repair and get your screen door working perfectly again. Let's get started!
Preparation and Safety Guidelines
- Utility knife
- Screwdriver
- Spline
- Roller tool
- Fiberglass screening
- Always disconnect the power to the electrical components before working on the sliding screen door, especially if dealing with any electrical parts of the track or rollers.
- Use caution when handling sharp objects like screwdrivers and utility knives. Wear appropriate safety gloves to protect your hands.
- If you are uncomfortable performing any of the repairs, consult a professional handyman or repair service. Attempting repairs beyond your skill level can lead to further damage or injury.
Step-by-Step Instructions
Remove Existing Screen
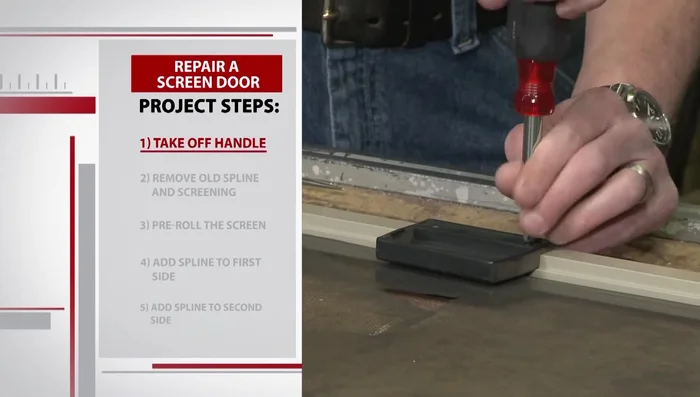
- Remove the handle (two screws).
- Remove the old spline (rubber holding the screening).
- Remove the old screening.

Remove Existing Screen Prepare New Screen
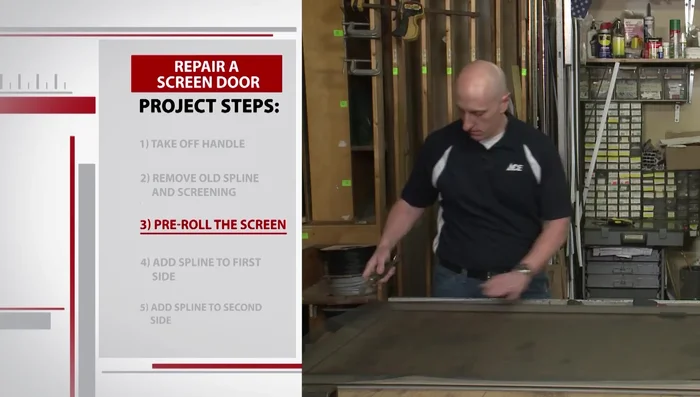
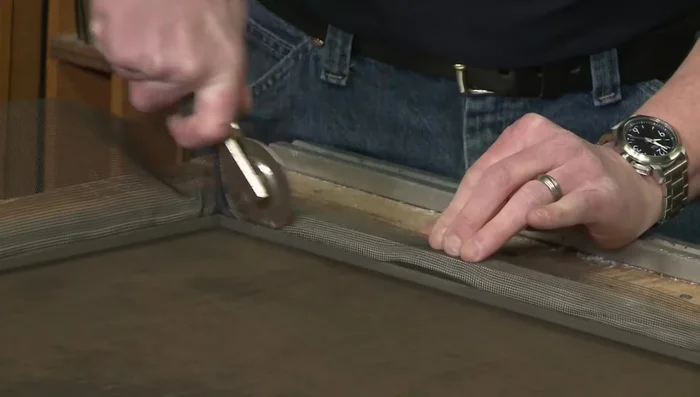
- Place the new fiberglass screening on top of the frame.
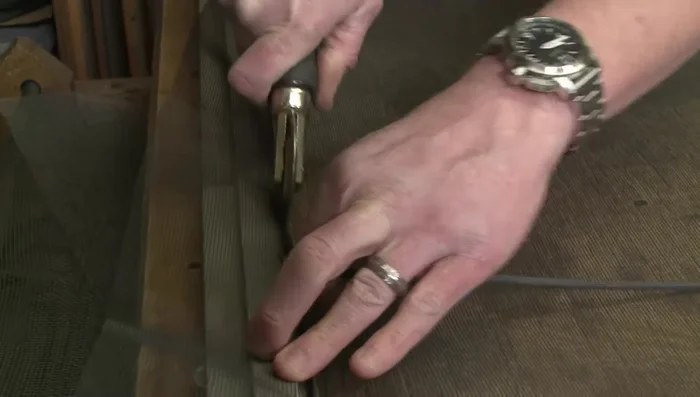
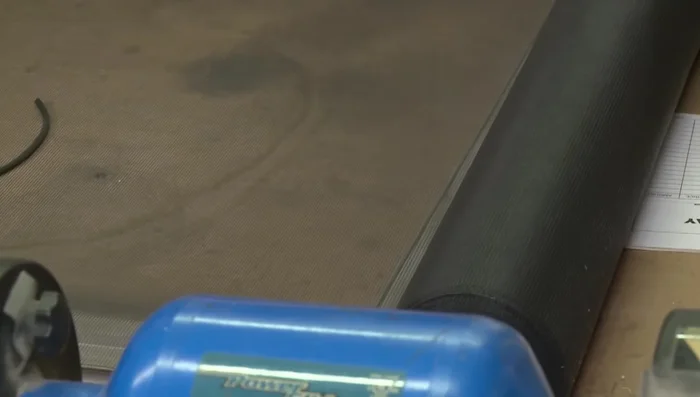
- Pre-roll the screen onto the track before adding the spline. This prevents ripping and makes adding the spline easier.
Prepare New Screen Install New Screen - First Half
- Start from the bottom and add the spline, stretching it slightly as you go. Work in two L shapes (one for the side and top, one for the side and bottom).
Install New Screen - First Half Install New Screen - Second Half
- Repeat for the opposite side.
Install New Screen - Second Half Secure and Finish
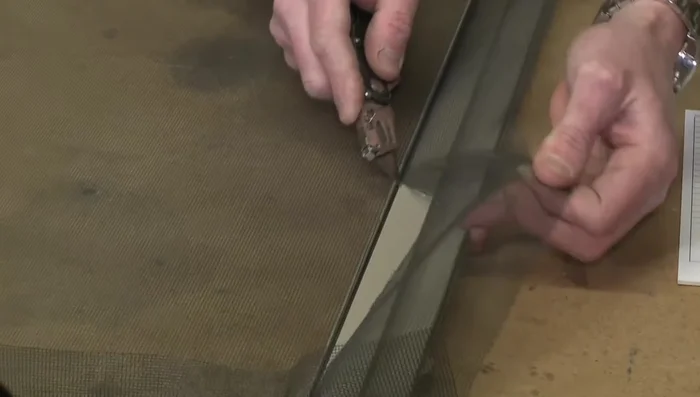
- Cut excess screening.
- Use a screwdriver to firmly pop in the corners of the spline.
- Finish the fourth side and add the handle.
- Remove any excess screening by gently tugging it from the top.
Secure and Finish
Read more: 3M Thinsulate Window Film Installation: A Step-by-Step Guide
Tips
- Use fiberglass screening; it's the easiest to work with.
- Roll the screening in order of right, left, bottom, top; avoid going in a big circle to prevent ripples.
- Pre-roll the screen onto the track before adding the spline to prevent ripping and make it easier to work with.
- Work in two L shapes (side and top, side and bottom) for easier spline installation.