In a world increasingly conscious of environmental impact, the demand for sustainable and creative solutions is growing. Upcycling, the process of transforming discarded materials into something new and valuable, offers a powerful approach to reducing waste and minimizing our ecological footprint. This article explores a particularly rewarding upcycling project: crafting a unique and stylish belt buckle from an old t-shirt and a recycled plastic water bottle. This fusion of repurposed materials results in a one-of-a-kind accessory that boasts both functionality and an eco-conscious appeal.
This guide will not only teach you how to create a durable and visually appealing belt buckle, but also highlight the simple steps involved in transforming seemingly useless items into something beautiful and practical. Get ready to unleash your creativity and learn the step-by-step process of creating your own upcycled masterpiece – a testament to sustainable living and ingenious crafting.
Preparation and Safety Guidelines
- T-shirts
- Water bottle
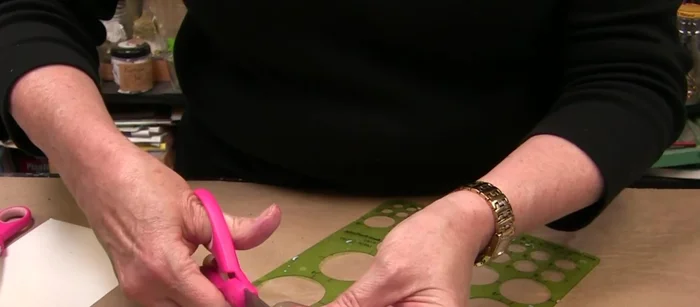
- Scissors
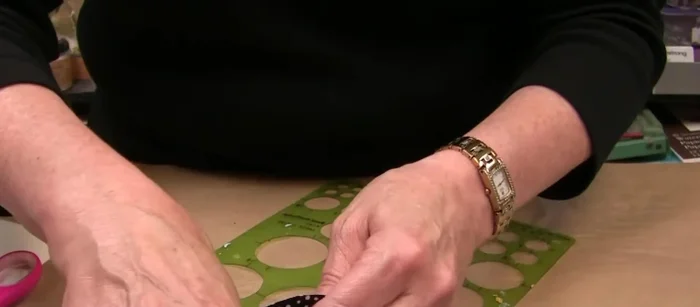
- Template (circle)
- Peel and stick sheet
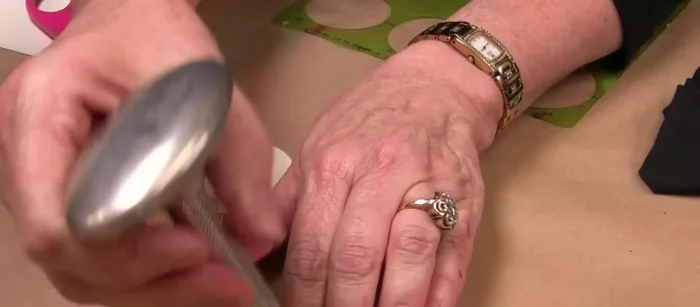
- Eyelet setter
- Eyelets (scrapbooking)
- Glue
- Sizzix (or similar die-cutting machine)
- Always use sharp scissors or a rotary cutter when cutting fabric to avoid injury. Handle blades with care.
- Ensure the water bottle is thoroughly cleaned and dried before using it. Any remaining residue could cause staining or unpleasant odors.
- When working with hot glue, use caution to avoid burns. Work in a well-ventilated area and keep flammable materials away.
Step-by-Step Instructions
Buckle Creation
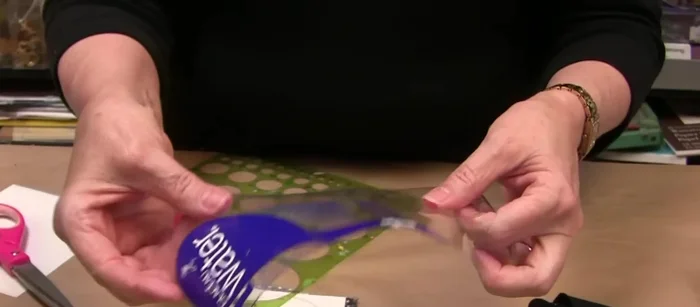
- Create the belt buckle template from a water bottle.
- Cut out the circle template from the water bottle.
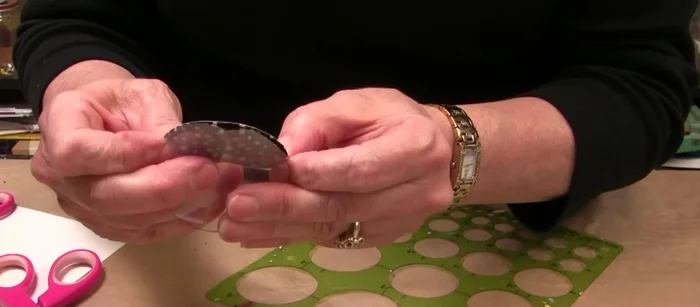
- Apply fabric to the water bottle circle for aesthetic appeal.
- Cut a matching circle from peel and stick sheet and adhere to the water bottle circle.

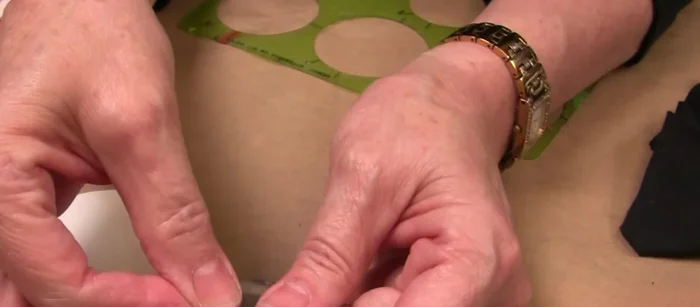
Buckle Creation - Prepare the backing for the buckle, punching holes for attachment.
- Attach the fabric backing to the water bottle buckle.
- Create a reinforcement strip using another strip of peel and stick sheet and punch holes for eyelets.
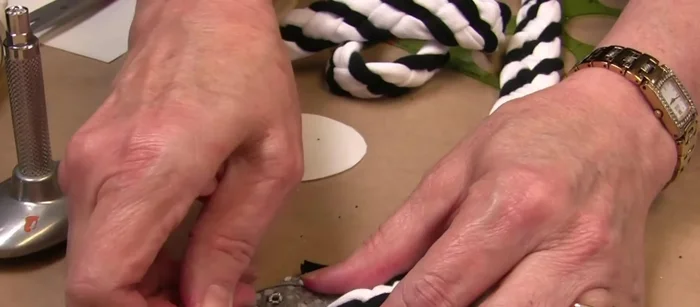
- Attach the eyelets to the buckle using the eyelet setter.
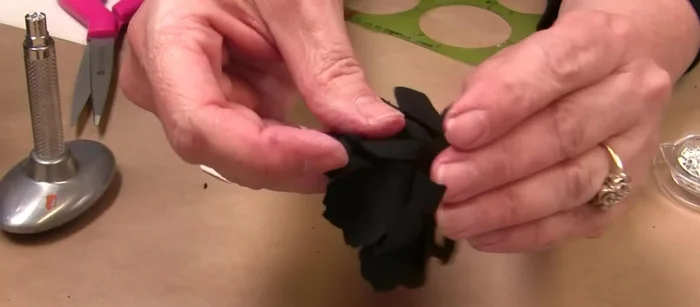
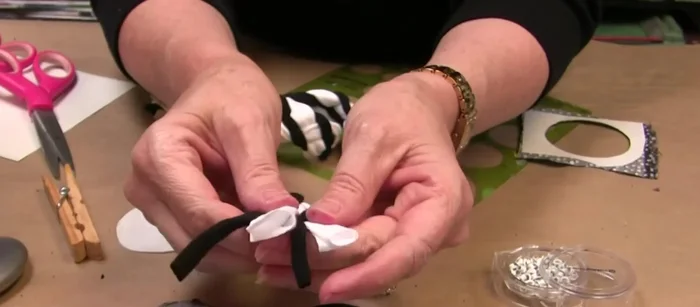
Buckle Creation - Cut out and glue the t-shirt flowers onto the buckle.
Buckle Creation Belt Creation
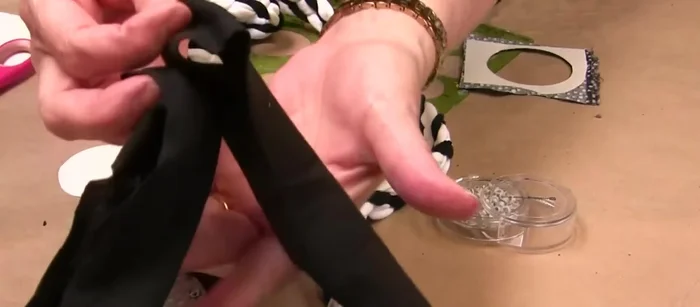
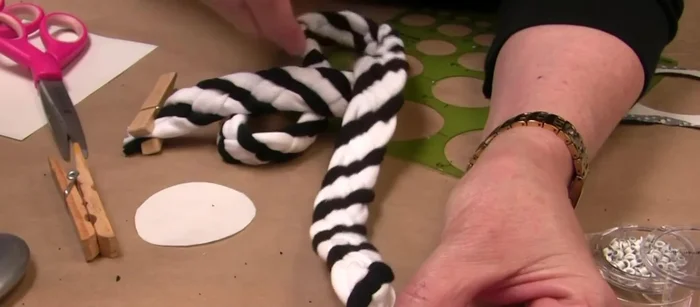
- Cut four strips from the bottom of a t-shirt for the belt.
- Stretch the t-shirt strips and braid them together (four-strand braid).
- Glue the ends of the braid together.
Belt Creation Assembly
- Attach the braided belt to the buckle.
Assembly


Read more: DIY Vibrant Car Organizer: A Step-by-Step Quilting Tutorial
Tips
- Use a smooth water bottle for easier cutting and a cleaner finish.
- The peel and stick sheet is washable, making the buckle easy to clean.
- Apply fabric to the buckle to cover any imperfections or to add design.
- Use more flowers for a fuller, more visually appealing buckle.
- The width of the t-shirt strips determines the belt's width.