Do you have an old, cherished blanket tucked away in the closet, too worn for its original purpose but holding sentimental value? Instead of discarding it, consider transforming it into something new and useful! This guide will show you how to upcycle that beloved blanket into a cozy, zippered pillow cover, breathing new life into a treasured textile and adding a unique, handmade touch to your home décor. Giving your old blanket a second life not only saves it from the landfill but also allows you to enjoy its soft textures and perhaps even a cherished pattern or color in a fresh, practical way.
This project is surprisingly simple and requires minimal sewing skills, making it a perfect weekend craft for beginners. From selecting the perfect blanket section to adding the finishing zipper, we’ll walk you through each step of the process. Let's get started with our step-by-step guide to crafting a beautiful and functional zippered pillow cover from your old blanket.
Preparation and Safety Guidelines
- Blanket
- Ribbons
- Fabric Scraps
- Sewing Machine
- Zipper
- Pins
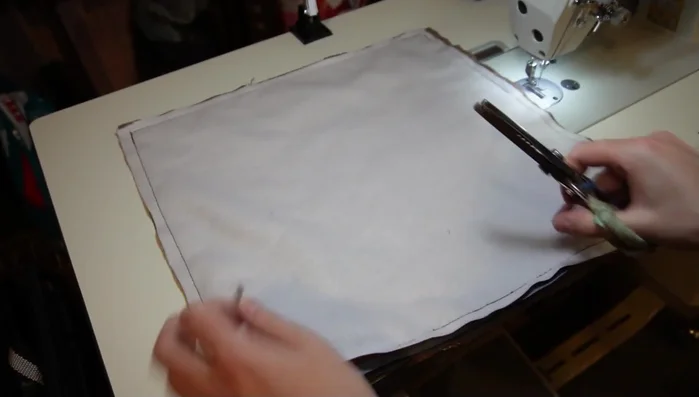
- Scissors
- Seam Guide (optional)
- Always use sharp scissors or rotary cutter to ensure clean cuts and prevent fabric fraying. Dull tools can lead to accidents.
- Before sewing, pre-wash your old blanket to prevent shrinkage and color bleeding after the pillow cover is finished.
- If using a sewing machine, make sure the needle is appropriate for the fabric weight of your blanket. Using the wrong needle can cause broken needles or damage to the fabric.
Step-by-Step Instructions
Prepare the Blanket and Fabric
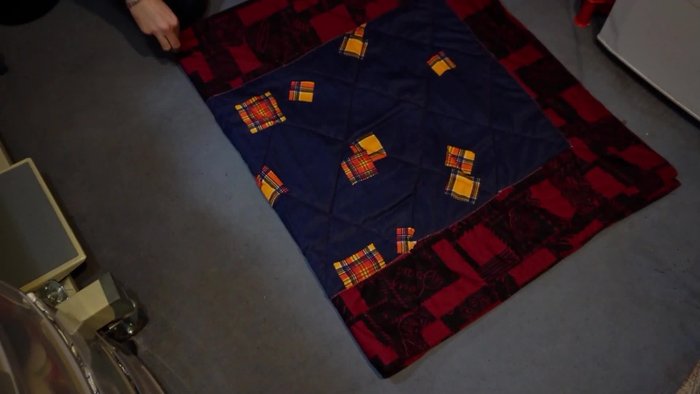
- Fold the blanket in half to find the middle, then fold it into thirds.
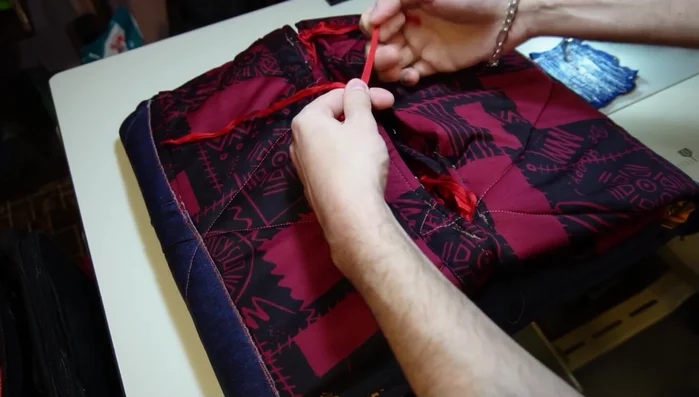
- Attach ribbons to the sides of the folded blanket to keep it compact and easy to wash.
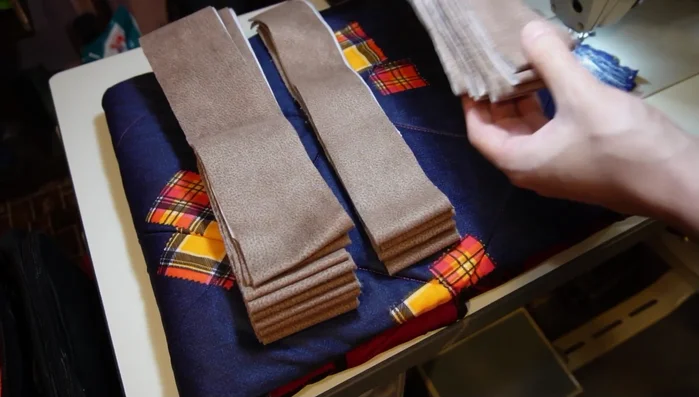
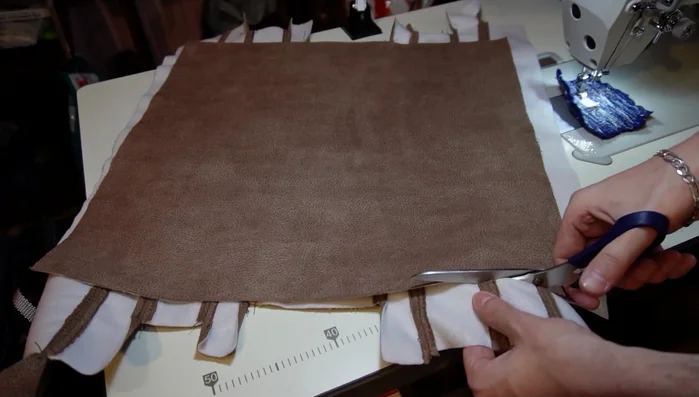
- Prepare fabric strips from leftover scraps, arranging them to create a desired pattern.
- Sew the fabric strips together, ensuring the pieces are facing each other and using a seam guide or presser foot for straight seams.

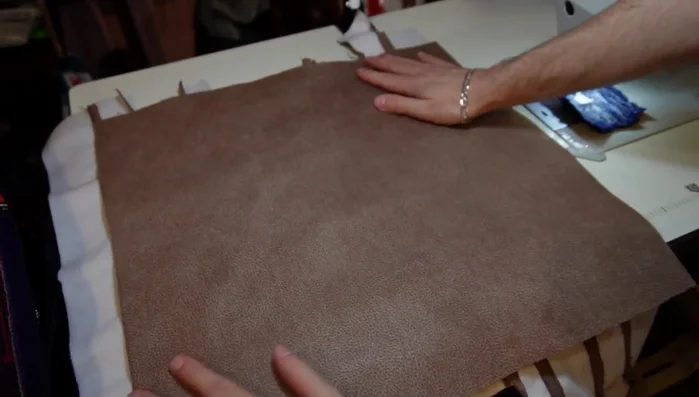
Prepare the Blanket and Fabric - Turn the sewn fabric piece wrong side out, opening the seams and topstitching on both sides with a stitch size of 5.
- Create a second fabric piece (if needed) using the same method. Measure and cut both pieces to the desired size, adding 1 cm to each side.
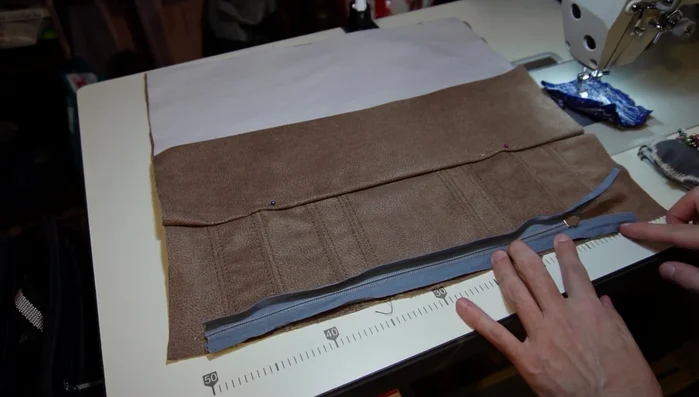
Prepare the Blanket and Fabric Attach the Zipper
- Place the fabric pieces right sides together and align them perfectly. Fold the top layer halfway and pin in place.
- Insert the zipper (2 cm shorter than the fabric on each side) face down in the middle of the fabric, and sew it in place. Stop sewing before the slider, move the slider, and continue sewing.
- Remove the pins, unfold the top layer, and pin the zipper to the top layer ensuring perfect alignment. Sew the other side of the zipper in the same way.
- Sew back and forth on the ends of the zipper (optional).
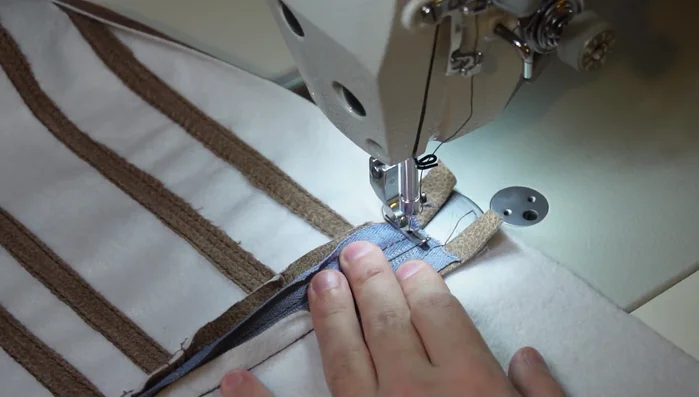
Attach the Zipper Sew the Pillowcase
- Leave the zipper half open, fold the pillowcase, and align all sides. Sew around the pillowcase, starting and ending the seam above the zipper seam, ensuring the zipper is centered.
- Make corner stitches at a 45-degree angle for sharper corners (optional). For a waterproof pillowcase, sew back and forth at the corners.
- Trim excess fabric on the corners using pinking shears.
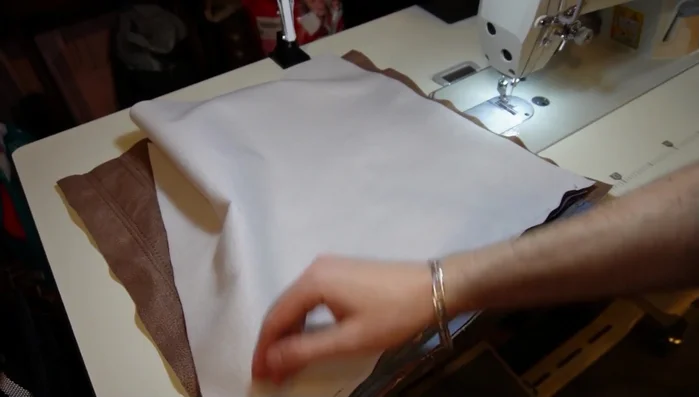
Sew the Pillowcase Finish the Pillowcase
- Turn the pillowcase inside out.
Read more: DIY Vibrant Car Organizer: A Step-by-Step Quilting Tutorial
Tips
- Use a magnetic seam guide or the edge of the presser foot to create straight seams.
- Make sure both fabric pieces are perfectly aligned before sewing to create a neat finish.